Making a Small Pencil Tray
December 12, 2021
Making a Small Pencil Tray
I wanted to write this detailed walk-through to try and lay out visually some of the workflow I use on my Snapmaker machine for CNC work.
This is the finished piece:
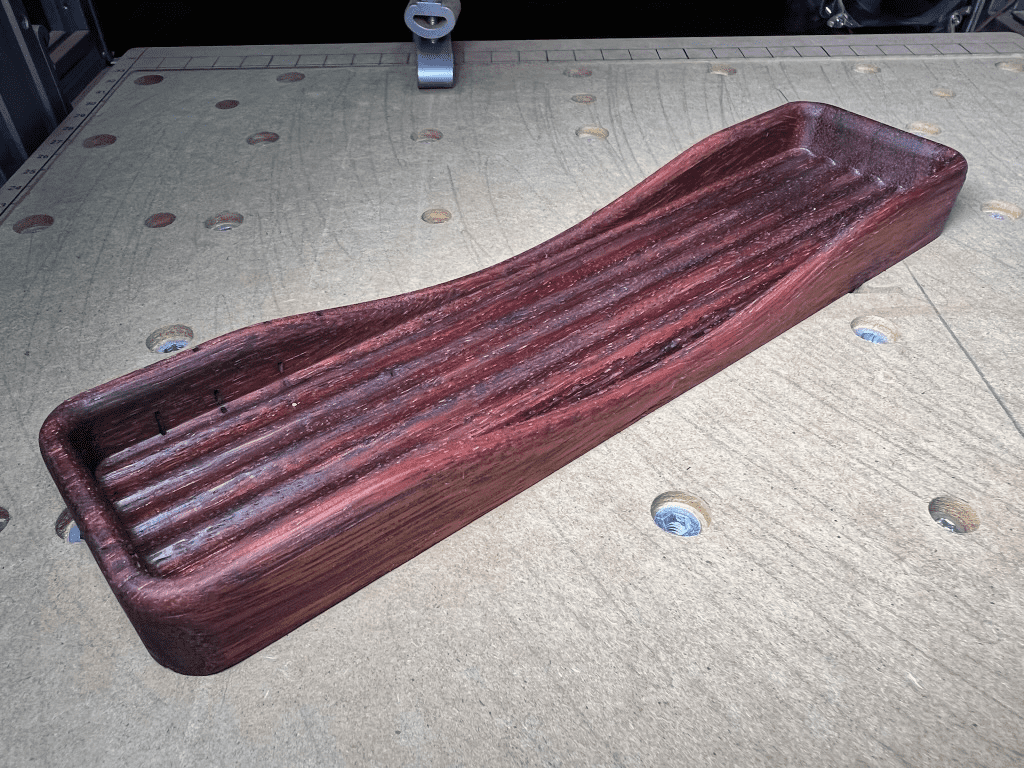 This one is carved from African Padauk, a beautifully coloured medium hard wood with lots of character.
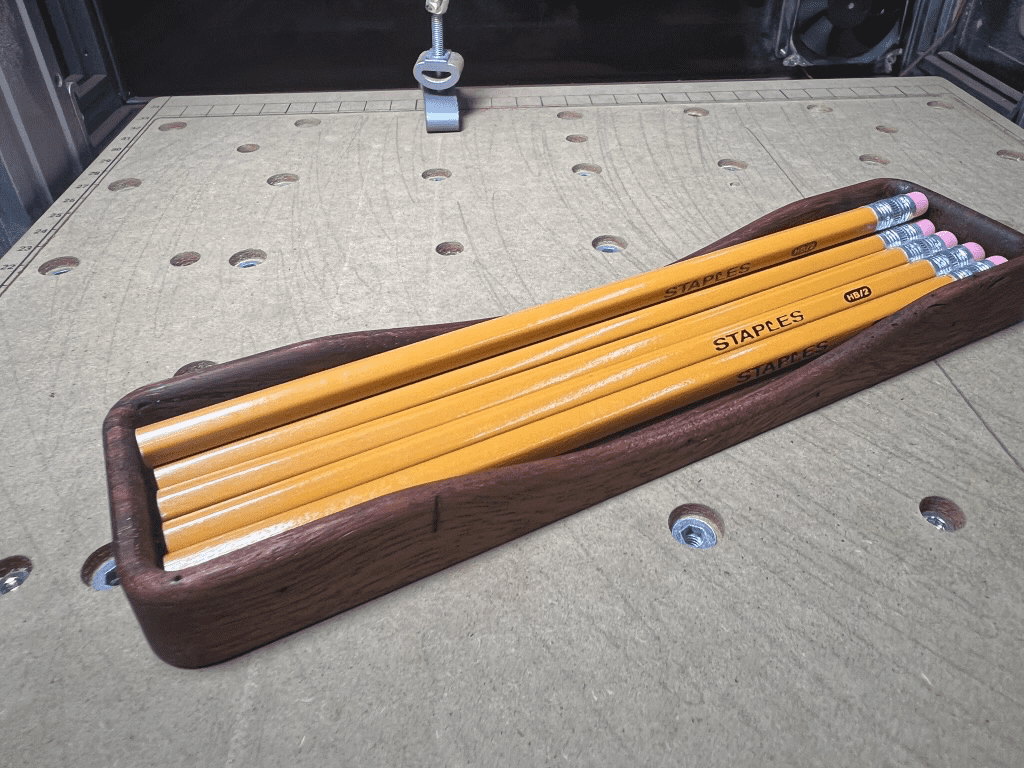 At first when I posted pictures, people had no idea what this was! So I took another picture to illustrate…
Please bear with me through this article, I am early enough on this journey that I remember what it was like to just sit there scratching my head trying to figure out how I could even start, or trying to interpret something someone was telling me.
So I wrote, a lot, and I know this post is really, really long.
My hope is that, if you’re a beginner, this will give you a sense of all this so that you’re more confident on your own learning journey. You’ll break things and make mistakes, like I did, but keep at it! Your confidence will build, you’ll learn a million things, and you’ll open up a whole new world of making as you do!
Nothing here is really all that specific to the Snapmaker, but that’s the machine I have right now.
Prelude
Over the past year, I’ve really enjoyed using my Snapmaker. I took a leap and pre-ordered the Snapmaker 2.0 A350 in August 2020, along with its enclosure. Finally in January, 2021, it arrived.
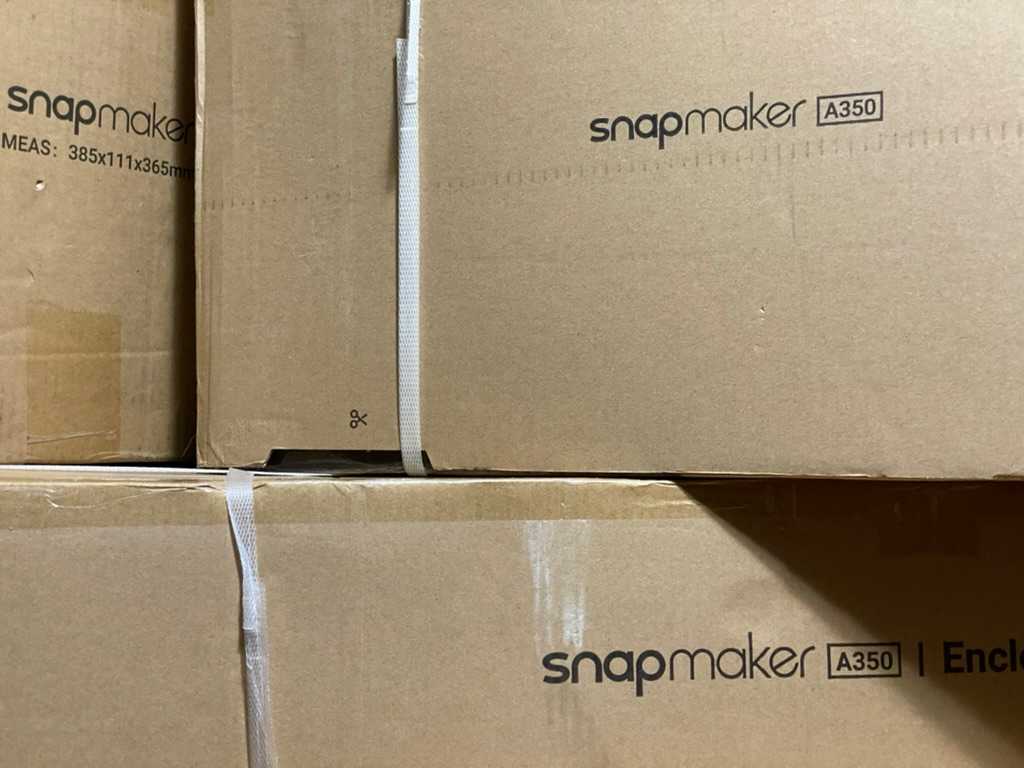 Happy Snapmaker Arrival day!
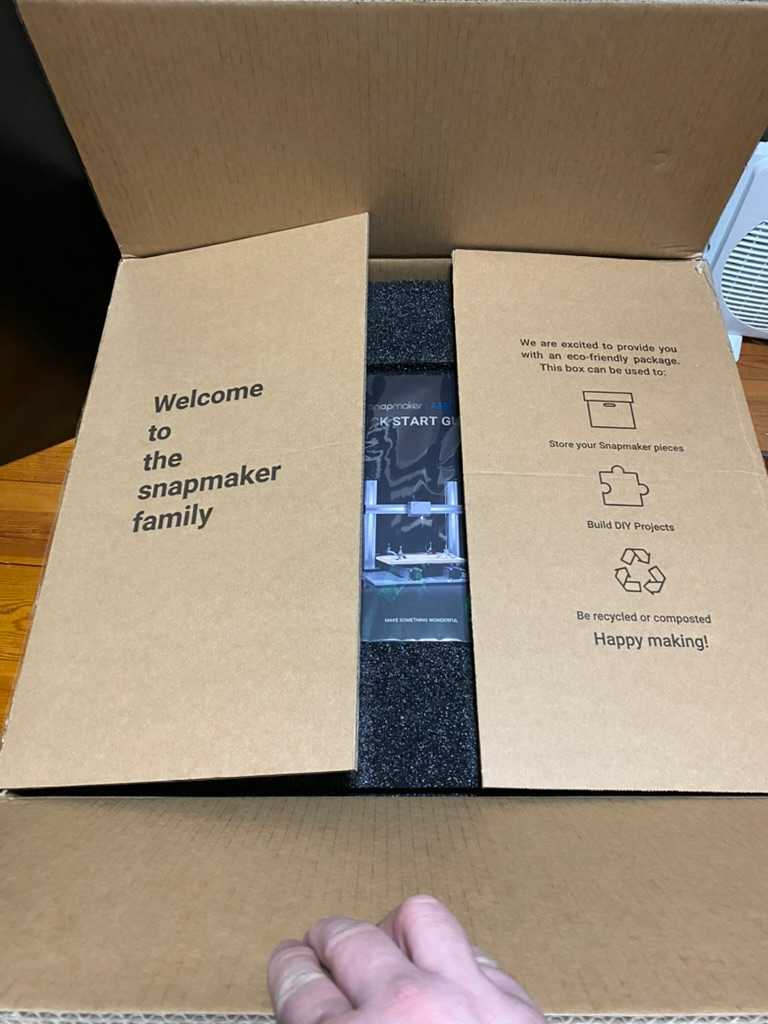 They did a lot of work to make this a friendly unboxing experience. It may seem frivolous to folks who have used other hobby machines before, but for me I appreciated the work they did to make this new-to-me experience friendly and inviting.
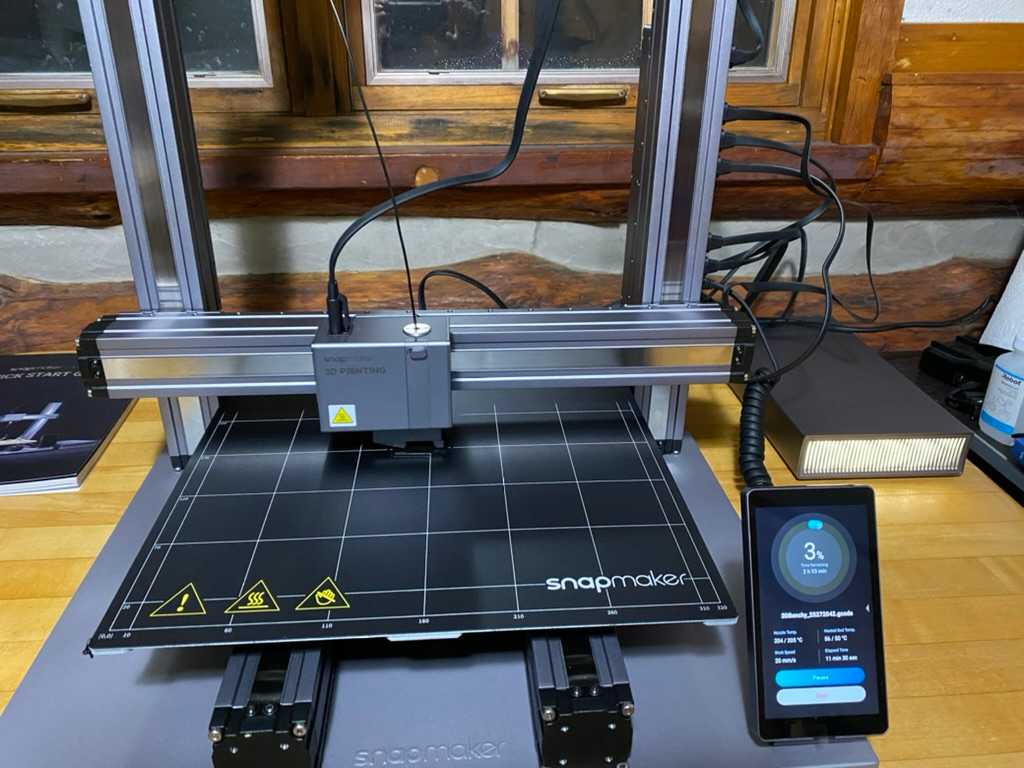 I first set it up without the enclosure so I could explore the 3D printing. And yes, I live in a log cabin.
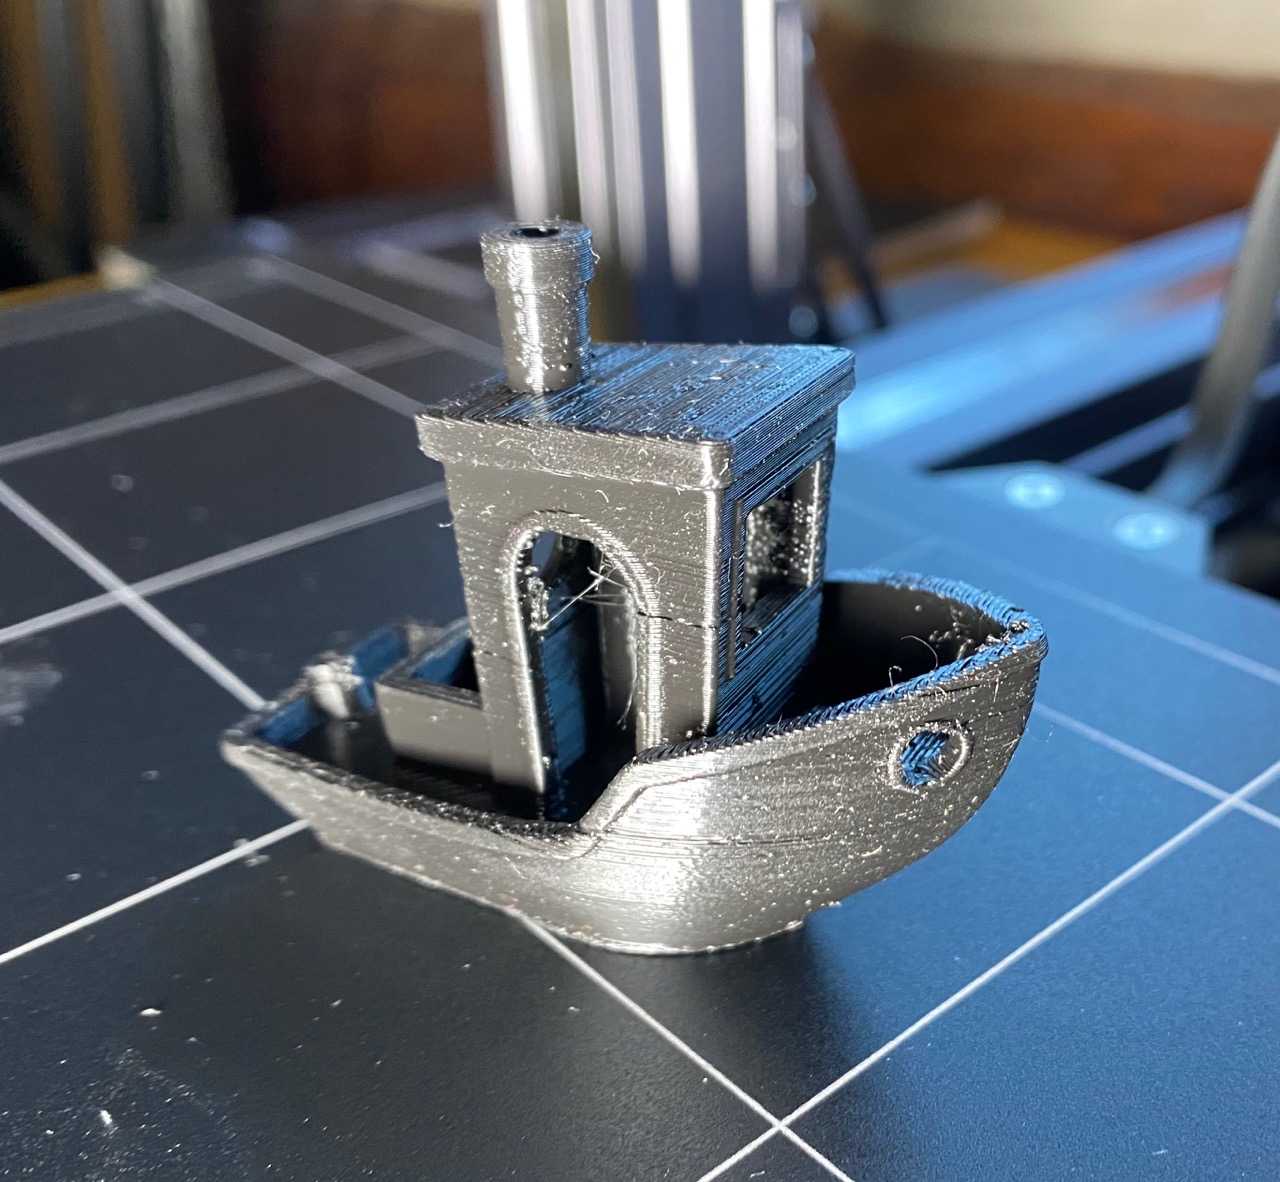 My first benchy! Sliced and printed from Luban, with the provided Snapmaker filament.
When I got it, I had no idea which function would most capture my attention. I had already gathered a number of things from Thingiverse that I wanted to 3D print. I started learning Fusion 360 in anticipation of its arrival.
I was intimidated by the CNC module at first. When I printed the sample project, the machine drove the cutting tool deep into the wasteboard. I panicked! I turned it off, and set it back up for 3D printing, and didn’t go back for months.
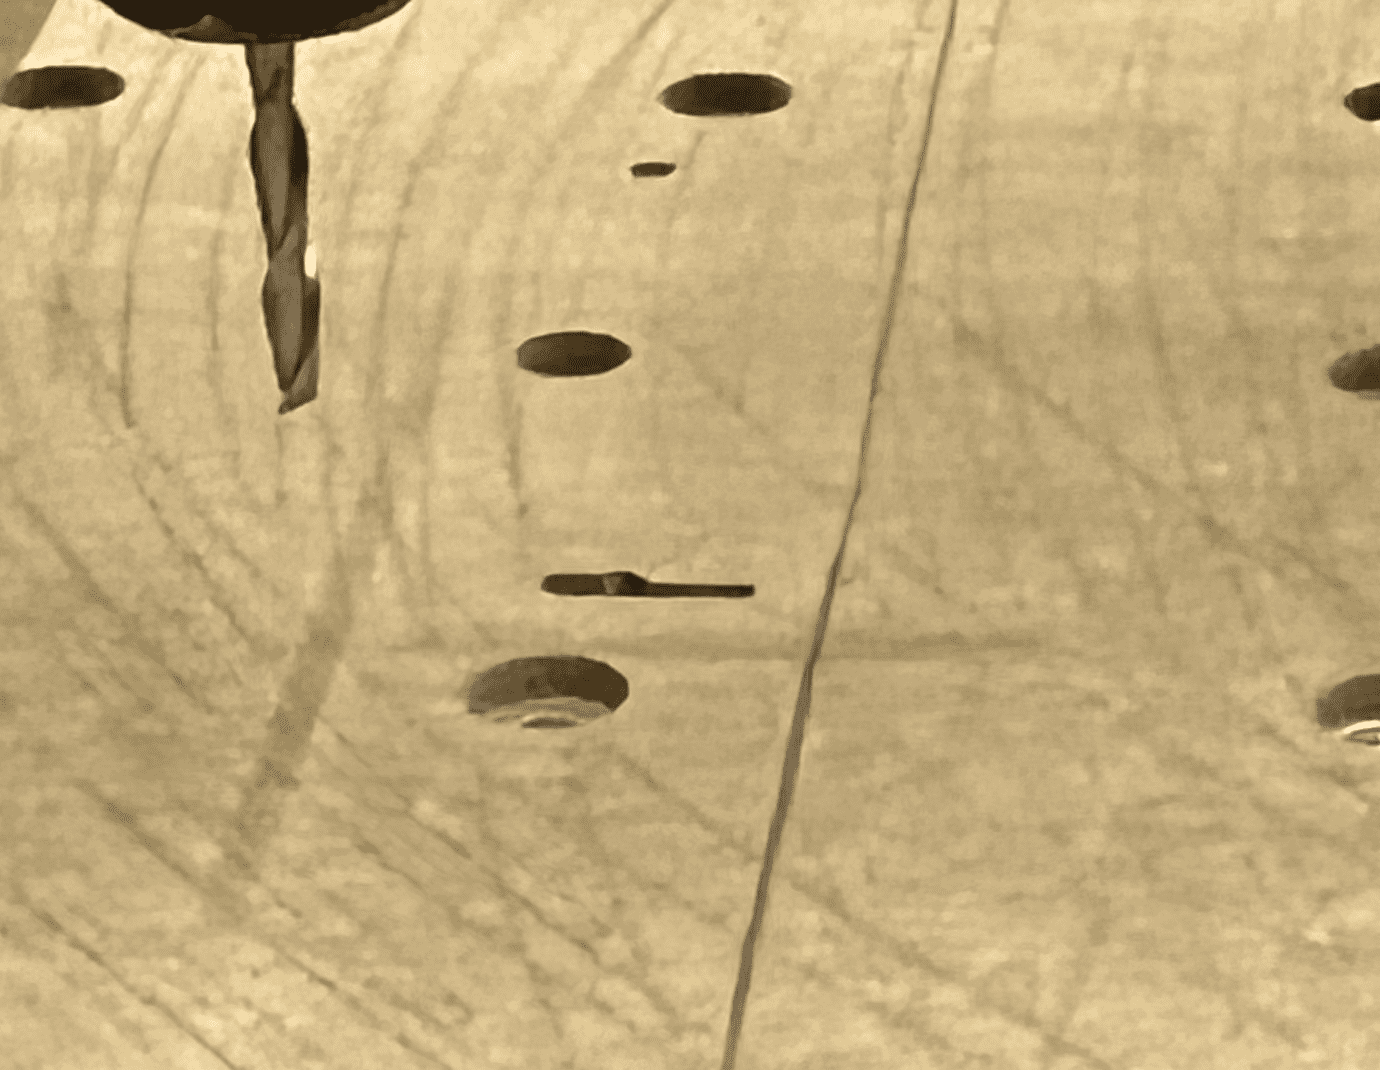 I have no idea why the phone-holder test project plunged into my wasteboard like this!
Eventually, inspired by the community, I slowly took on a variety of projects. I learned so much every step of the way.
Let’s dig in to my journey on this project, the pencil tray.
1. Design
I don’t mean this to be a Fusion 360 tutorial at all, but I wanted to show the basic set of steps I used to arrive at my design.
Folks who know Fusion 360 may cringe at my paths that aren’t properly anchored, or perhaps my odd choice of reference surfaces here and there. All I can say is, you were learning too once! This is just a hobby for me, I’m always playing the balance between getting something accomplished and learning “the right way” to do something.
If you’re getting started, if I can offer any advice, is please don’t get too hung up on what’s “the right way” to do something, and especially don’t let that hold you back! The most important thing is to start making, and keep on making. Every project gets better than the last.
I got my start in Fusion 360 by watching a lot of videos from Lars Christensen, and Kevin Kennedy. and spending hours and hours in it making my own mistakes. Fusion 360 is free for home hobbyists, you have to register. You can only have 10 “editable” projects at a time, but it’s OK, I make mine read-only when I’m done with them, and haven’t felt restricted. Note: I do not have the 4th axis attachment from Snapmaker, if you do and want to build toolpaths for it in Fusion 360 you must upgrade to a paid version.
 I started from a basic sketch with the length and height, if you’re wondering why 50.8mm x 203.2mm, that’s just 2” x 8”.
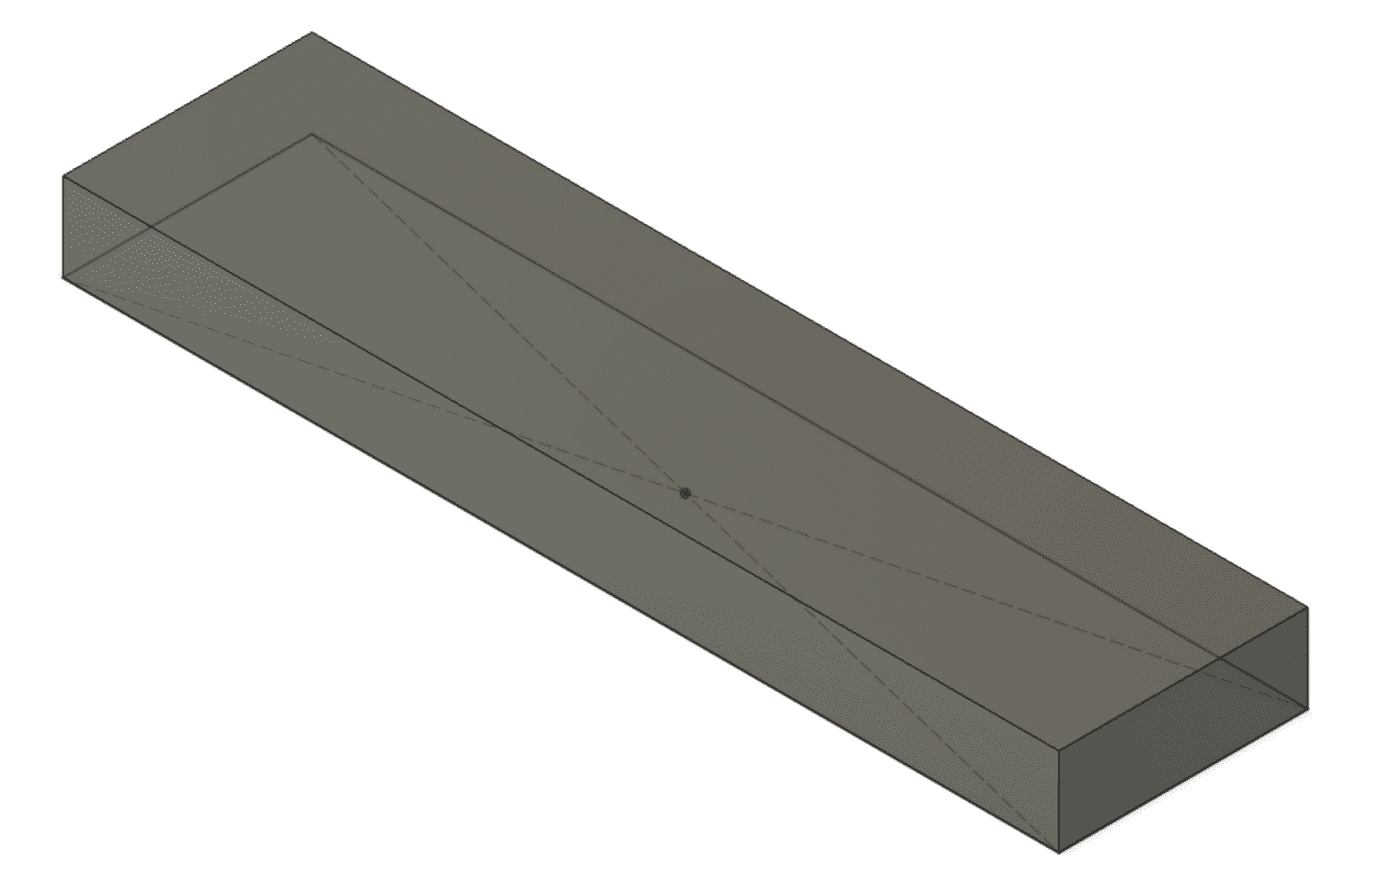 I extruded from that surface by 18mm to give myself a bit of play from my 20mm total cutting depth.
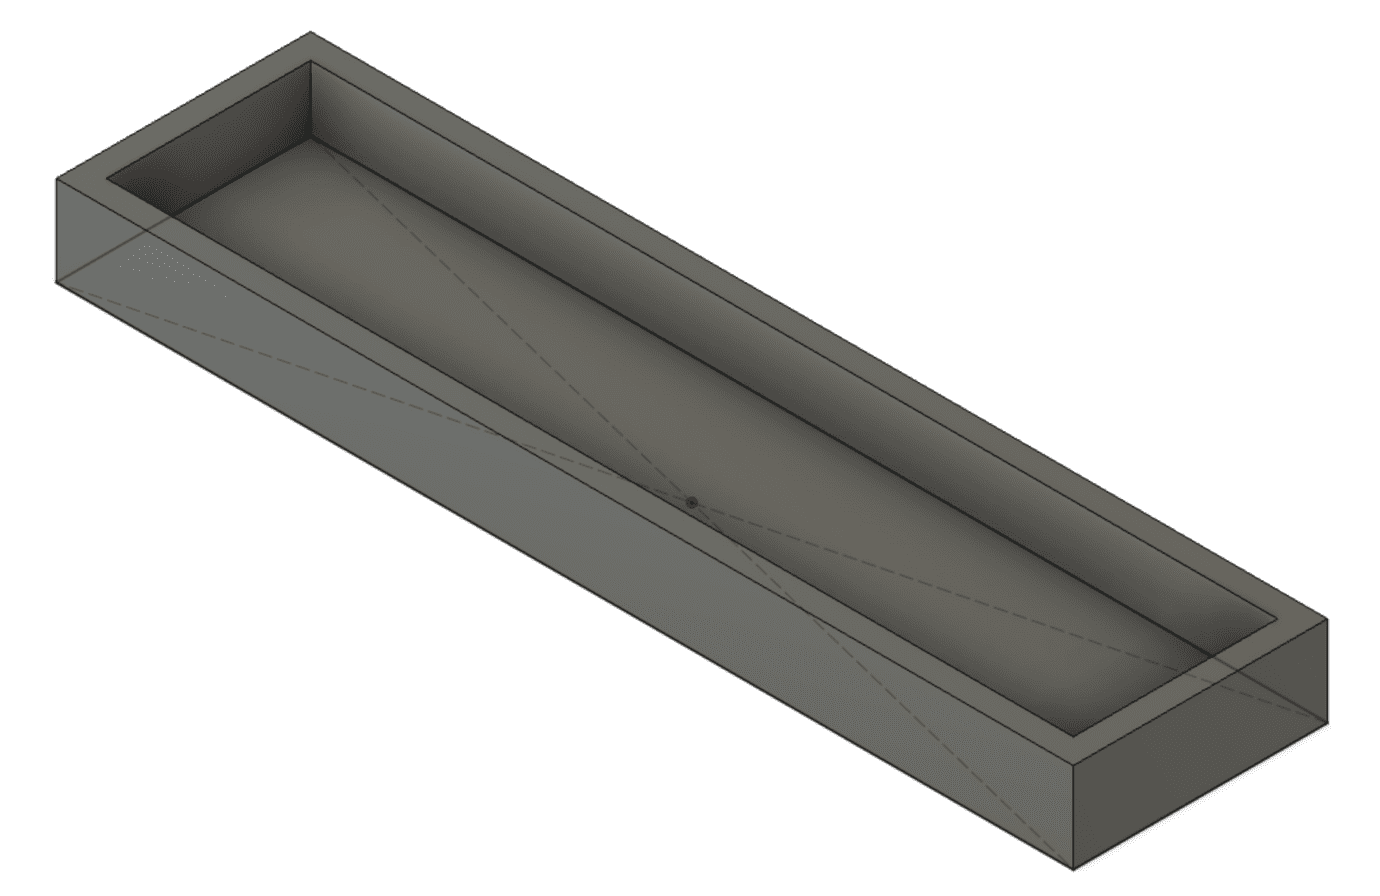 I used the Shell operation and left 5mm thick walls.
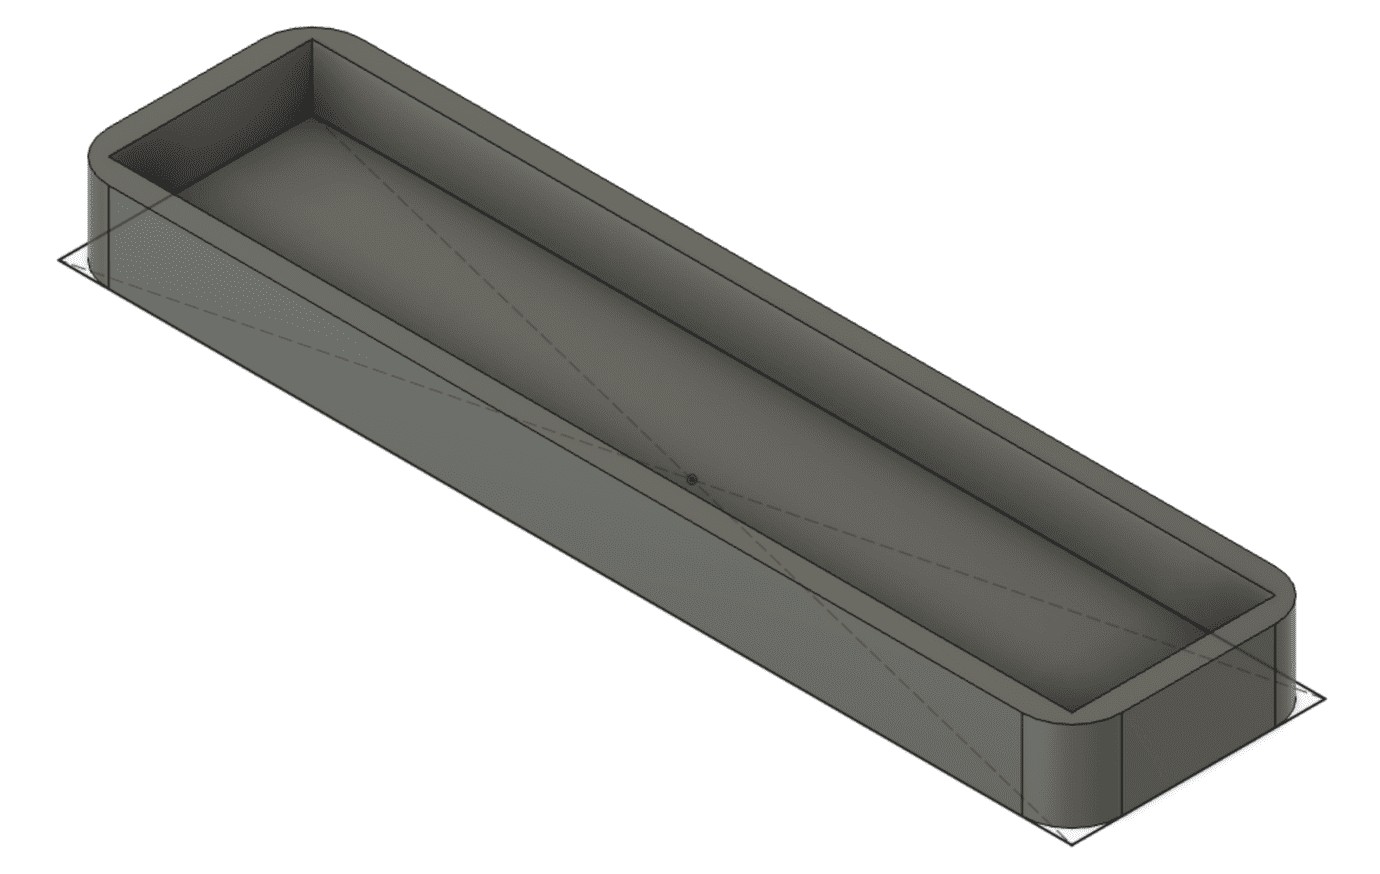 I rounded the outer corners
 and I rounded the inner corners
 I created another sketch from the front surface, projected a couple references edges onto it and drew a bezier curve so it would be easier for my pudgy fingers to grab a pencil. Yes, I know that curve is not anchored (it’s blue, not black), trust me I tried, one day I’ll figure it out. Maybe one day if I make this model parametric.
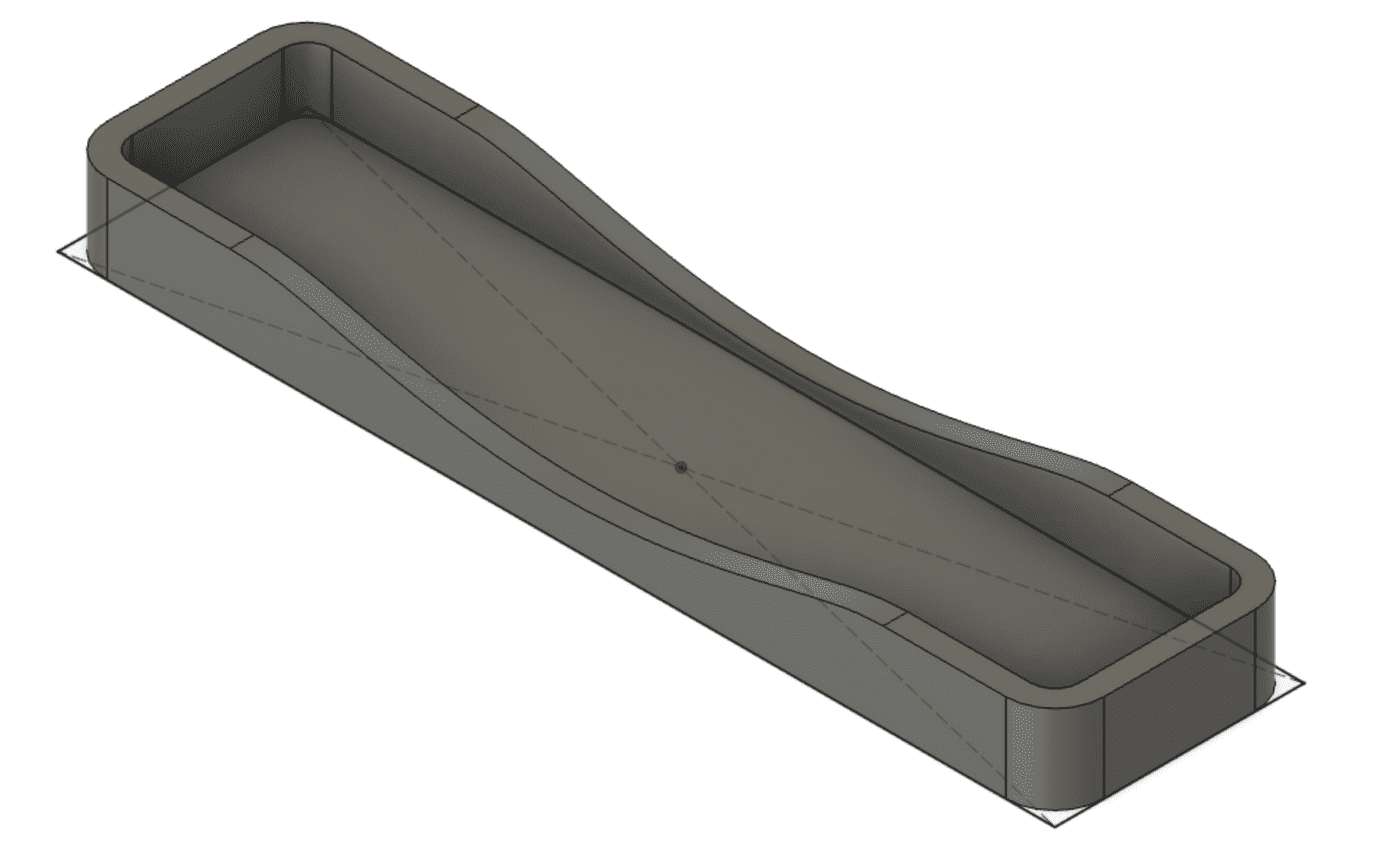 I extruded the area above the bezier curve to cut out the curve from the component.
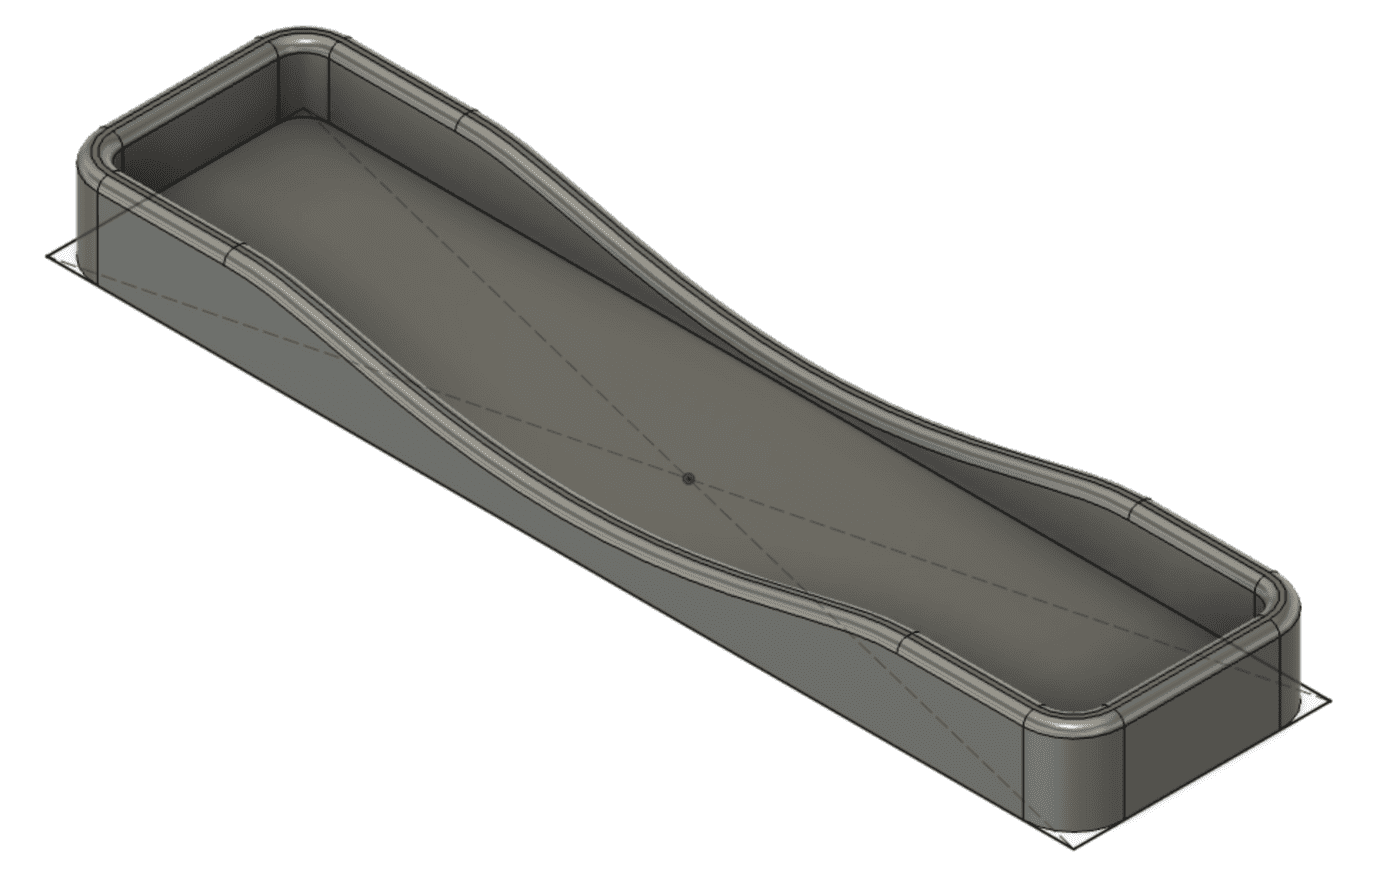 I rounded the top edge all around to smooth it.
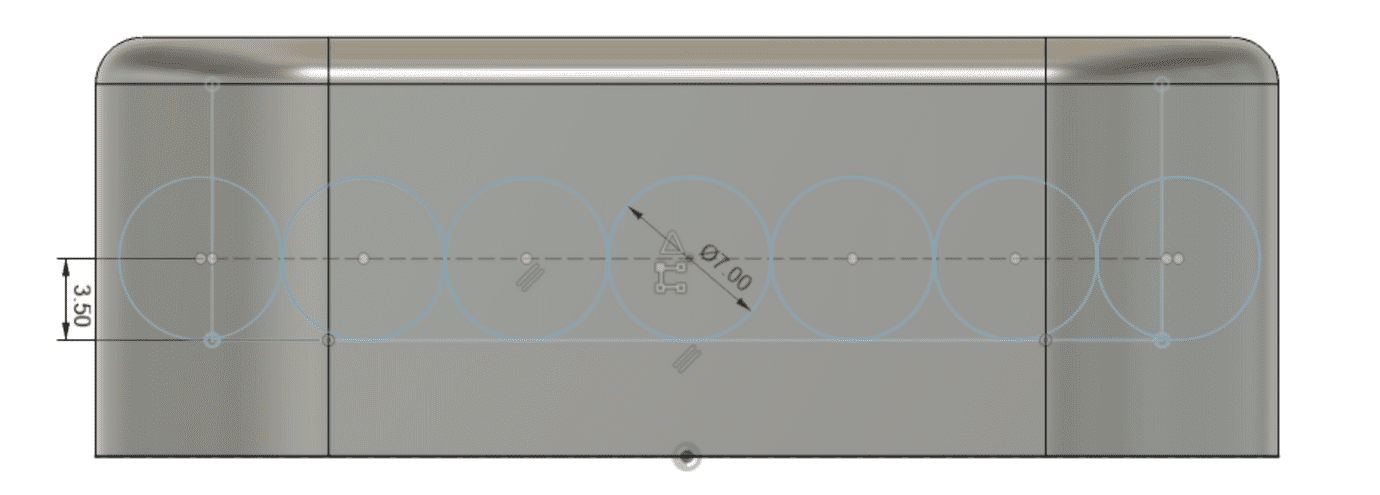 I wasn’t sure how to go about making the bottom ridged, so I started with some circles edge to edge on a sketch I made from the right side
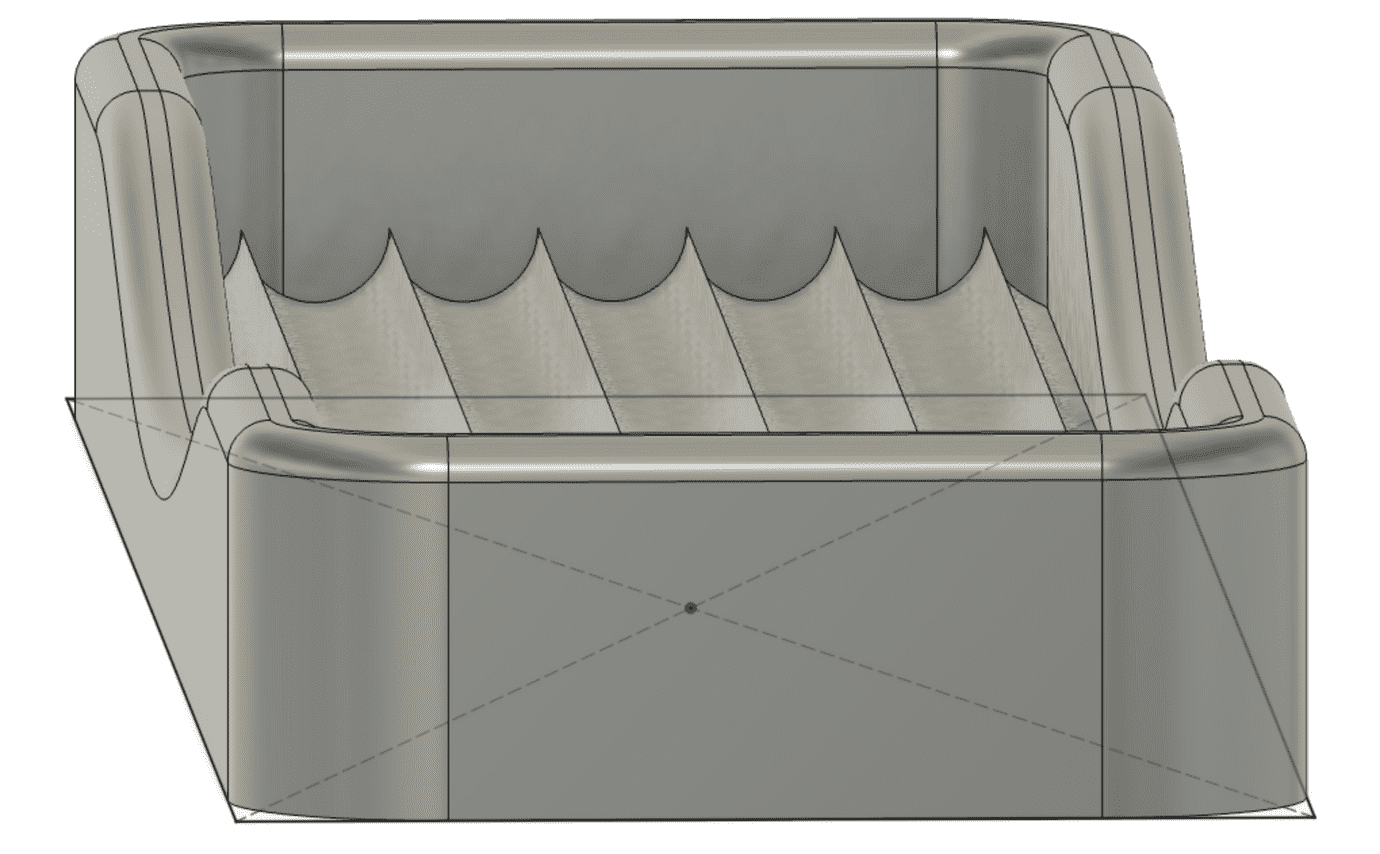 I selected and extruded the buttom area under the circles to the floor of the component.
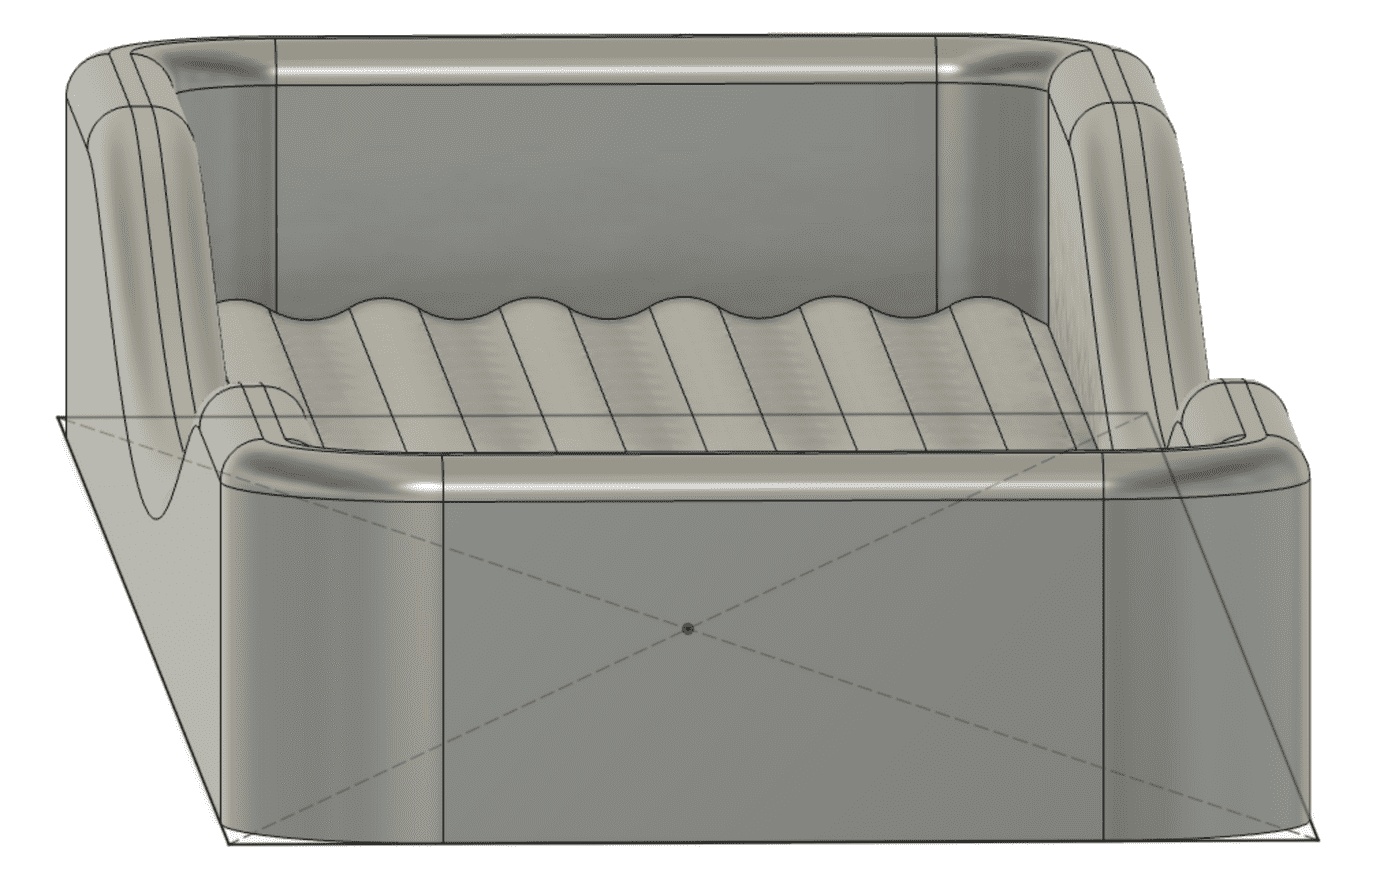 Then I rounded each peak.
OK, that’s it for the Design view in Fusion 360, then I moved into the Manufacture view. That’s where you take what you designed, and tell it what kind of stock you’re using, and how to cut your model out on your CNC machine.
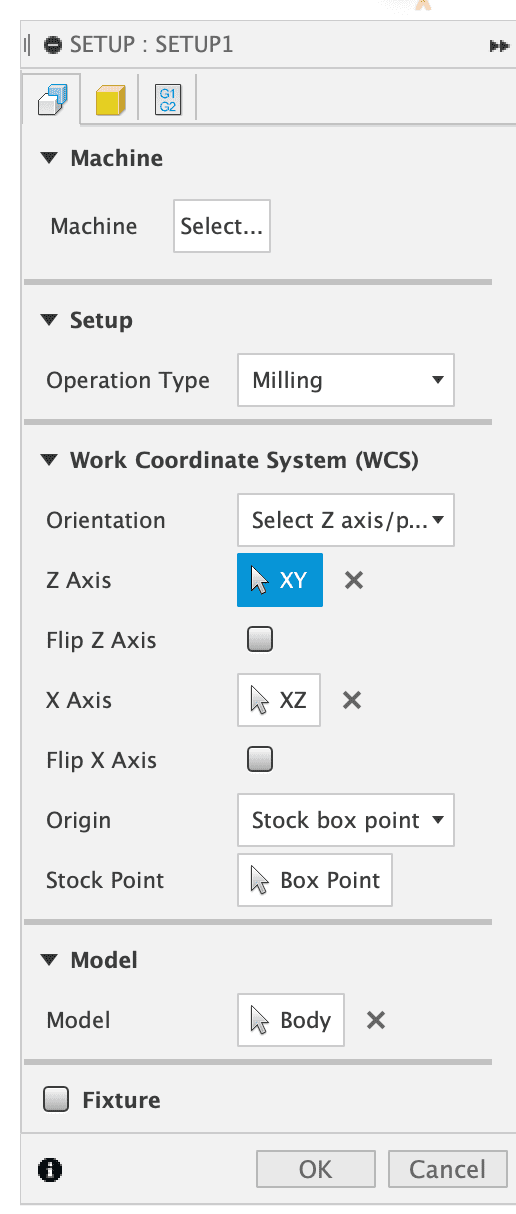 In the Manufacture area, I created a setup. Eventually I realized that I’d oriented the model at a 90º angle to how I wanted to mount my stock on the machine, so I had to adjust the Work Coordinate System correspondingly. I found this really confusing to set up!
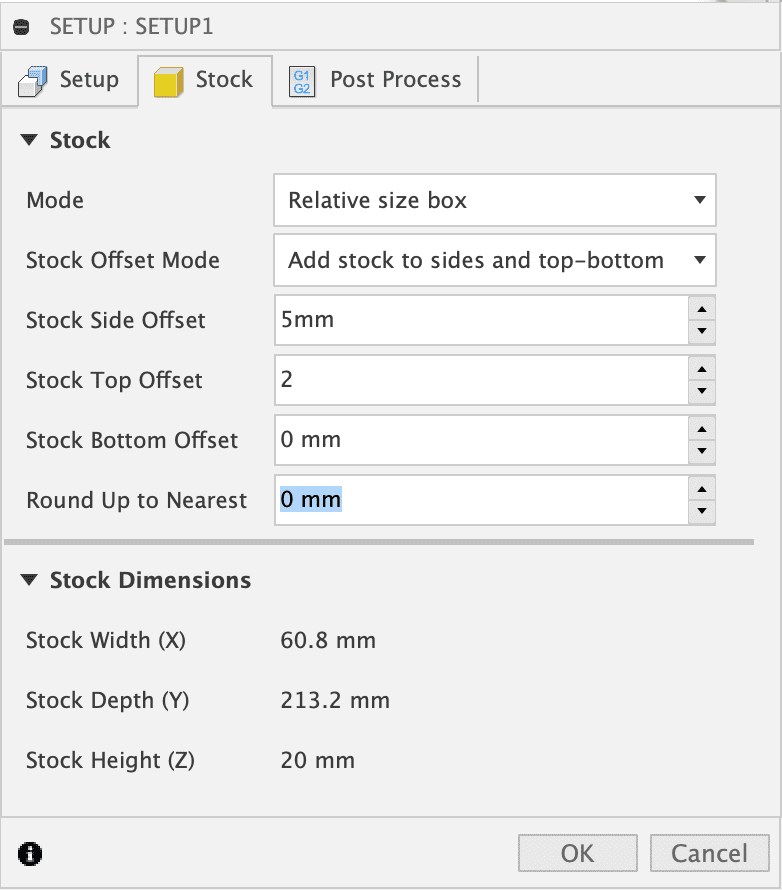 Knowing my stock was about 60mm wide and my model was 50.8mm, I added 5mm to the side offset. Knowing my model was 18mm high, I added 2mm to the top offset to bring the stock height to 20mm. I didn’t add any bottom offset, because I planned to surface the bottom of the stock first, so it would already be perfectly flat and level.
2. The Stock
I have found it convenient to pick up “large” boxes of 4/4 Mixed Hardwood Offcuts from KJP Select Hardwoods. These are rough milled (unfinished, so the edges are not smooth nor squared) 22-24mm thick, about 12” long and a variety of widths.
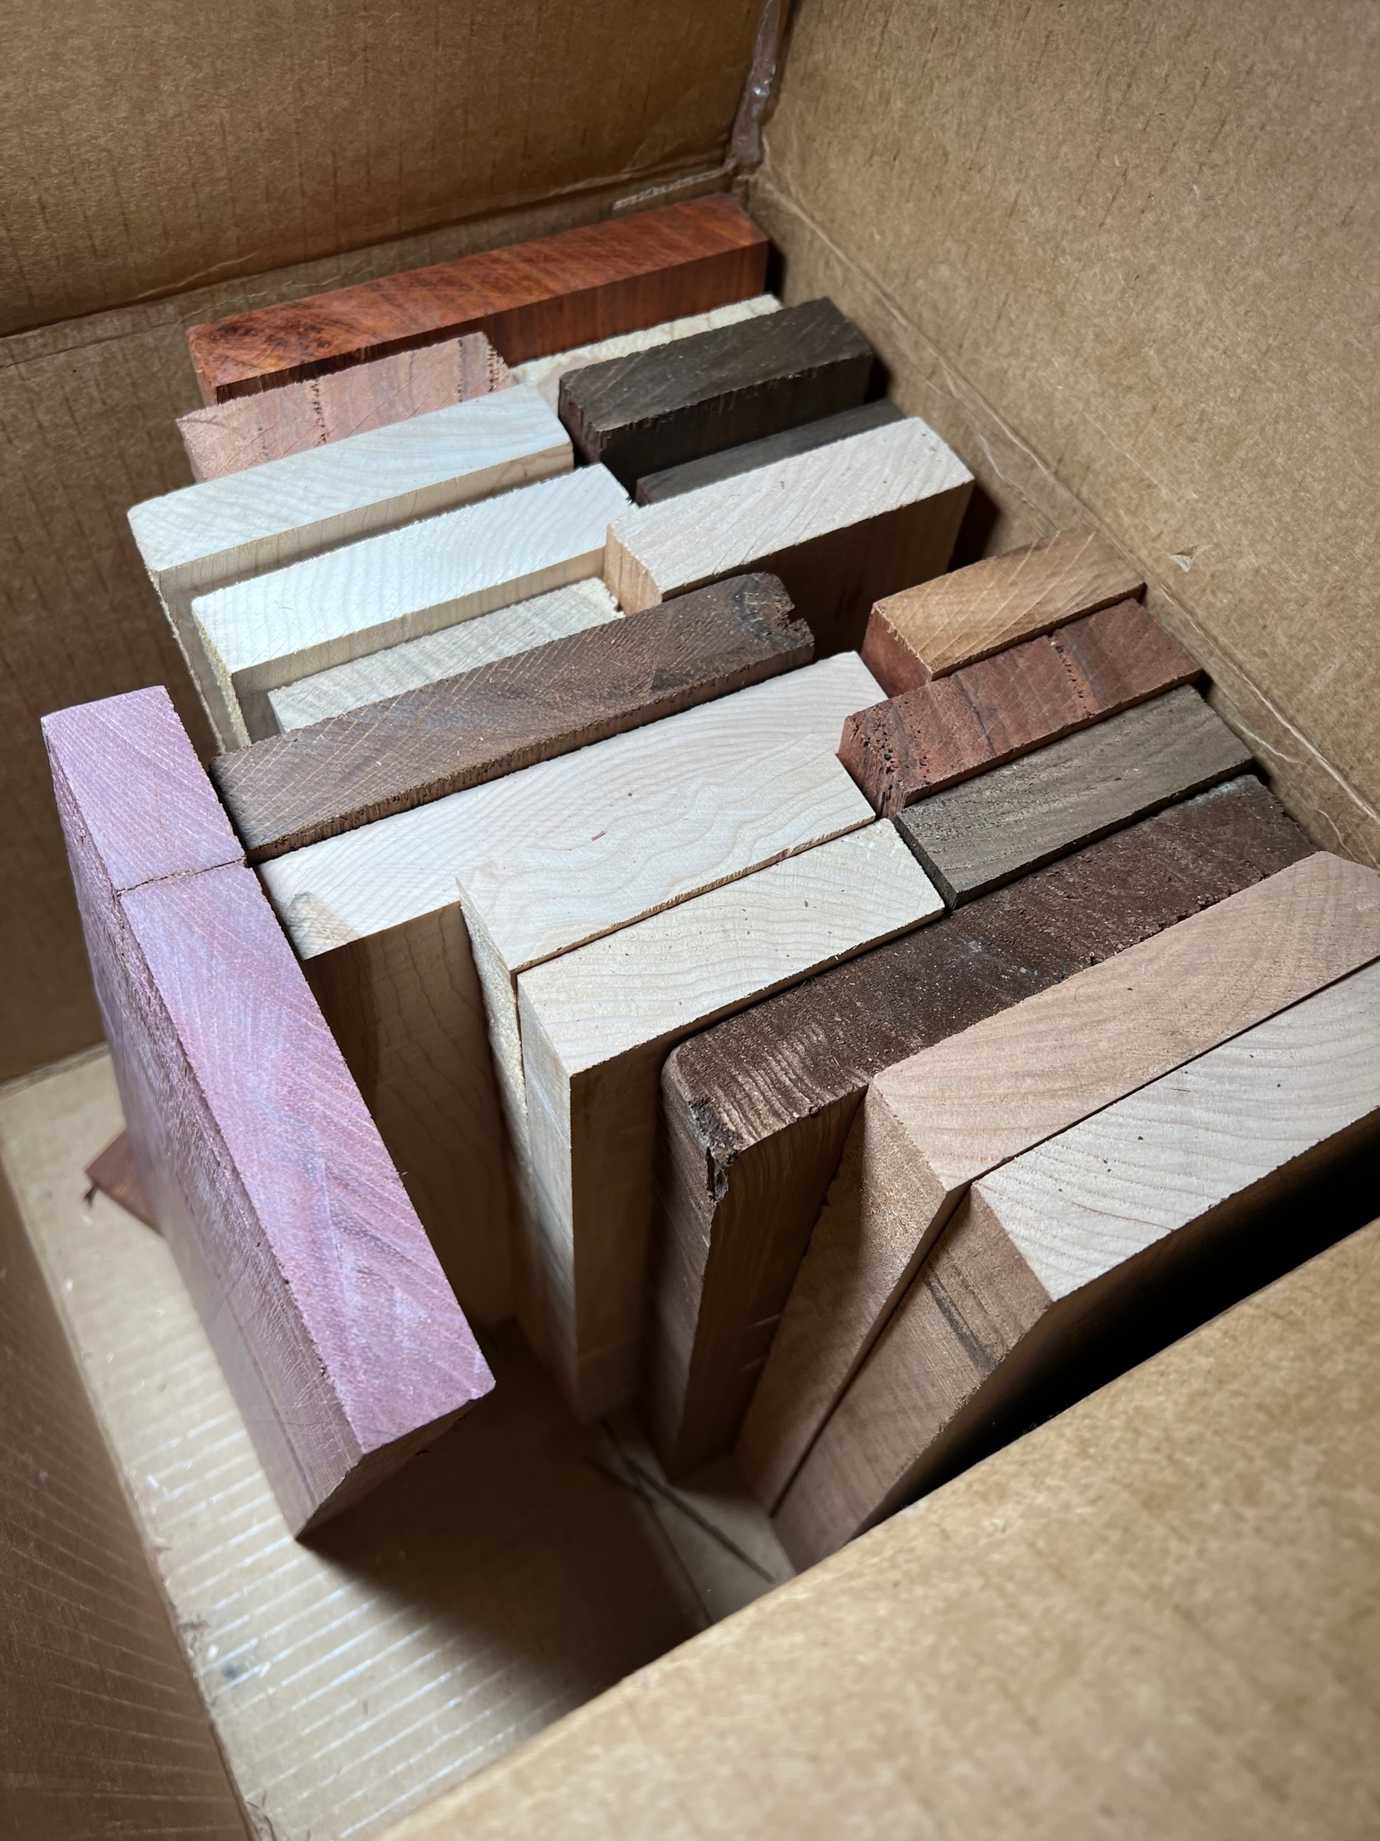 This is what’s left in my current box of 4/4 Mixed Hardwood Offcuts from KJP Select Hardwoods
The rough stock is not perfectly squared, so the first thing I do is set up a reference face by milling a clean flat top, cutting it down to a target thickness of 20mm.
For this I’m using 3.175mm, 38mm long, double-fluted flat-end-mill bits that tend to extend a bit over 20mm from the collet that holds them. This is perfect for projects that are no more than 20mm high, because I can fully cut out the silhouettes of the pieces all the way through to the spoilboard.
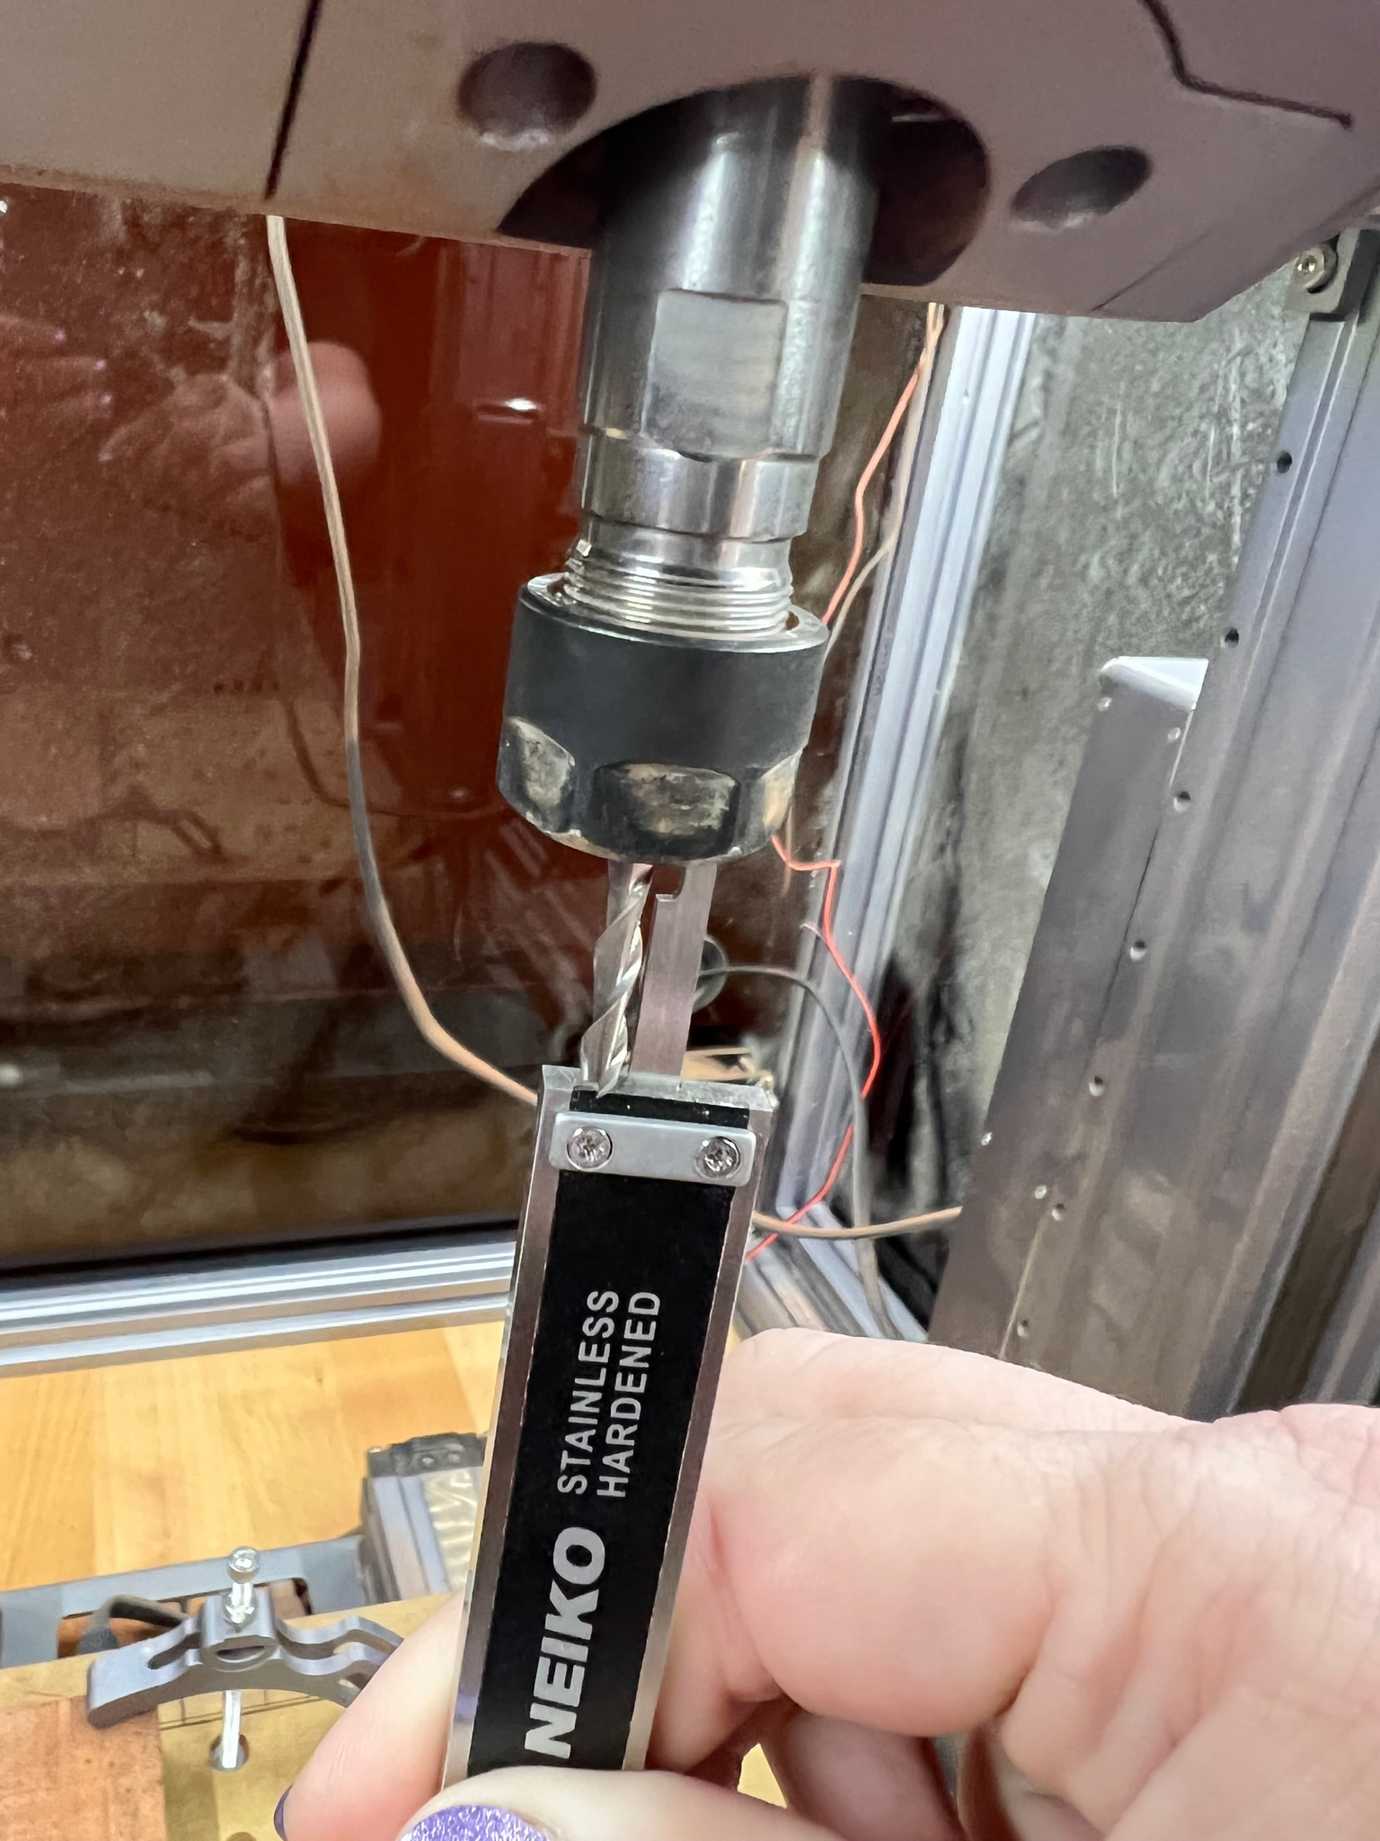 I use the depth gauge on my caliper to make sure I can cut at least 20mm deep, with 3.175mm or 1/8” bits that tend to be 38mm long, this is the maximum depth I can cut.
Drawing an X from corner to corner finds me the centre point of the piece, which allows me to set my origin in a good place.
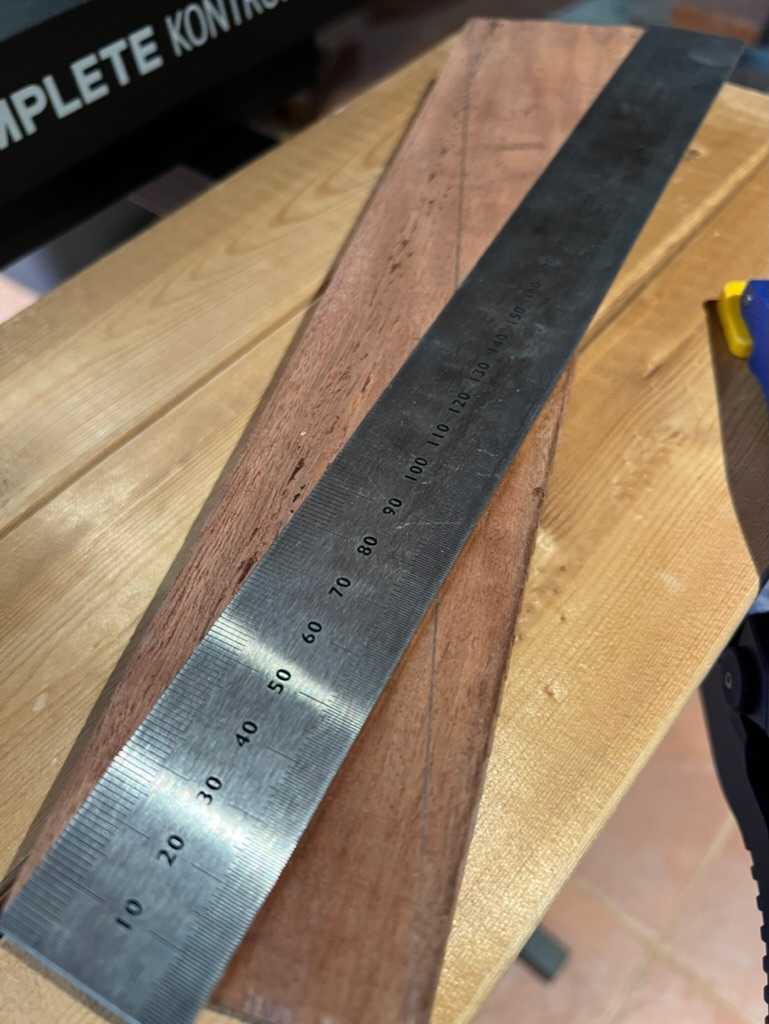 Drawing two lines corner to corner to find the centre point. (Guess what another of my hobbies is, showing in the background!)
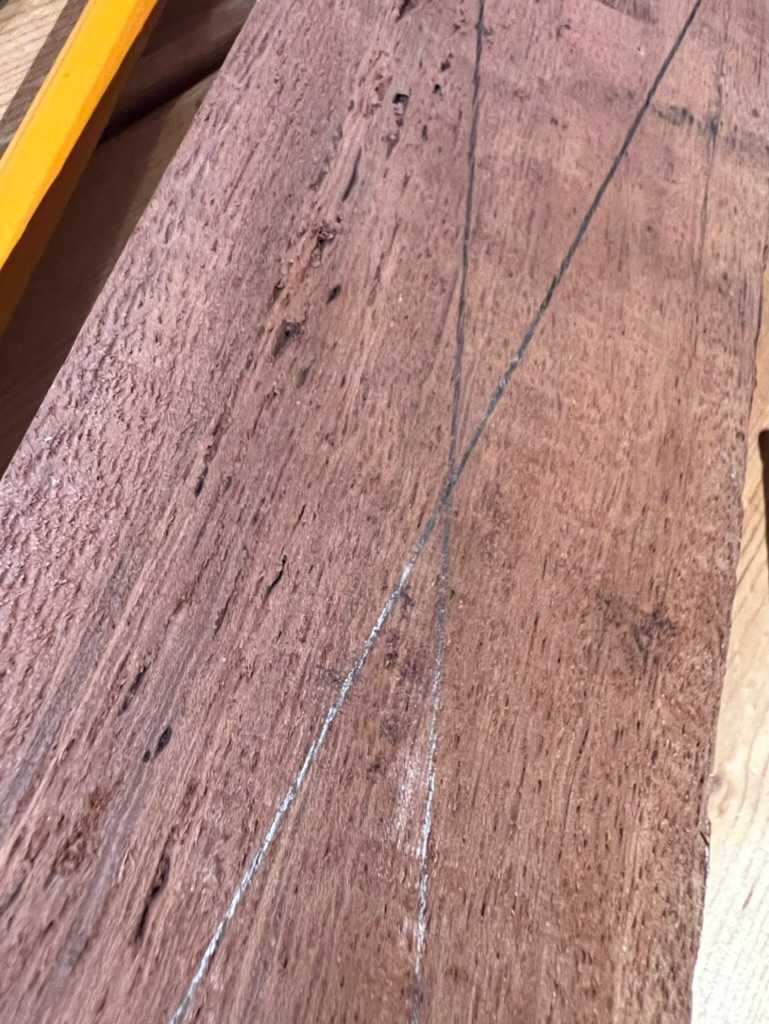 Where the lines cross will be my origin.
I’ve surfaced the wasteboard on my machine so that it is flat and level with the X and Y axes, which means I can measure 20mm from the wasteboard to the top of the stock and when I mill to that point it should make the stock exactly 20mm thick.
3. Preparing For the Bottom Facing
I want to get the stock roughly square to the bed of my machine. I know it won’t be perfect, but it’s close enough for my work.
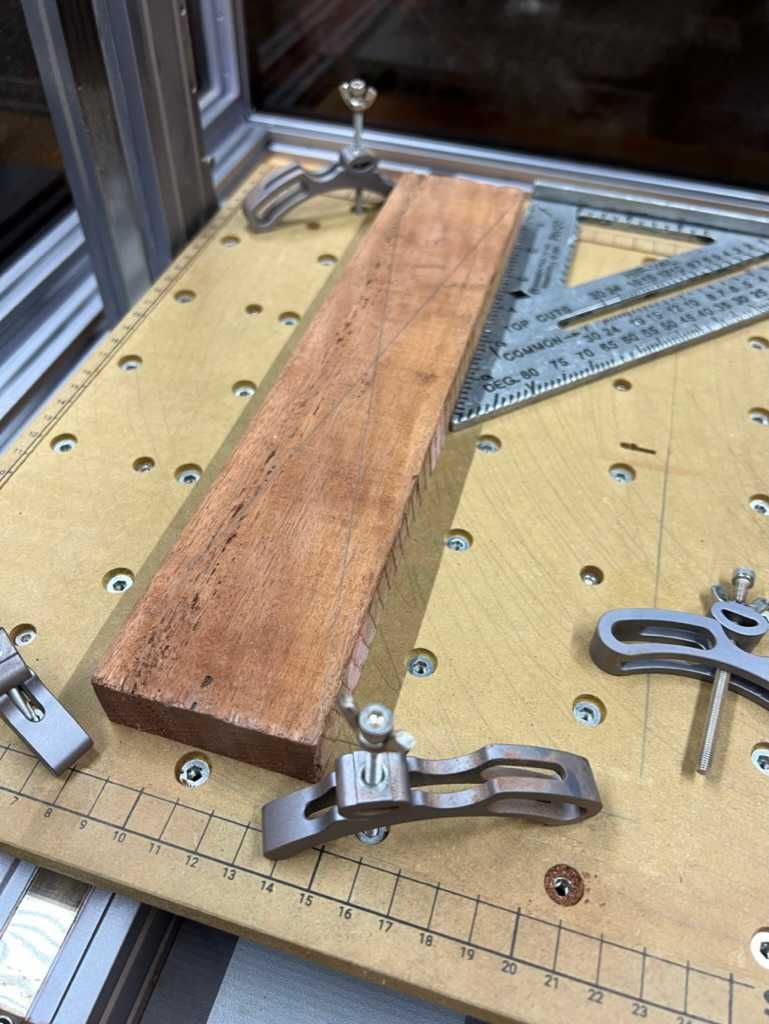 Using my small speed-square to roughly square the stock to the wasteboard. This doesn’t have to be too accurate because the stock isn’t square, and the outer edge of my wasteboard probably isn’t perfectly parallel to my X axis.
I am careful to hold the stock down as close to the ends as possible, so I can hand-cut the un-milled ends off in order to flip the stock and have it lay flat, surfaced edge against the spoilboard. I use a speed-square to align the X axis of the stock so that the rectangular milling toolpath is roughly going to align to the stock.
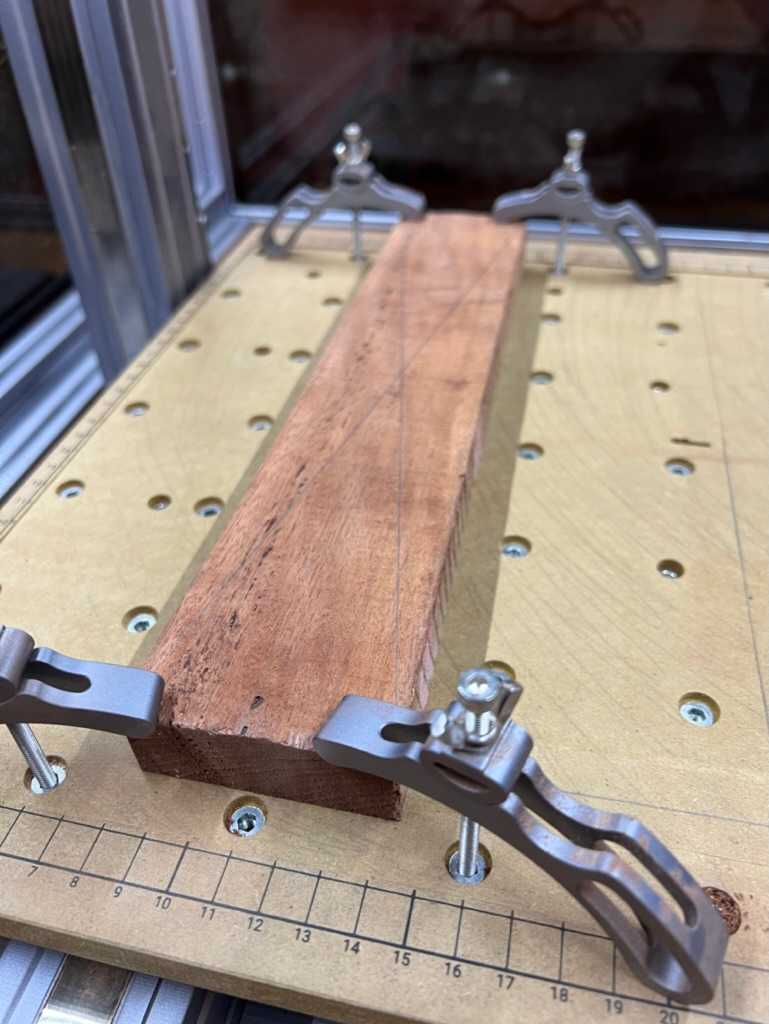 My stock is clamped down, the clamps just nippnig at the corners to leave me maximum cutting area.
Using my caliper, I do a depth measurement from the wasteboard to the top of the unfinished stock. In this case, it’s 23.48mm, so if I zero my Z axis at the wasteboard, go up 24mm (rounding up to the nearest mm), and re-zero the Z axis, I can cut a face exactly 4mm down and the remaining stock will be roughly 20mm thick. Roughly because the surface against my wasteboard is still unfinished.
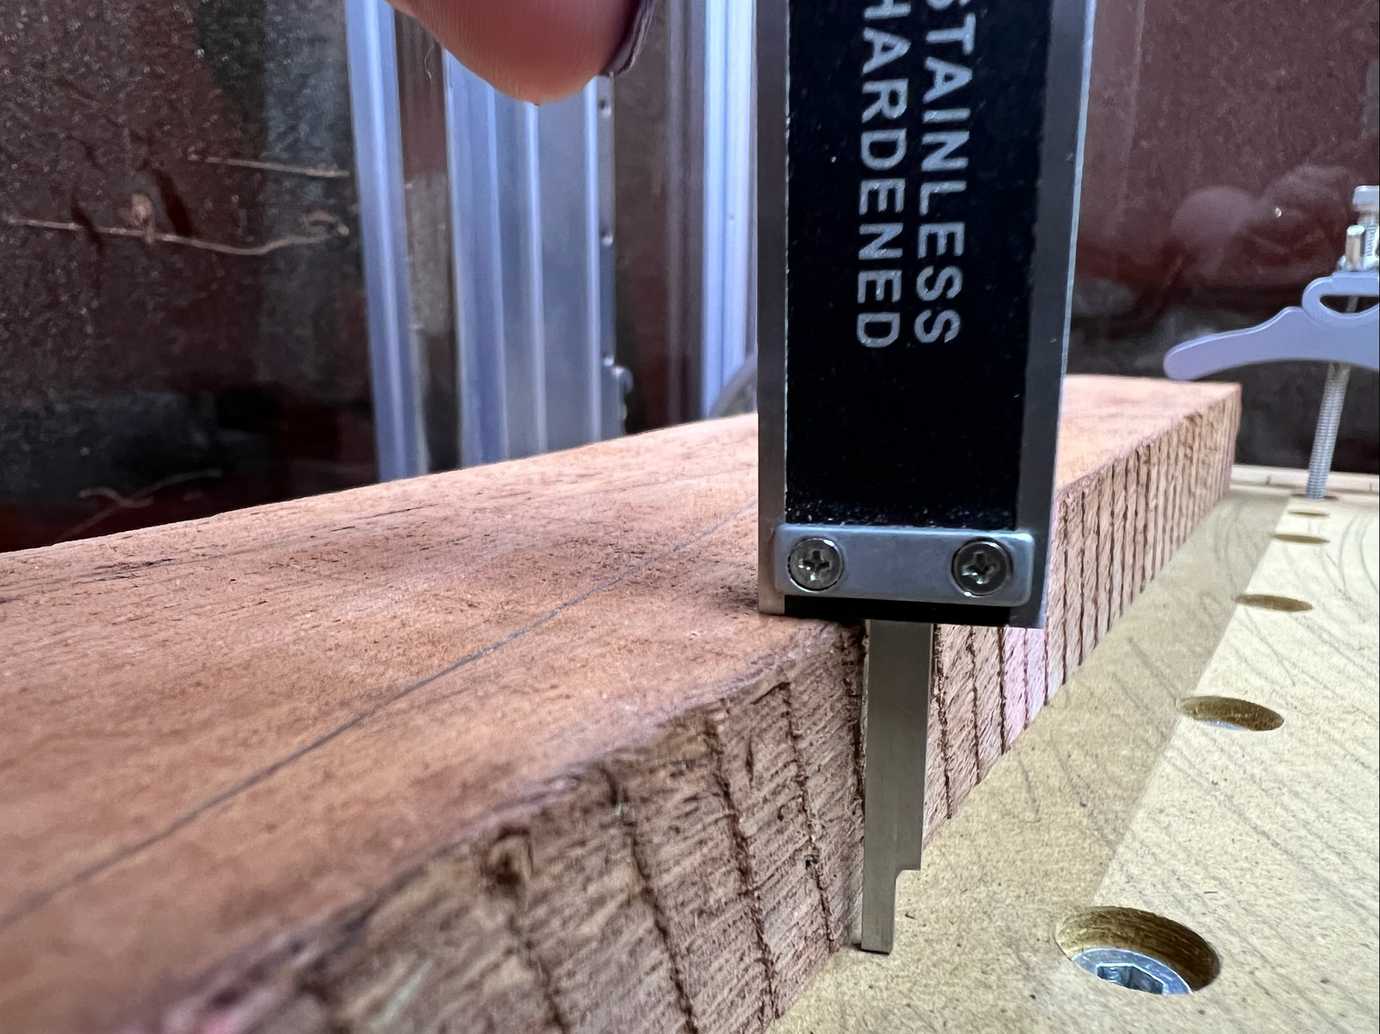 Measuring the height of the stock using the depth gauge on the caliper.
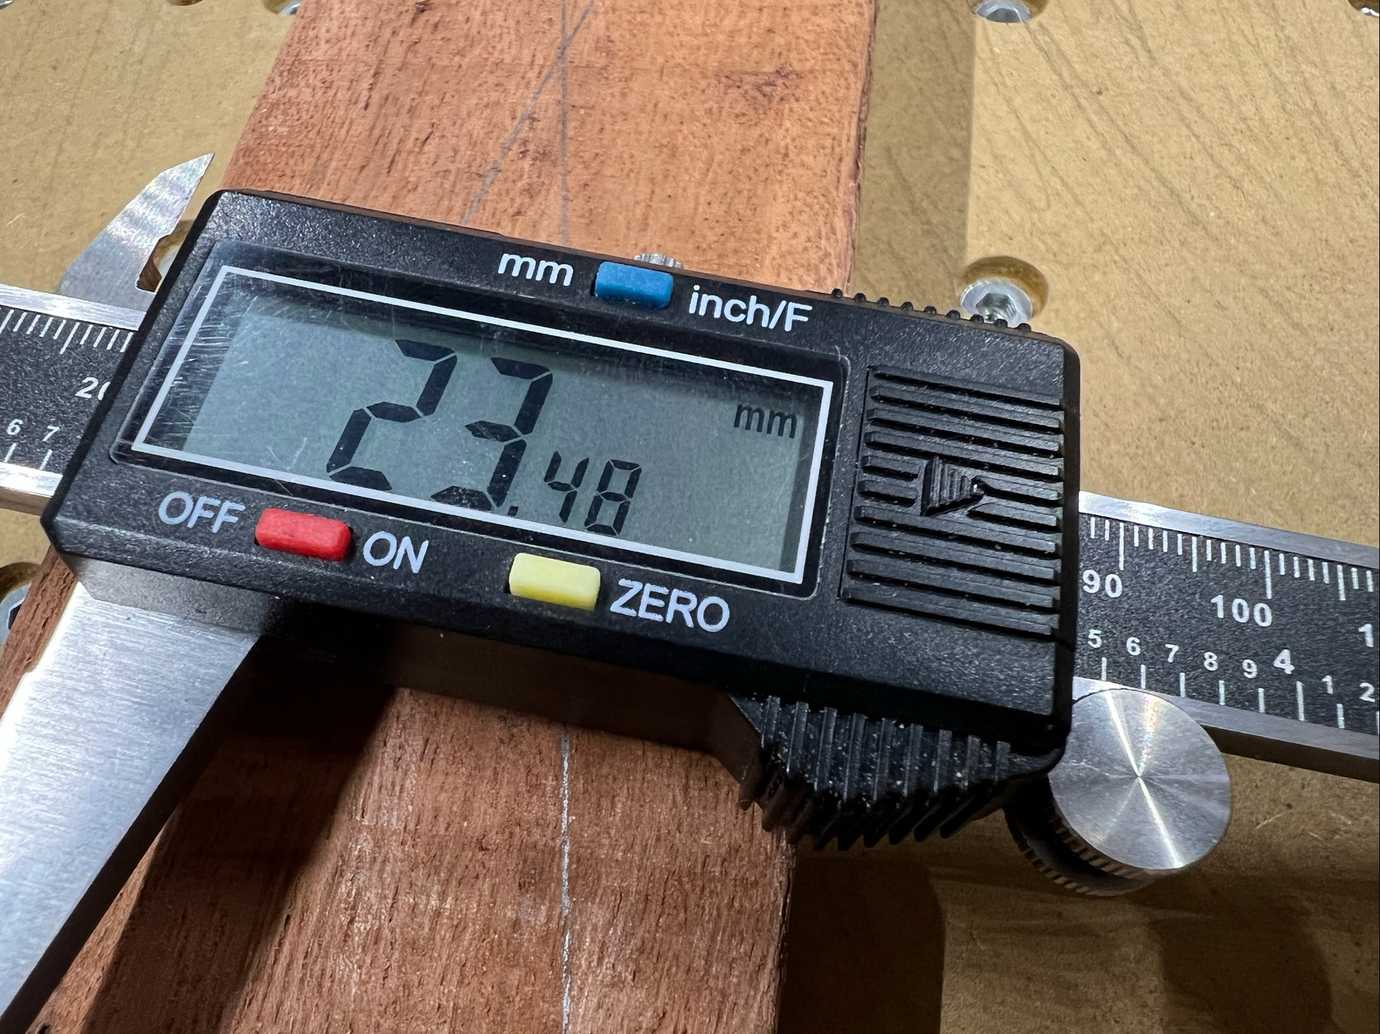 I couldn’t get a picture of the depth gauge and the digital readout at the same time, so I laid down the calipers to get this shot. The depth measured 23.48mm high, give or take, I usually round up to the next mm - I’d rather cut air rather cut too deep on the first pass.
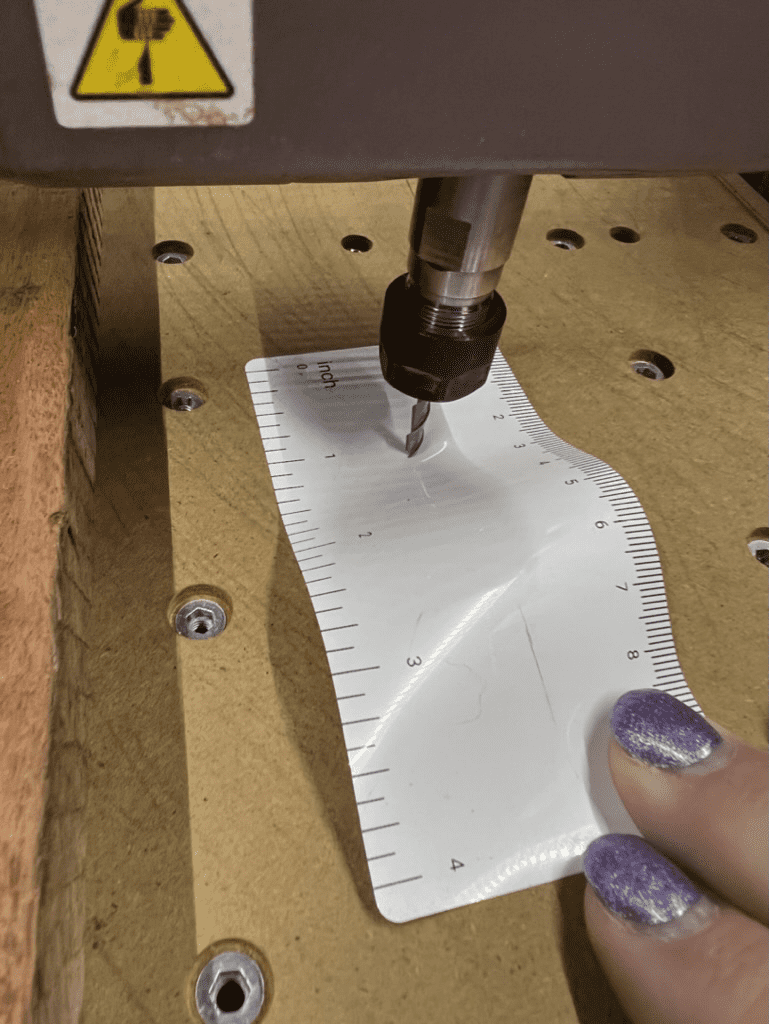 Initially I zero the Z axis at my surfaced wasteboard.
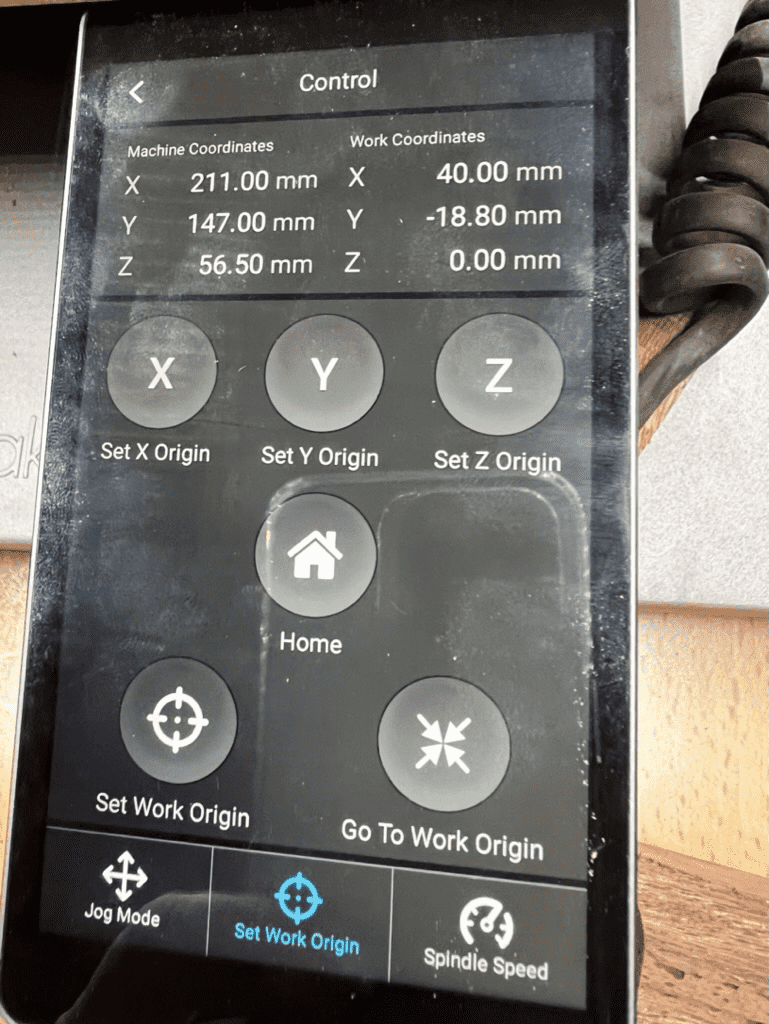 I set the Z origin so that the Word Coordinates shows 0 for Z. It doesn’t matter what the X and Y Work Coordinates are, I’m going to set them in a minute.
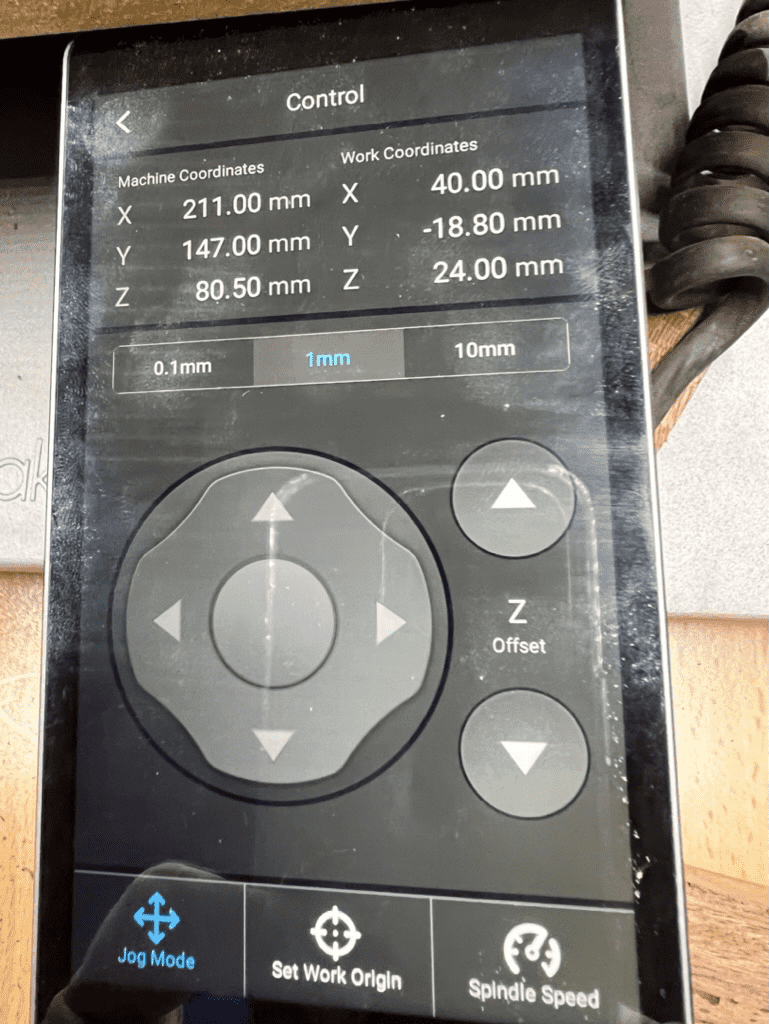 I jog the head up to 24mm for Z, a smidge past 23.48mm, for my real Z origin point. I like to do this because the readout on the machine makes it really clear how high off the wasteboard I am.
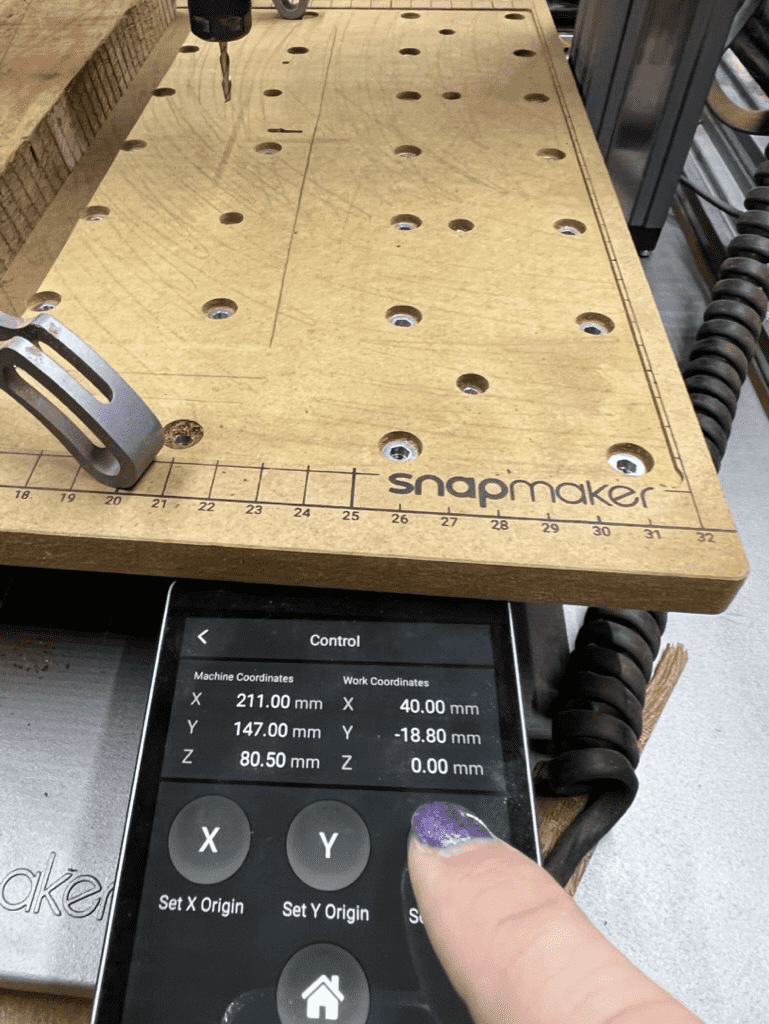 At this point the end of the bit should clear the height of the stock by about half a mm. I set the Z origin again for real.
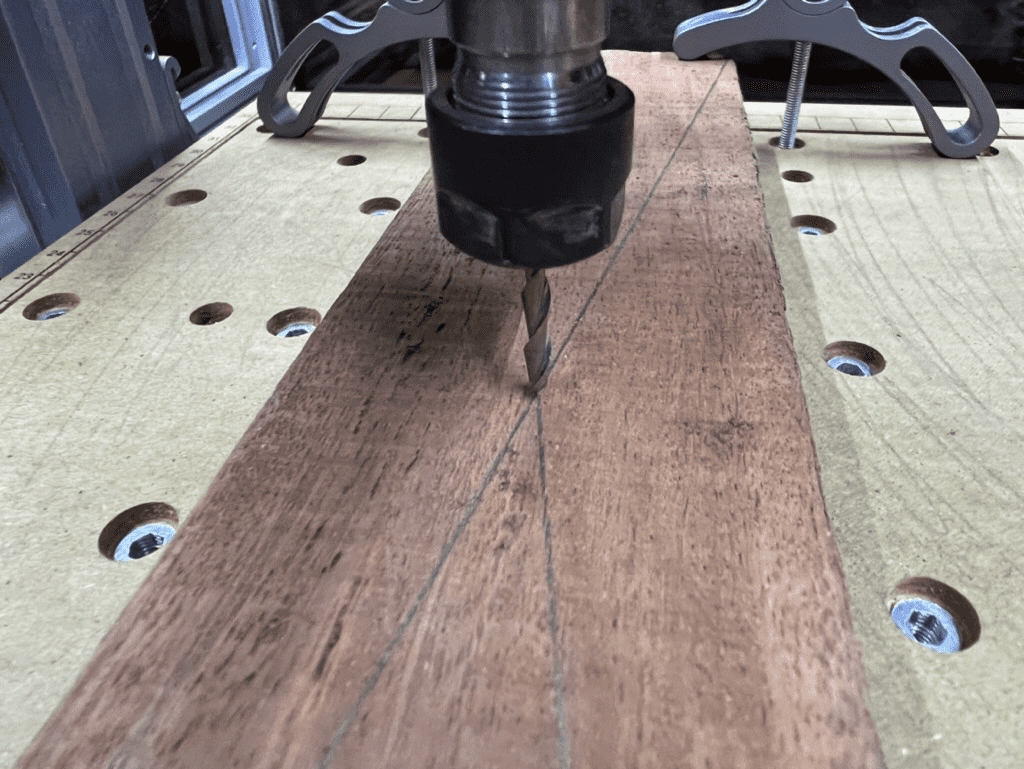 Then I jog over to the centre of the corner-to-corner crosshair I drew on my stock, visually checking fom the front and side of the snapmaker that I’m over the intersection.
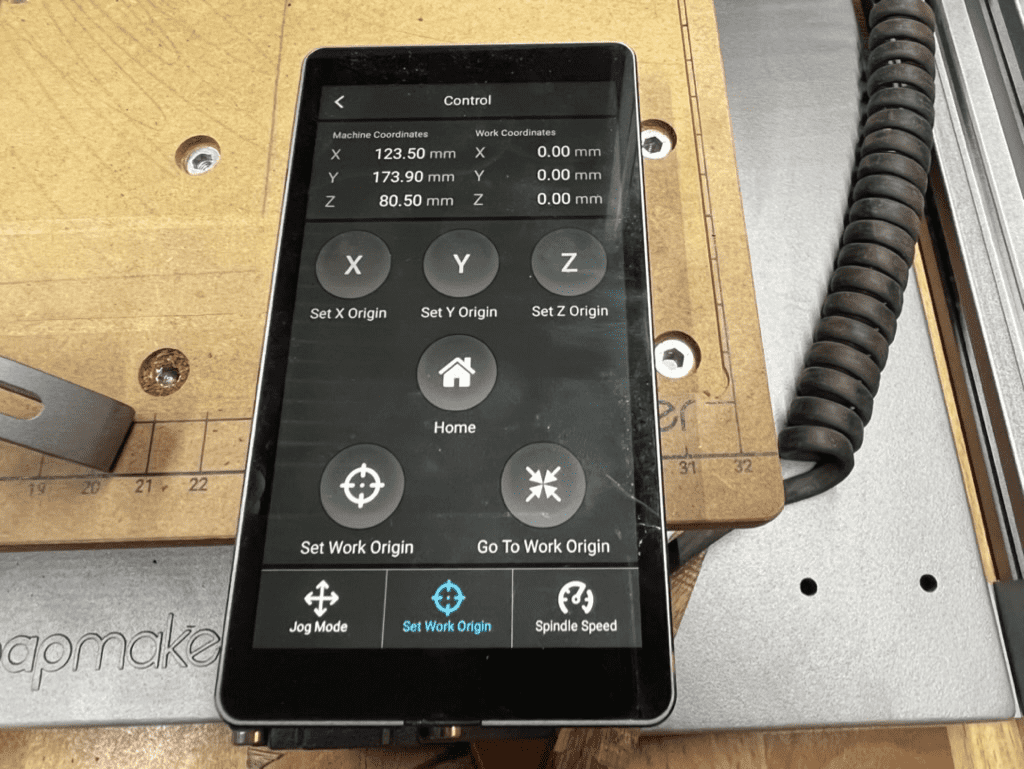 Then I do a full Set Work Origin - see now how all the Work Coordinates on the upper right of the screen are zeroed - this is the origin for my surfacing operation, 24mm above the wasteboard in the centre of my stock.
To generate the milling toolpath, I use a command-line tool I made and released as an open-source project. It is a NodeJS tool, so first install a recent version of NodeJS (v16 is a good one as of the time of this writing) and then you can install cnc-gen like this:
npm install -g cnc-gen
I make no warranty as to the correct functioning of the cnc-gen tool. It might have bugs, break bits, cut incorrectly, or cause any manner of damage to your machine and/or stock. Use at your own risk. Send bug reports, contribute patches, I’ll do my best to update it, but I do not warrant it to work correctly.
I measure the width and height of the surface, estimate how much I want to mill, and then generate the surfacing toolpath, taking care to add a few millimeters to the width, and shorten the height to not hit the clamps.
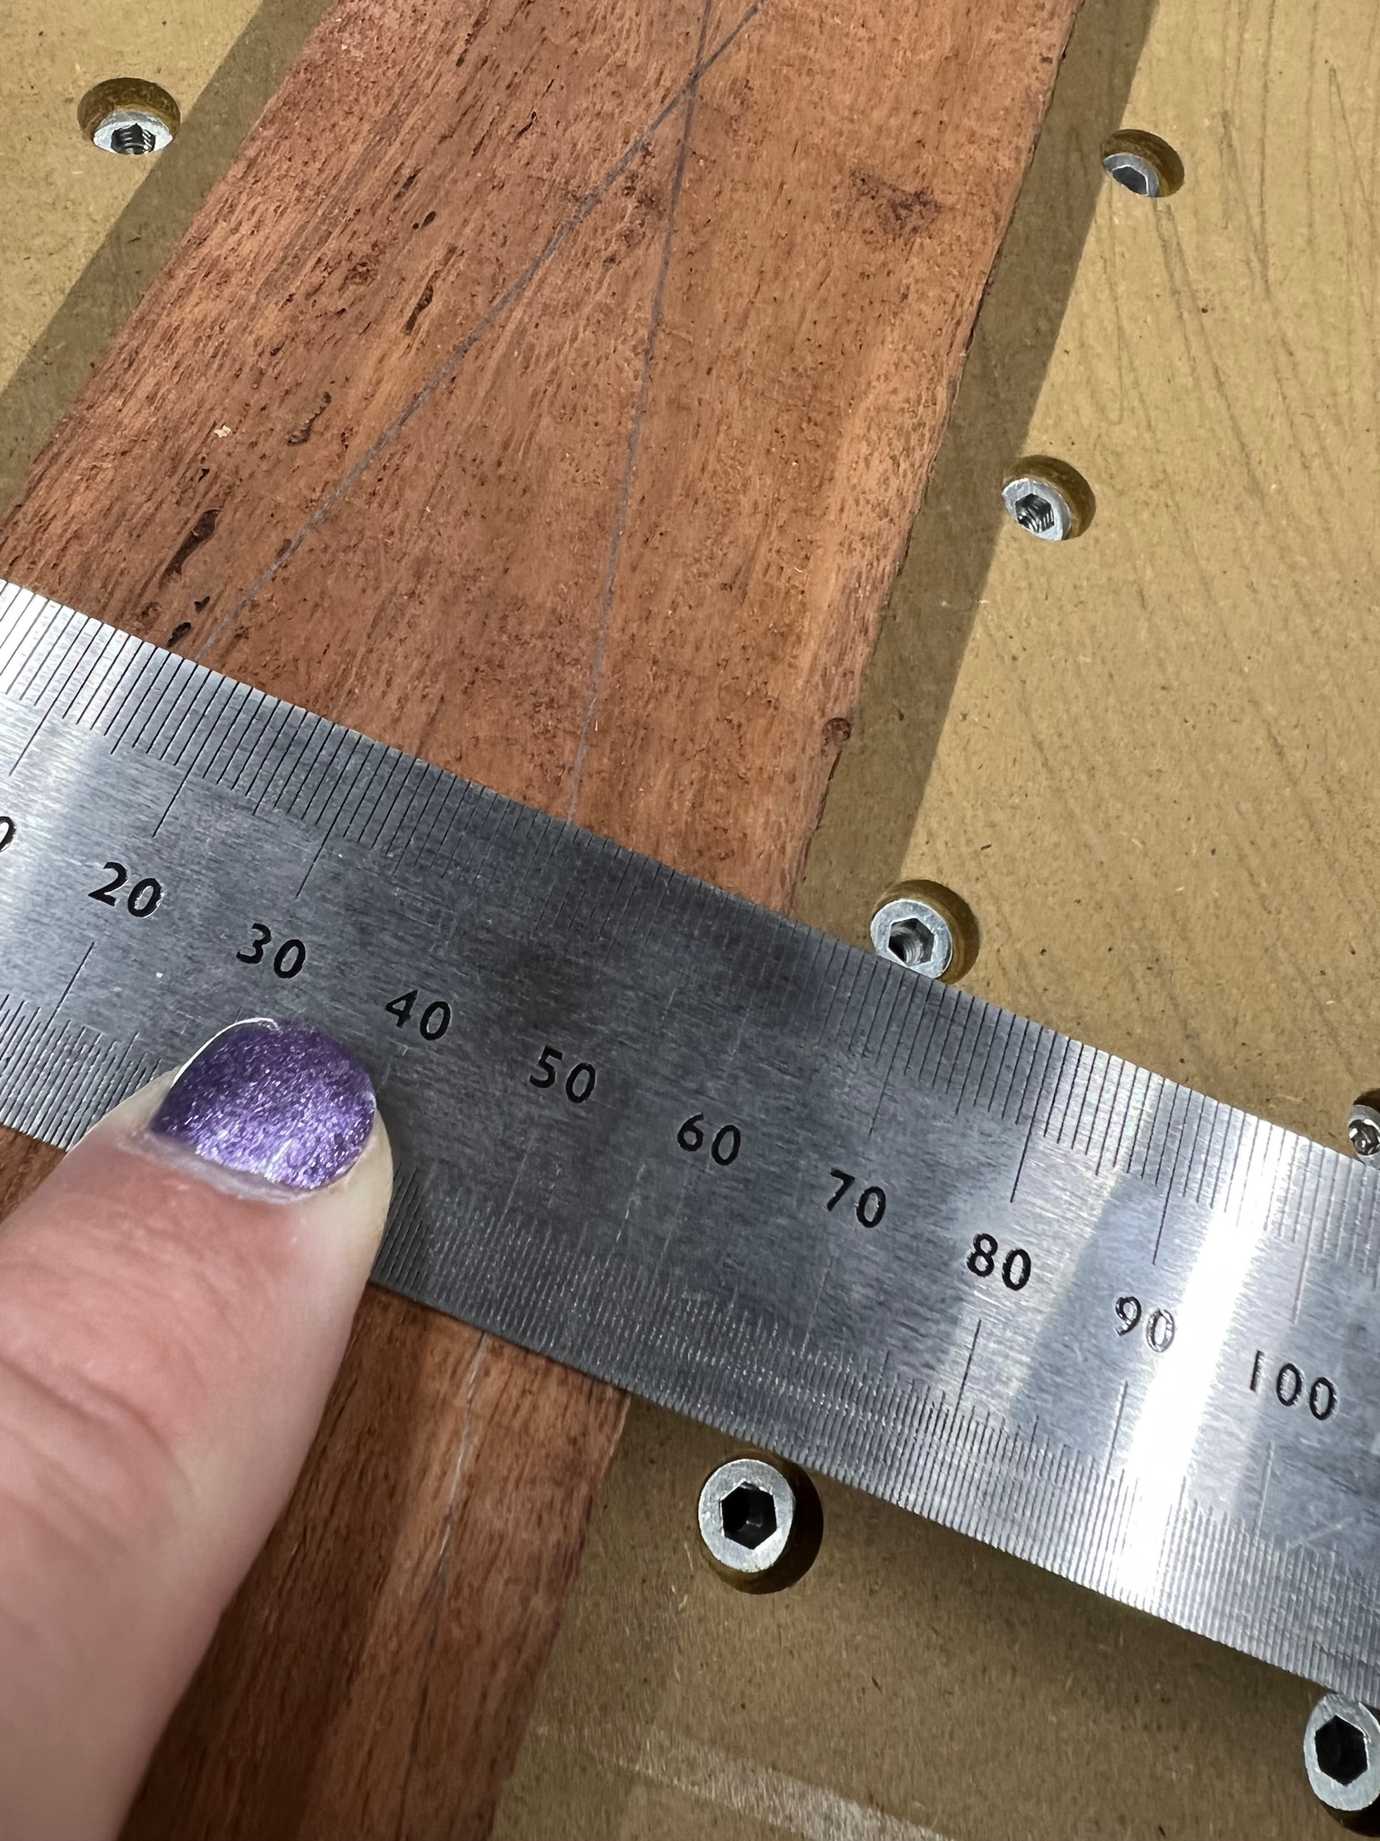 My stock is about 60.5mm on the X axis but I don’t trust that it’s square, so I will round this up a little to 66mm for the milling operation.
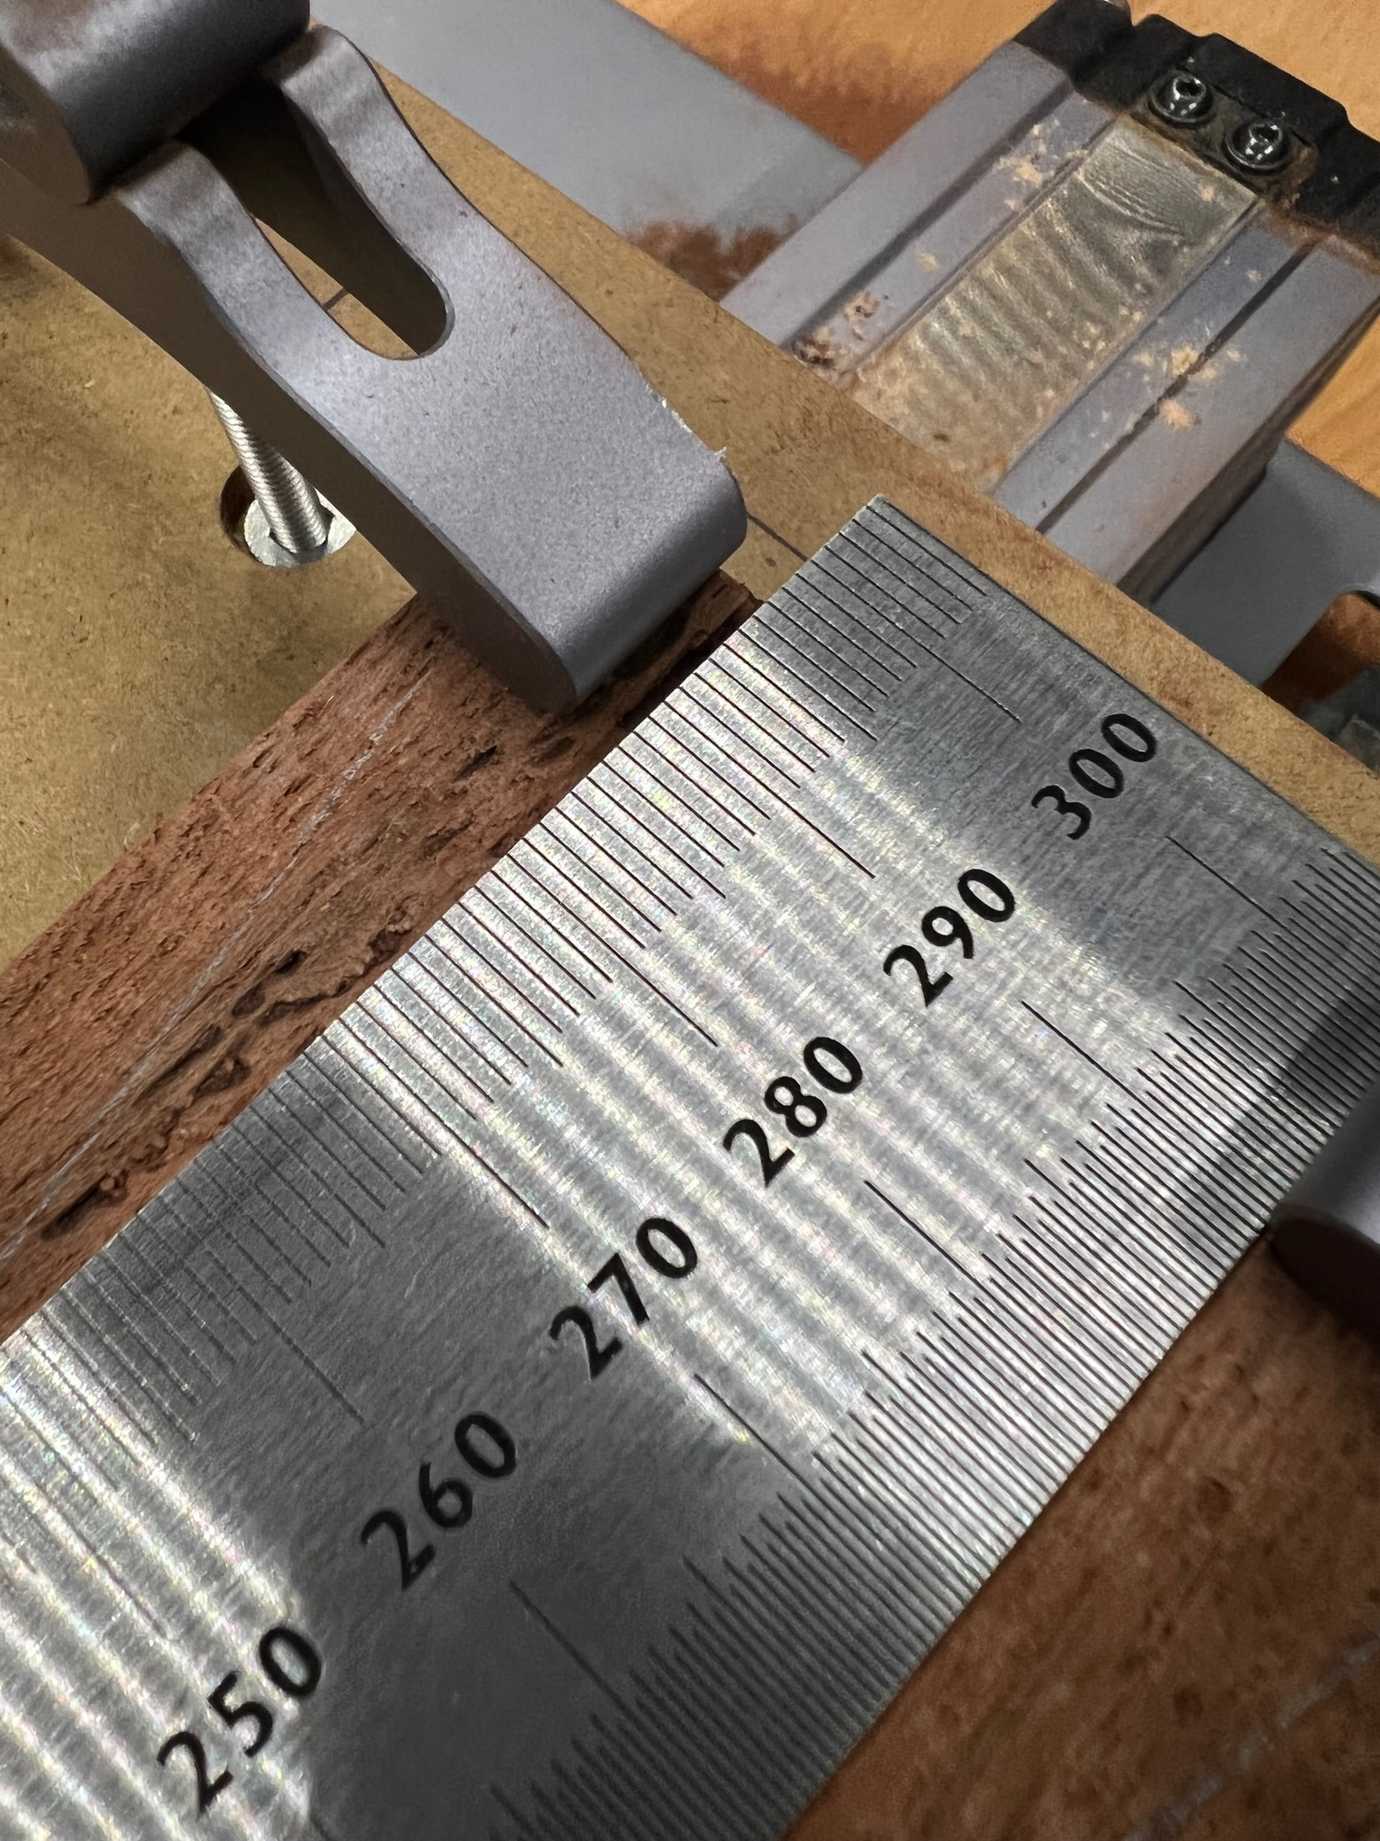 My stock is about 297mm long on the Y axis, but I need to make sure I don’t hit the clamps so I’ll reduce the size generously to 260mm.
The pencil tray design is 50.8mm x 203.2mm, so if we surface 66mm x 260mm, we will have lots of clearance for clamps and cutting out the silhouette when we flip it around to cut the top.
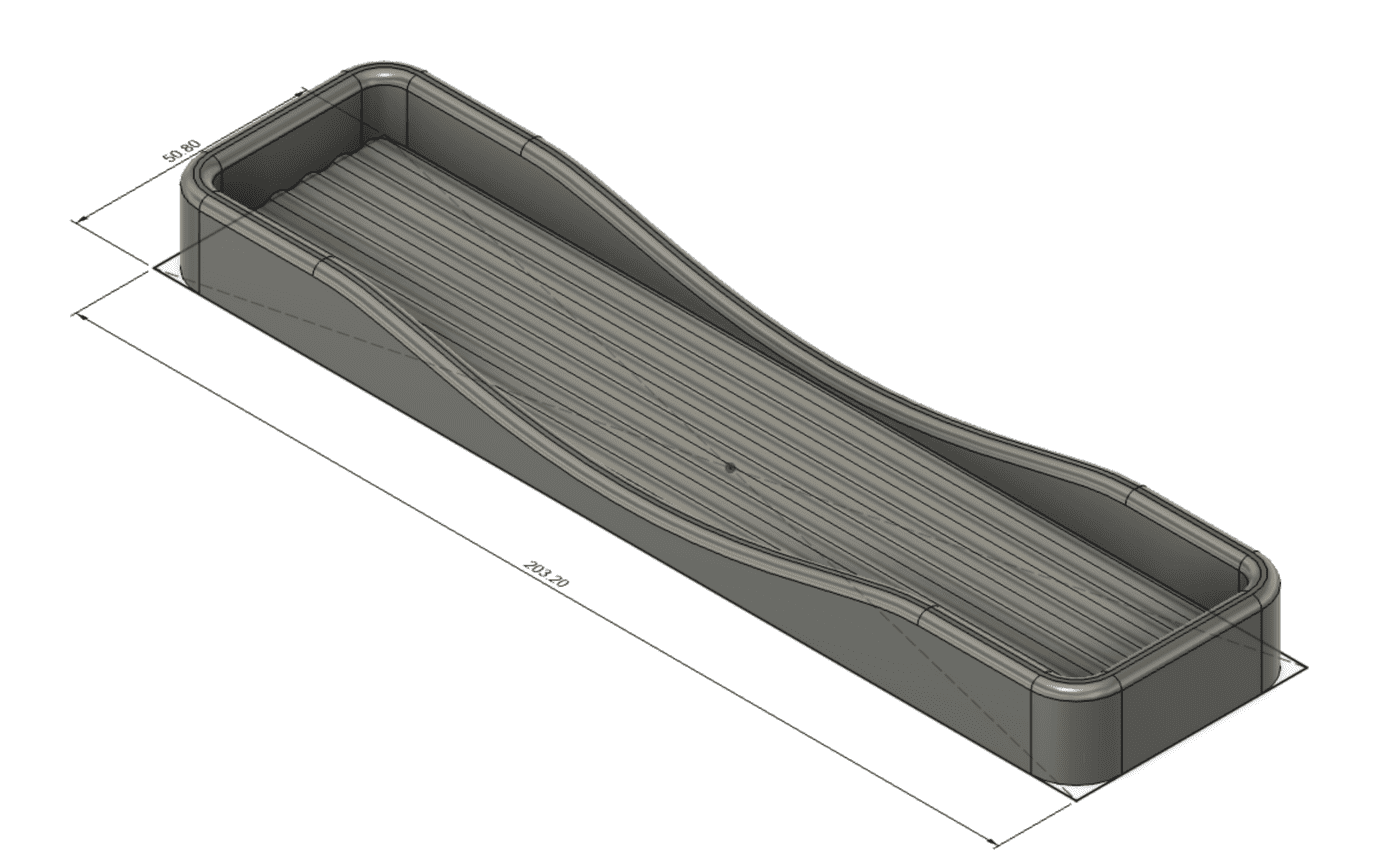 My design in Fusion 360 is 50.8mm x 203.2mm.
My stock on this run is African Padauk, a moderately hard wood. I’ll use a 0.5mm stepdown (cuts 0.5mm per pass), and a 1mm stepover (cuts with about 1/3 of the flat-end milling bit diameter per horizontal pass), and generate all the surfacing passes to a depth of 4mm (remember I homed at 24mm above the wasteboard, so surfacing down 4mm will stop 20mm above the surface of my wasteboard). The cnc-gen tools assume a default work speed of 400mm/m and uses the machine’s default “Rapid Move” jog speed which I think is 3000mm/m.
cnc-gen-face -w 66 -l 260 -v 1 --stepDownRate 0.5 -z 4.0 -o penciltray-bottom.cnc
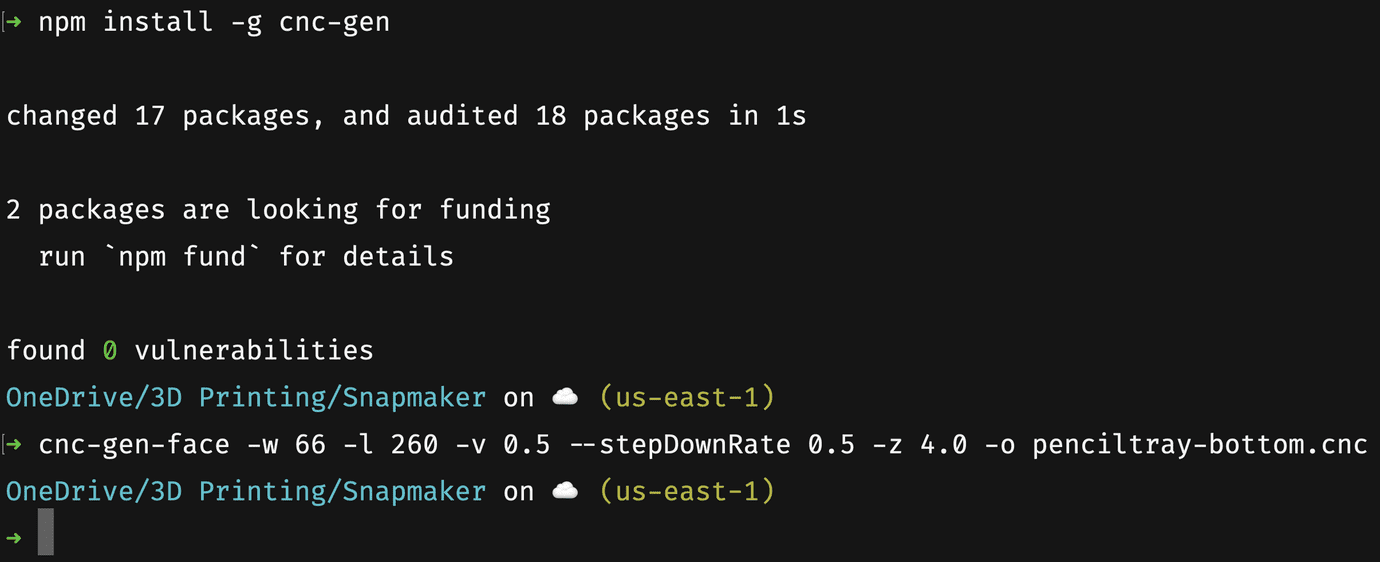 My output from installing the cnc-gen tool and generating the surfacing toolpath, I’m on a Mac so your output may be a little different - just make sure you have a recent version of NodeJS installed
This cnc-gen command will generate g-code that will surface 66mm x 260mm with the origin in the centre, where we have homed the machine.
Loading the penciltray-bottom.cnc g-code into Luban, I check that it looks as it should., and send the file to the Snapmaker.
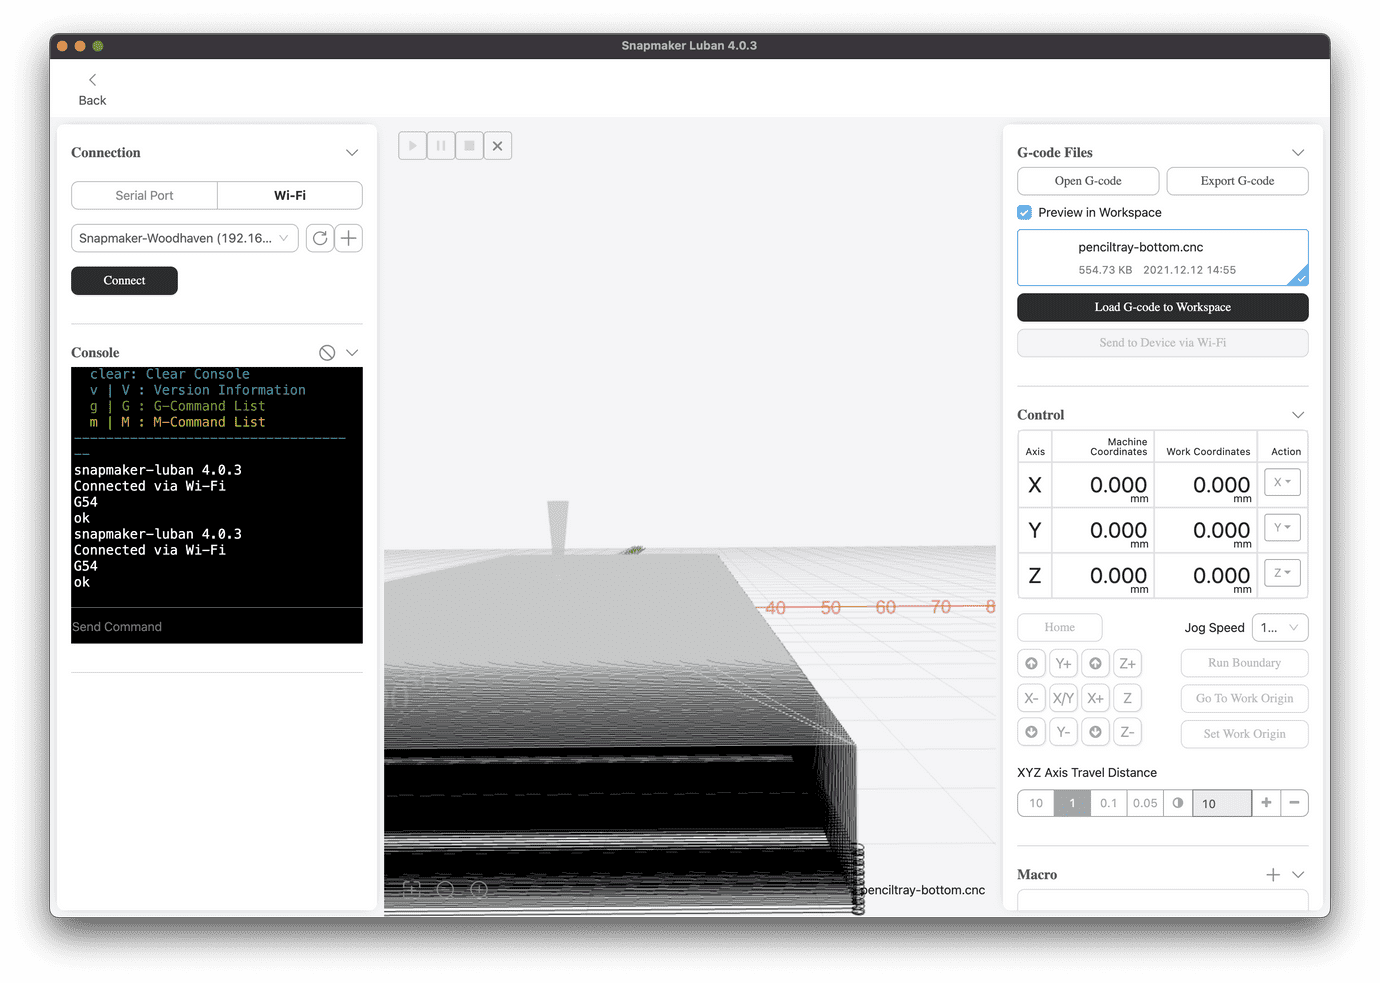 Luban screenshot, showing loaded g-code for the surfacing operation, you can see on the right edge where it helixes down for each 0.5mm stepdown pass. When you click Connect on the left, the “Send to Device via Wi-Fi” button becomes available on the right to send it to your Snapmaker.
Then, on the Snapmaker, I disconnect my computer, go to Files, choose the penciltray-bottom.cnc file, and go through the prompts.
Before starting the operation, I jog the Snapmaker tool about 30mm above the piece to clear the clamps, and run a boundary check, making sure it won’t run into them as it surfaces the stock. I always like to double check.
When I first did this, I’d accidentally mixed up the width and the height when I generated the surfacing path. I didn’t really notice it in Luban, but I sure noticed it when I ran the boundary check!
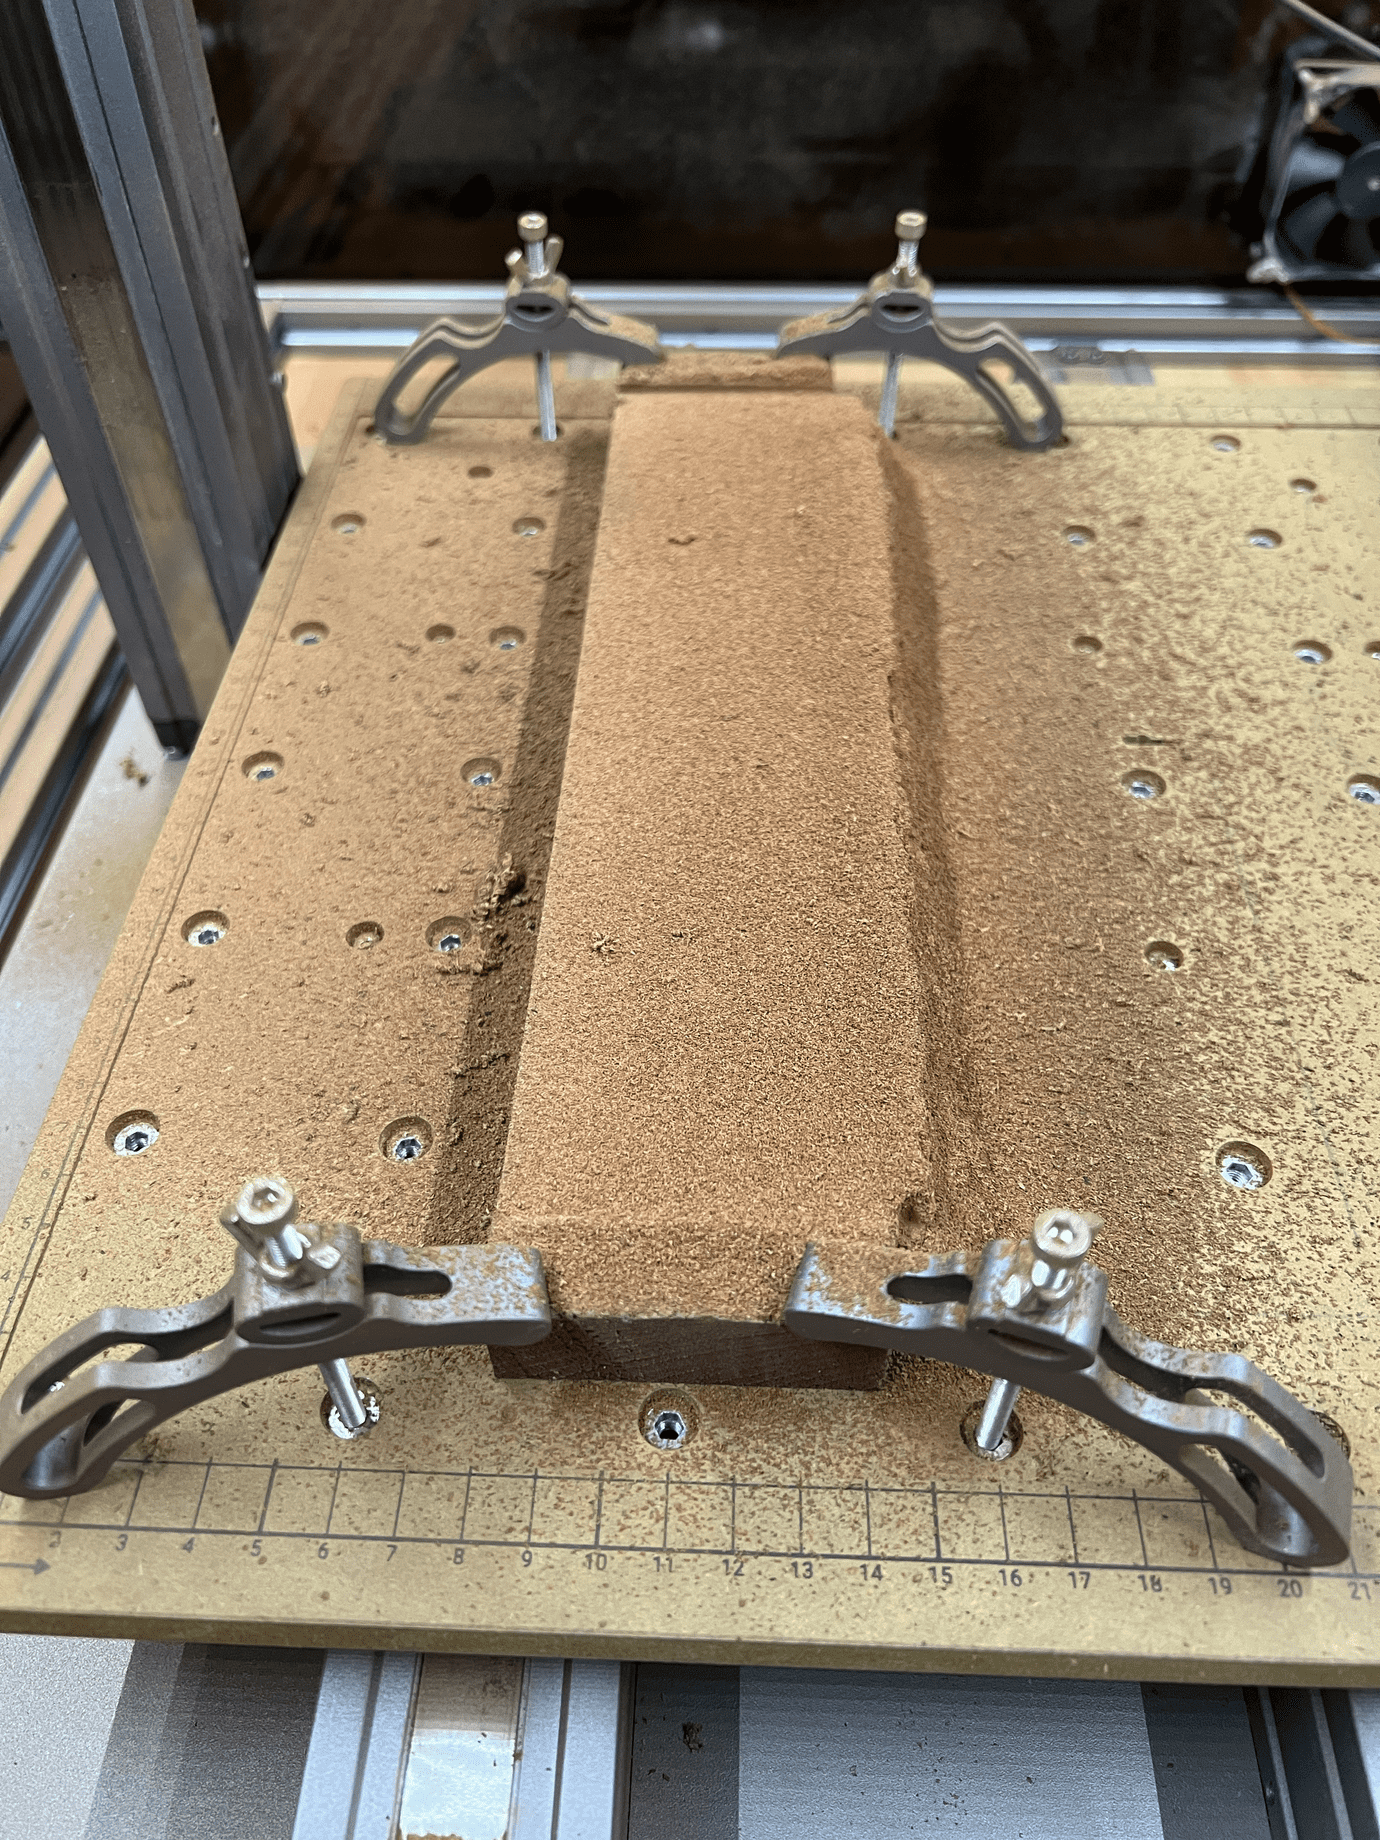 After the surfacing operation. A little vacuuming is in order.
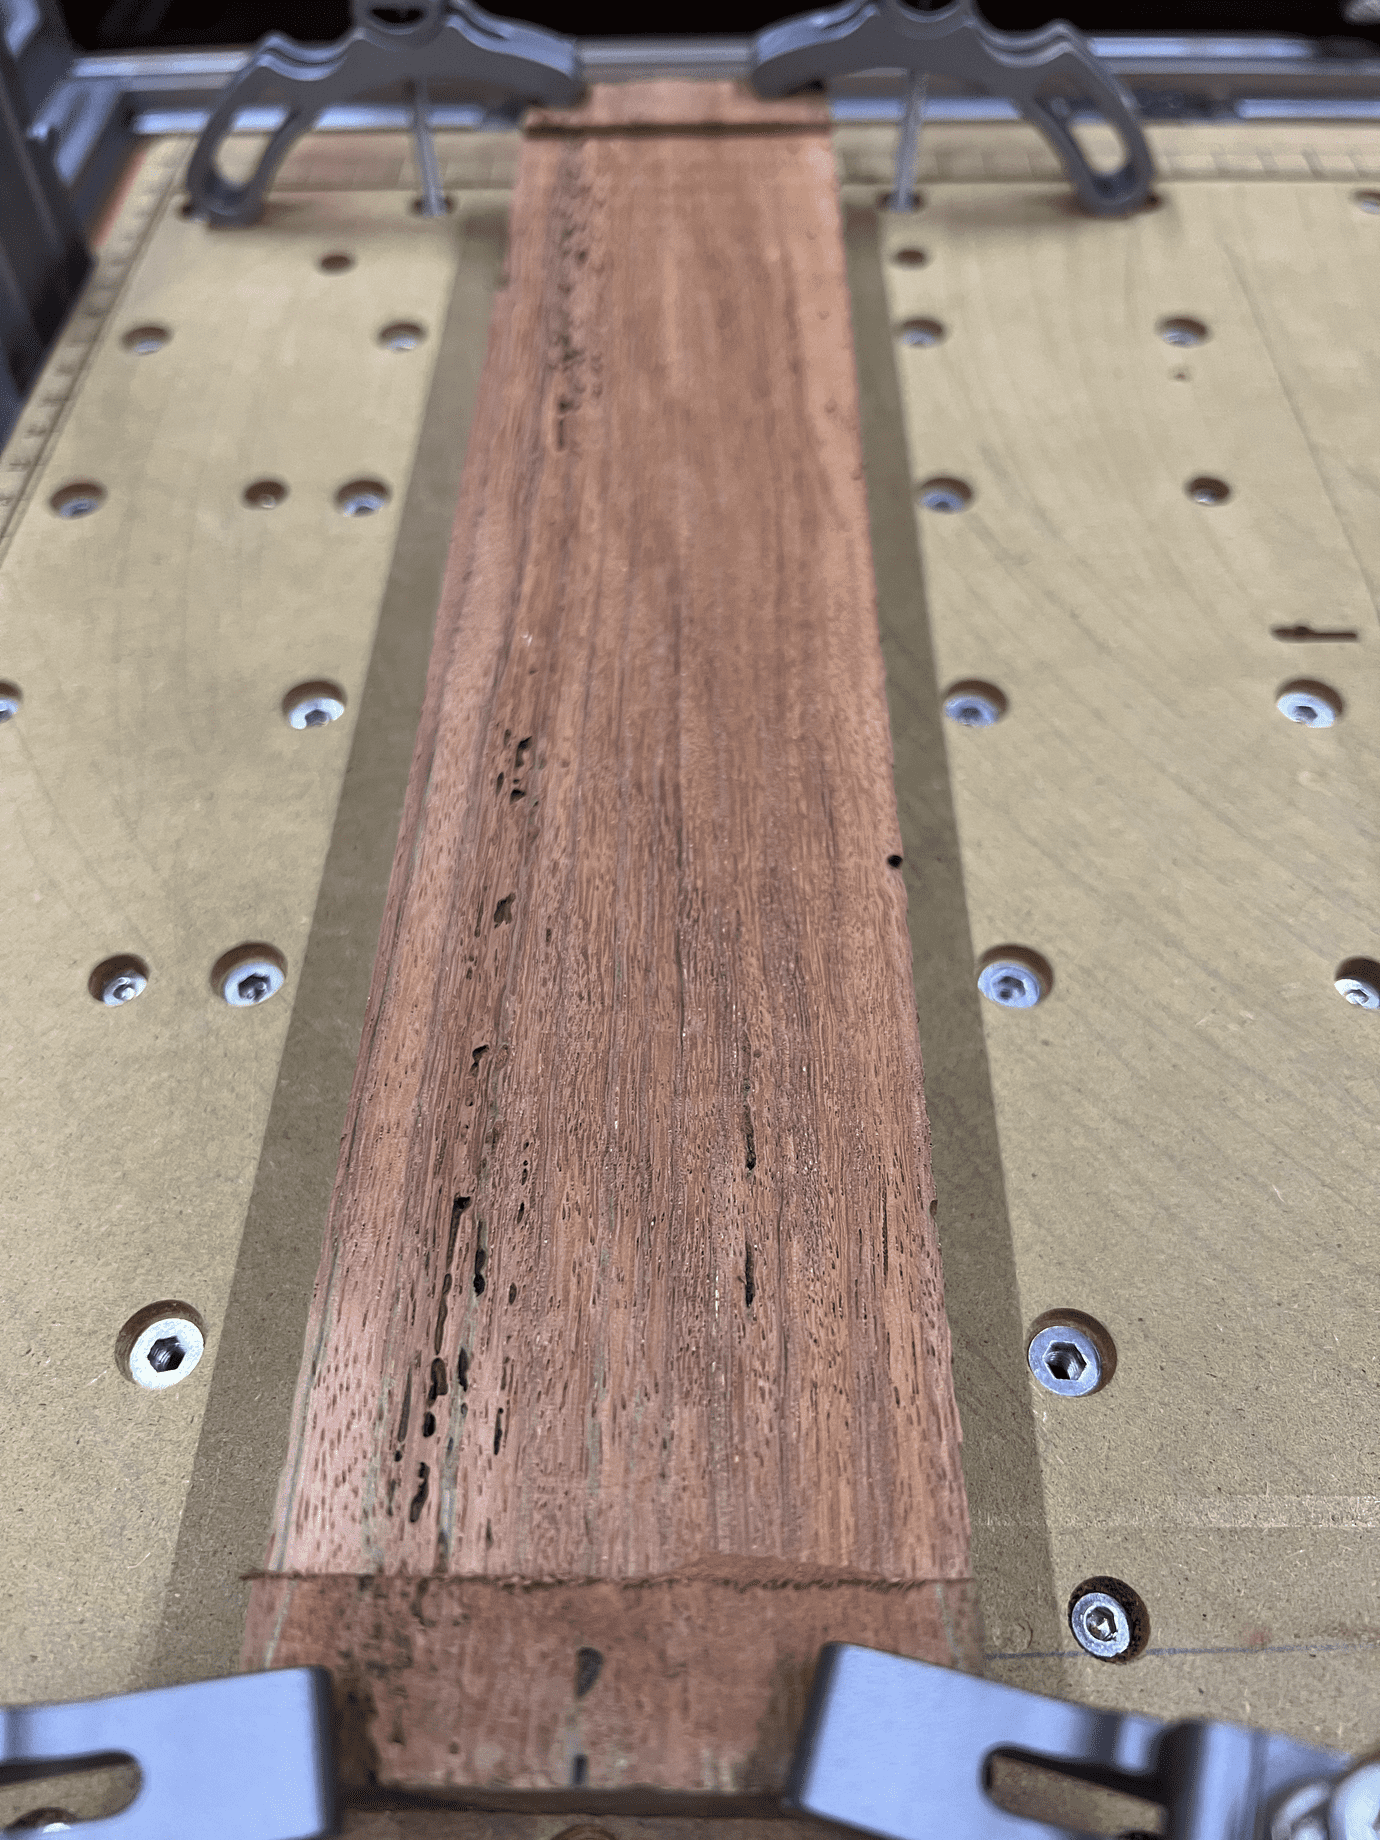 Perfectly surfaced, I love the pitting and character of this stock!
Measure wasteboard to top of stock to illustrate 20mm height.
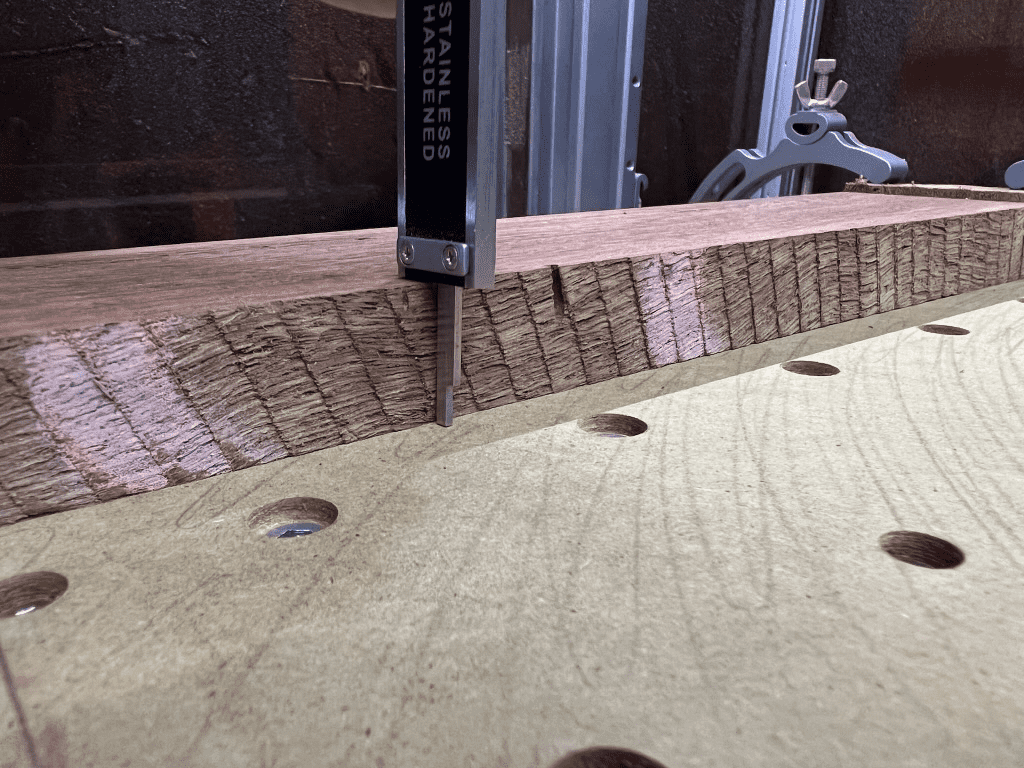 Measuring the height of the stock after surfacing.
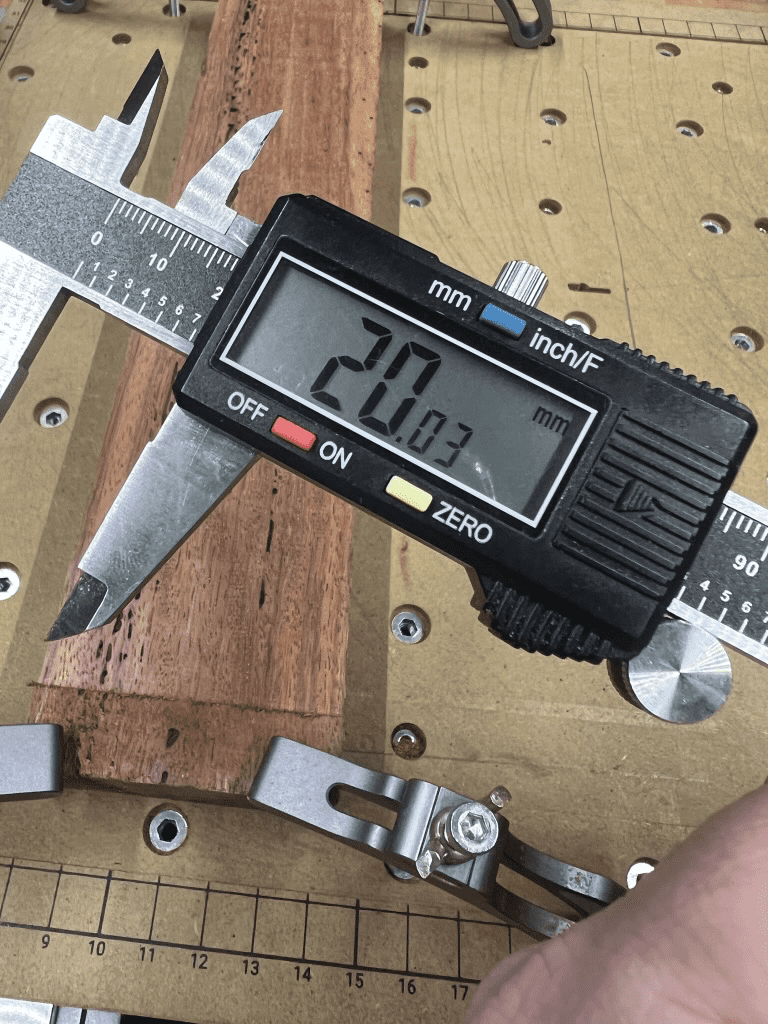 Almost perfect!
4. Trim Unmilled Stock
With the top surface milled, cutting the unmilled bit off each end lets us sit the finished surface right against the surfaced spoilboard.
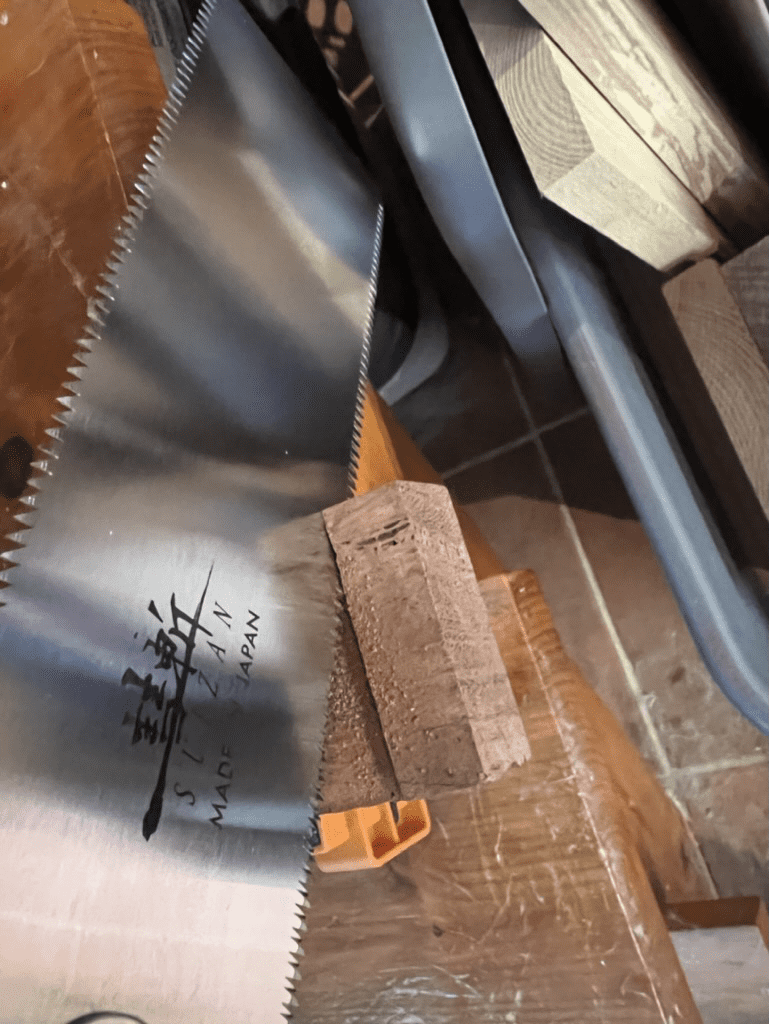 Forgive my makeshift workbench (the stairs leading down to my studio), trimming off the unmilled ends where the clamps were holding.
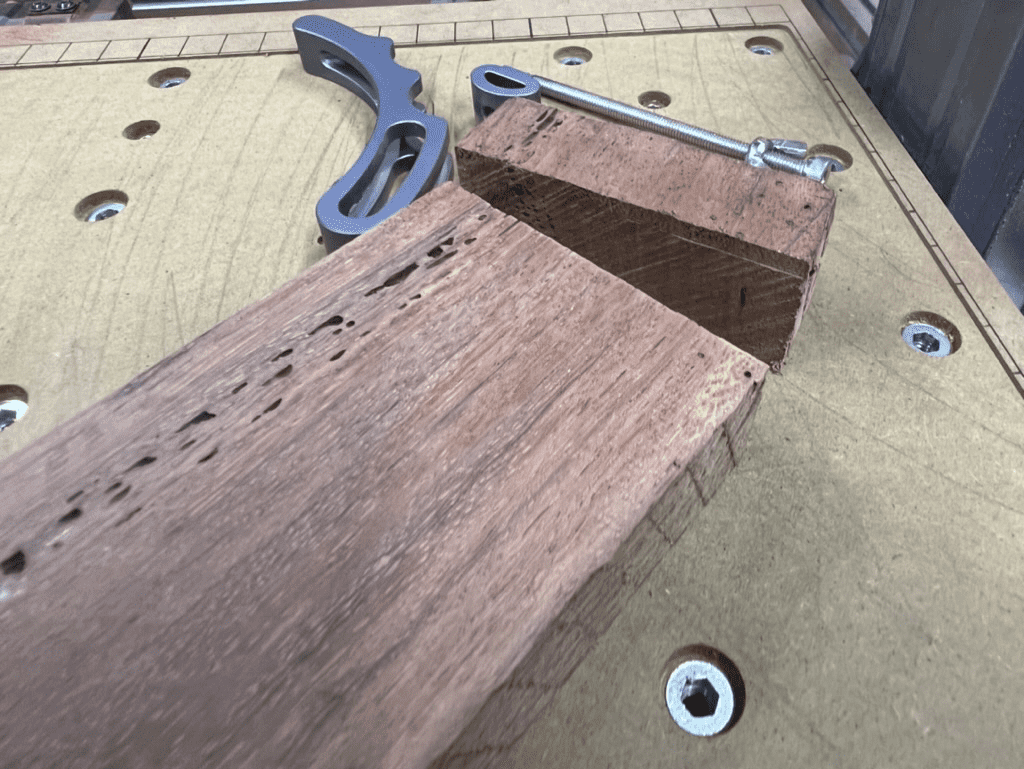 Nicely trimmed, the whole stock is now 20mm high, with one flat milled face to go against the spoilboard.
5. Top Toolpaths
Now it’s time to mount the stock, milled side down, so that we can start running the CNC toolpaths for the top of the pencil tray.
Because the piece was re-mounted, the new mounting position shifted the X and Y for the centre of the piece, so we’ll have to re-home it. We can also move the Z home down 4mm from 24mm off the wasteboard to 20mm, the new height of the stock. I scored the stock with diagonal lines to find the new X-Y centre.
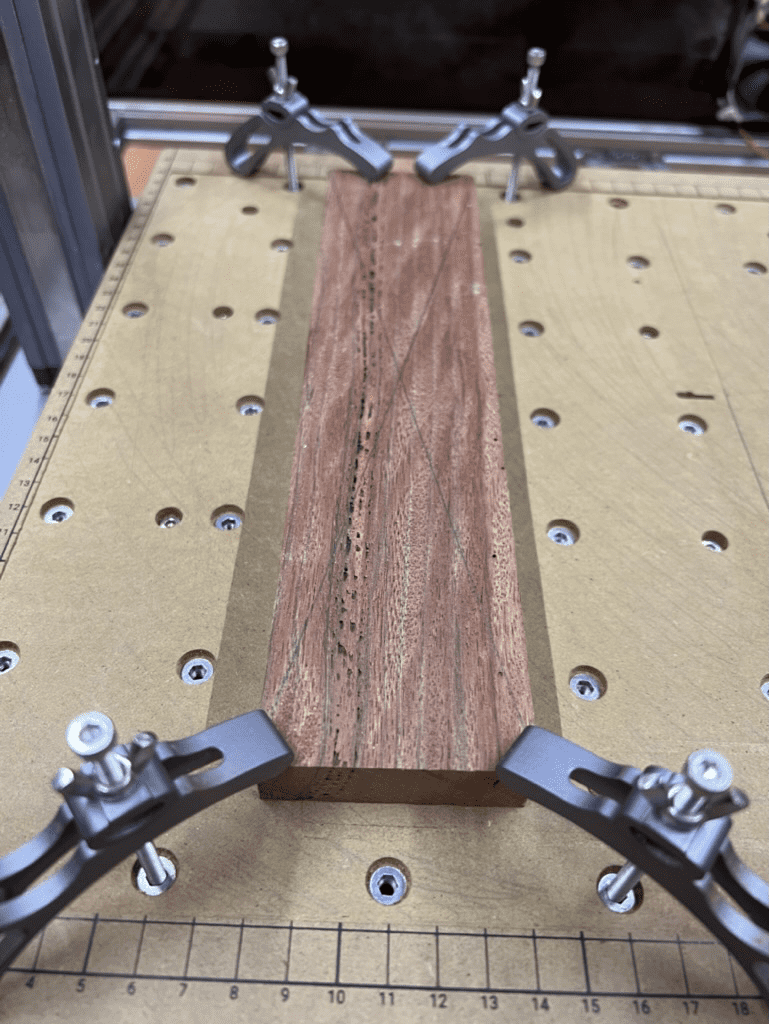 The trimmed stock, fastened down, with diagonal lines to set the X and Y work origin against.
Then I moved the Z position down to -4mm to set the new Z work origin. I raised it an extra mm so I wouldn’t accidentally bump the stock, and then found the intersection of the two diagonal lines in order to set the X and Y work origin.
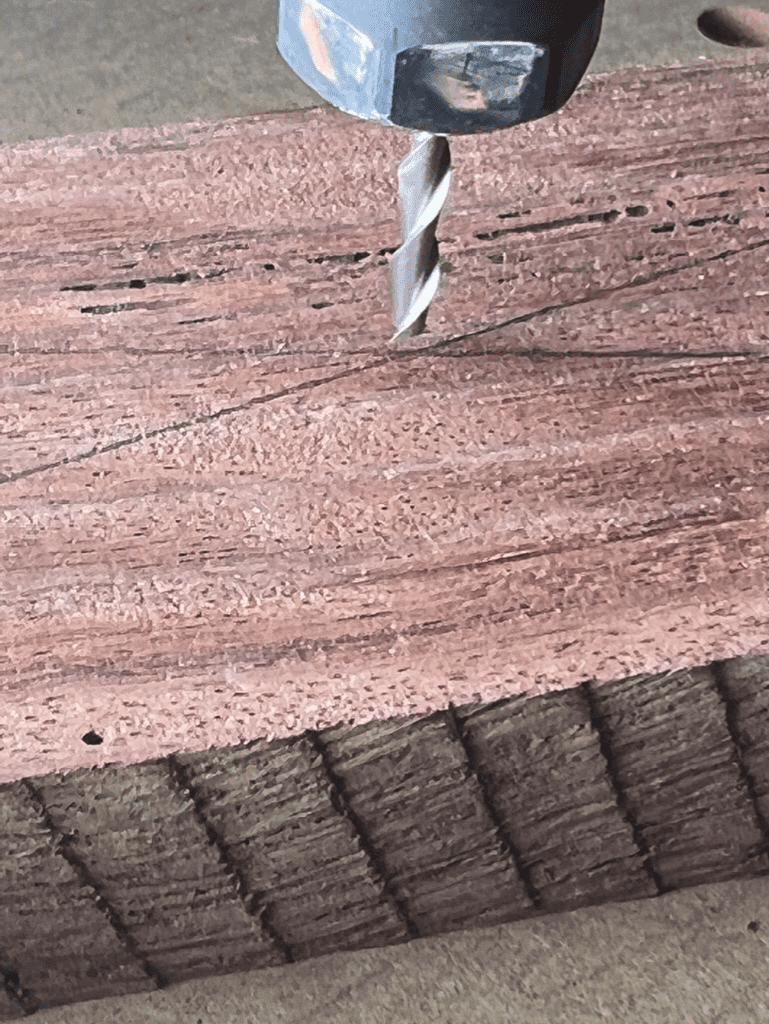 Re-setting the X and Y work origin.
Now in Fusion 360, I go to the Manufacture area where I’d previously created the Setup for the stock way back in Step 1 above.
6. Rough Clearing Pass
At this point, it’s time to change the machine over to use the ball-nose end mill. I like the ball-nose end mill because it’s great at rough clearing and also my model has lots of rounded edges, so it means I get fewer sharp lines in the finished piece.
I change the bit, and because the amount of bit protruding from the collet has likely changed, re-set the Z origin with the bit against the top of the stock.
It’s good to use a roughing pass to clear the majority of material, but leave behind a little so that you can cut the last bit off more conservatively with a fine pass afterwards.
For my rouging pass, I’m using the ball-nose end mill, and the 3D Adaptive Clearing operation in Fusion 360. My settings are below.
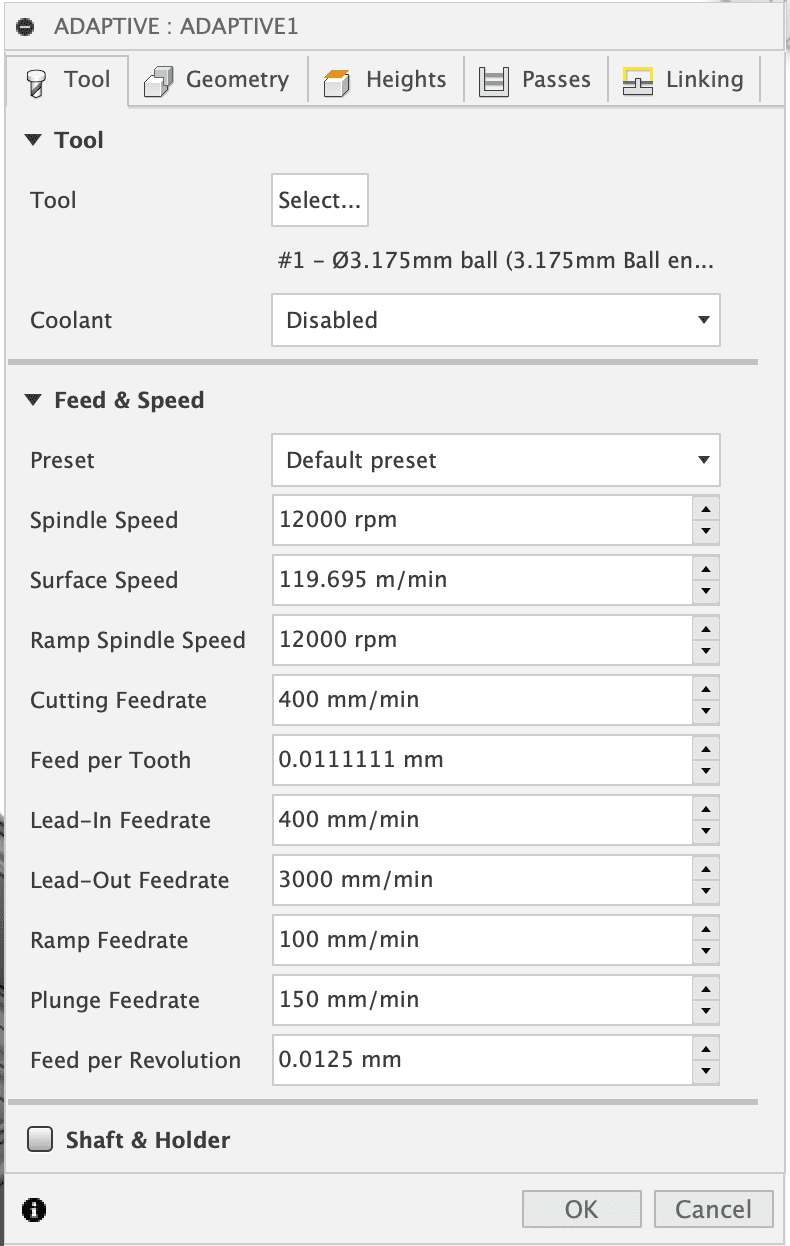 I make sure to select the 3.175mm ball end mill in the tool library that I imported from Snapmaker. I leave the rest of the settings at their default on the Tool tab, including the 12,000 rpm spindle speed.
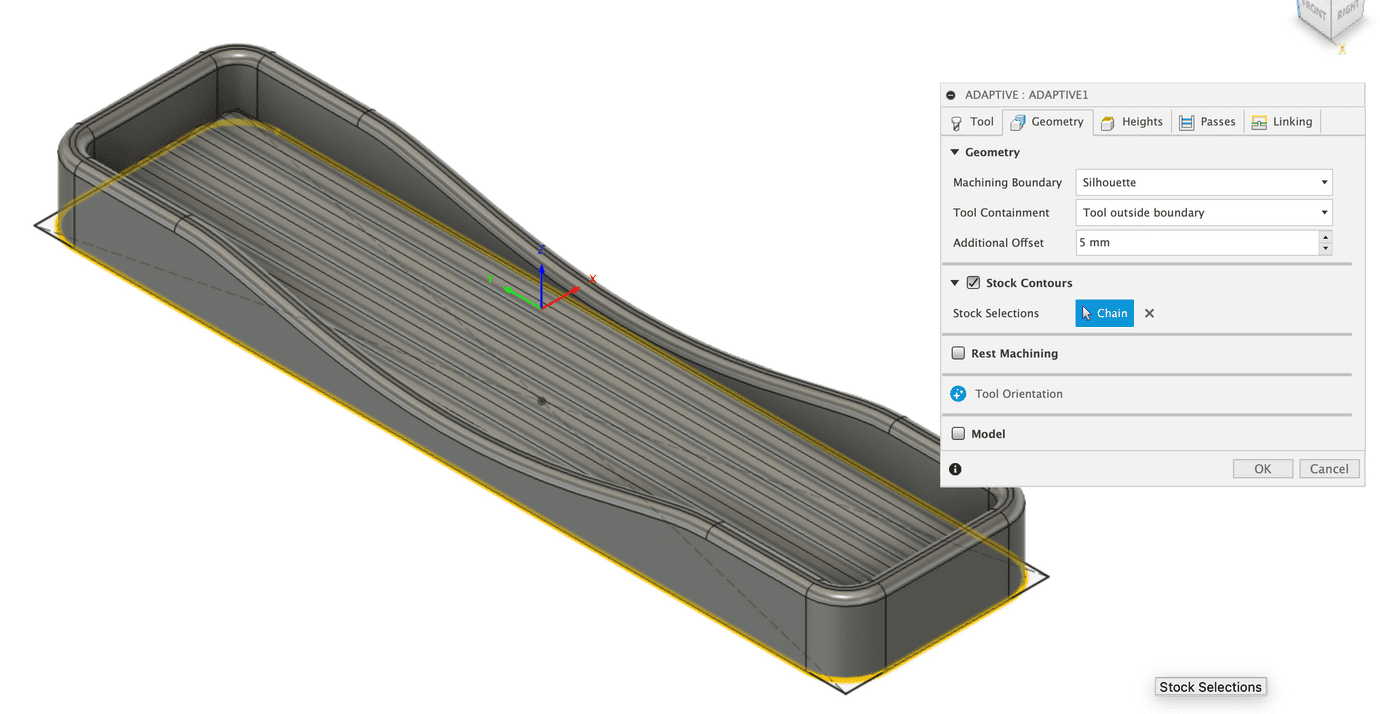 For the Geometry tab, I select Silhouette and then click the bottom edge of the pencil tray, which highlights in yellow. I set Tool Containment to Tool outside boundary because I want it to carve the whole outside edge of the rounded shoulders, and I am not sure why but I also tend to add an additional offset of 5mm.
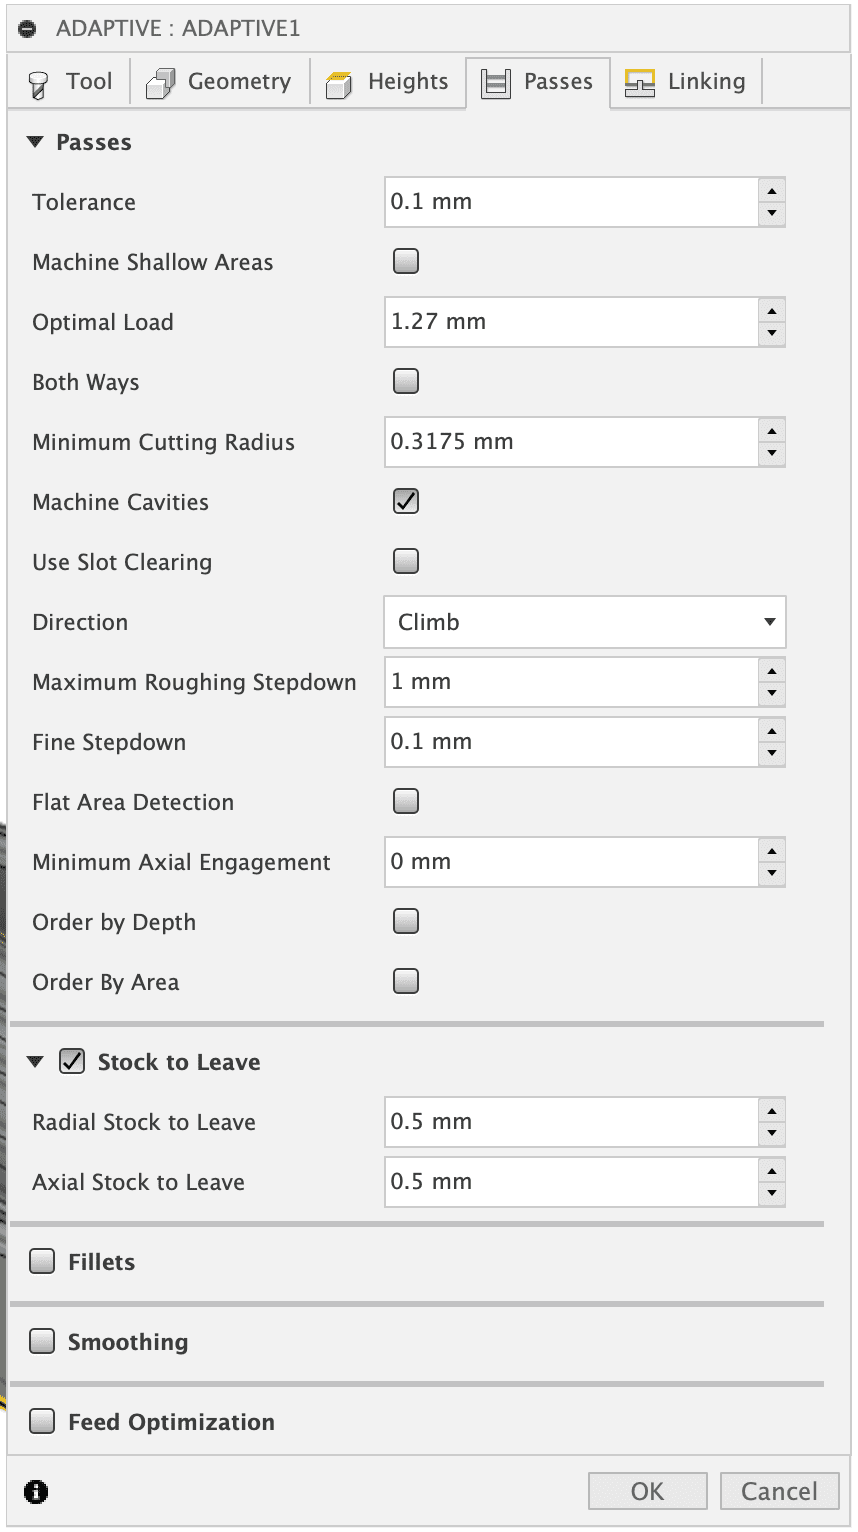 For the Passes tab, I leave most of these at their defaults, but I take care to set the Maximum Roughing Stepdown to 1mm, and to check “Stock to Leave” and make sure it leaves 0.5mm to carve away for the fine pass.
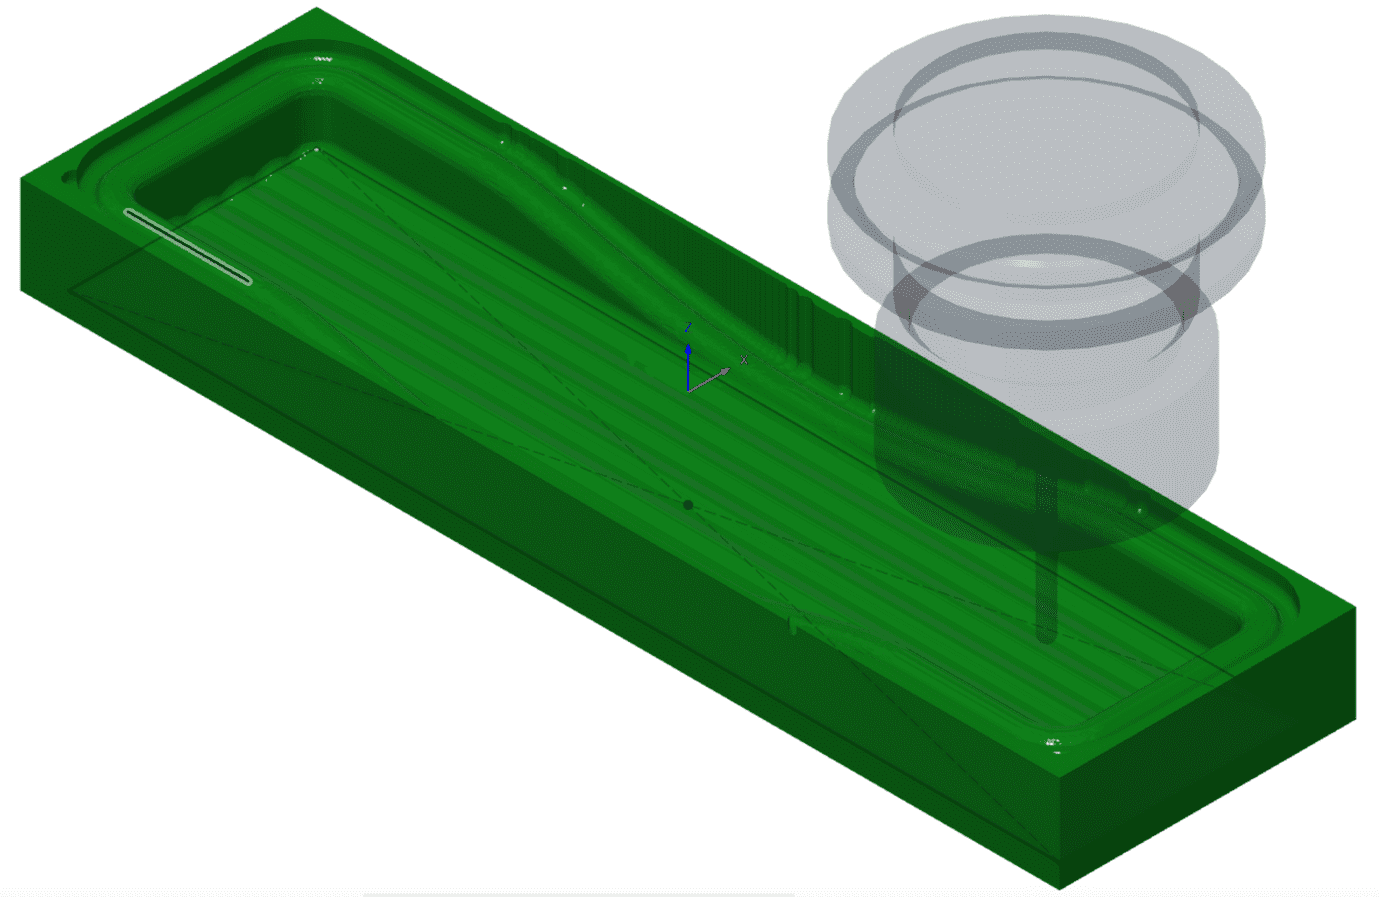 Once Fusion 360 has generated the toolpath, I like to check it to verify what stock material will be cleared away in this rough pass.
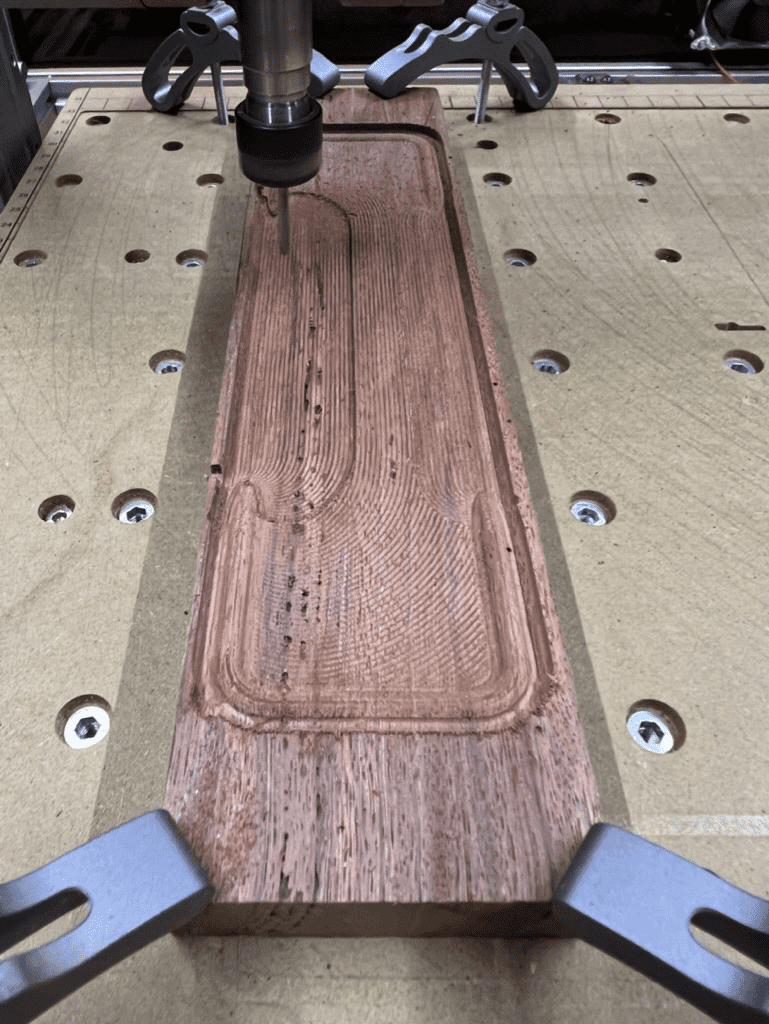 You can see a bit of ridging from the 1.27mm Optimal Load setting, which works to maximize the amount of stock removed per pass in order to help the roughing pass go as quickly as possible.
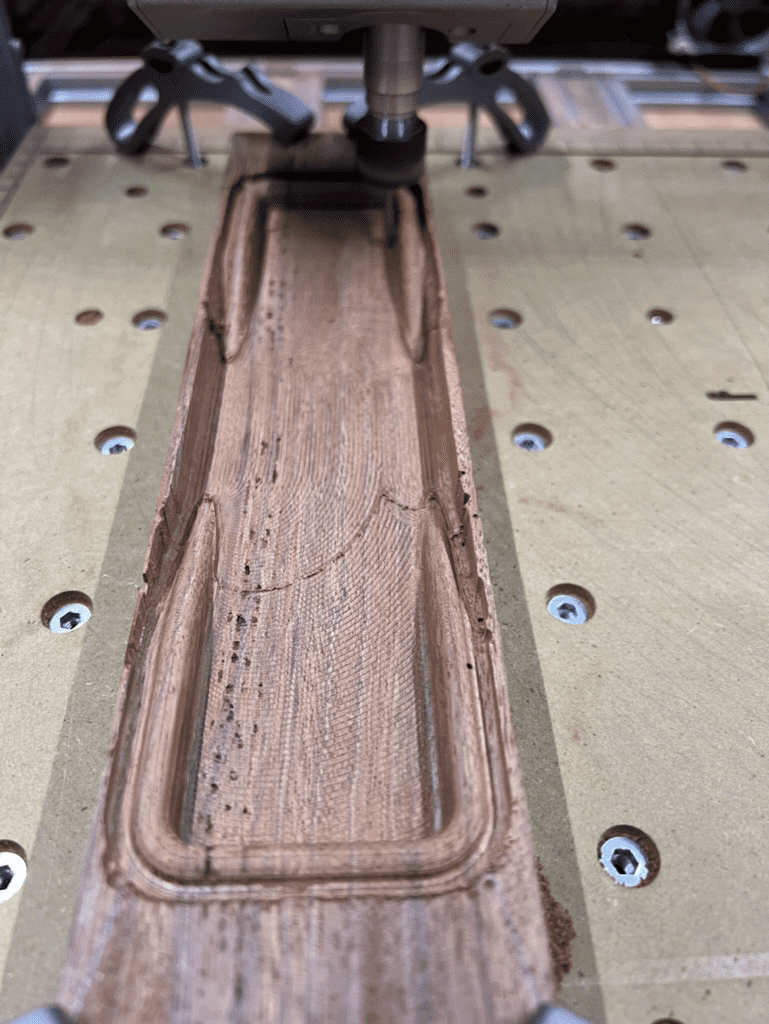 Mostly through.
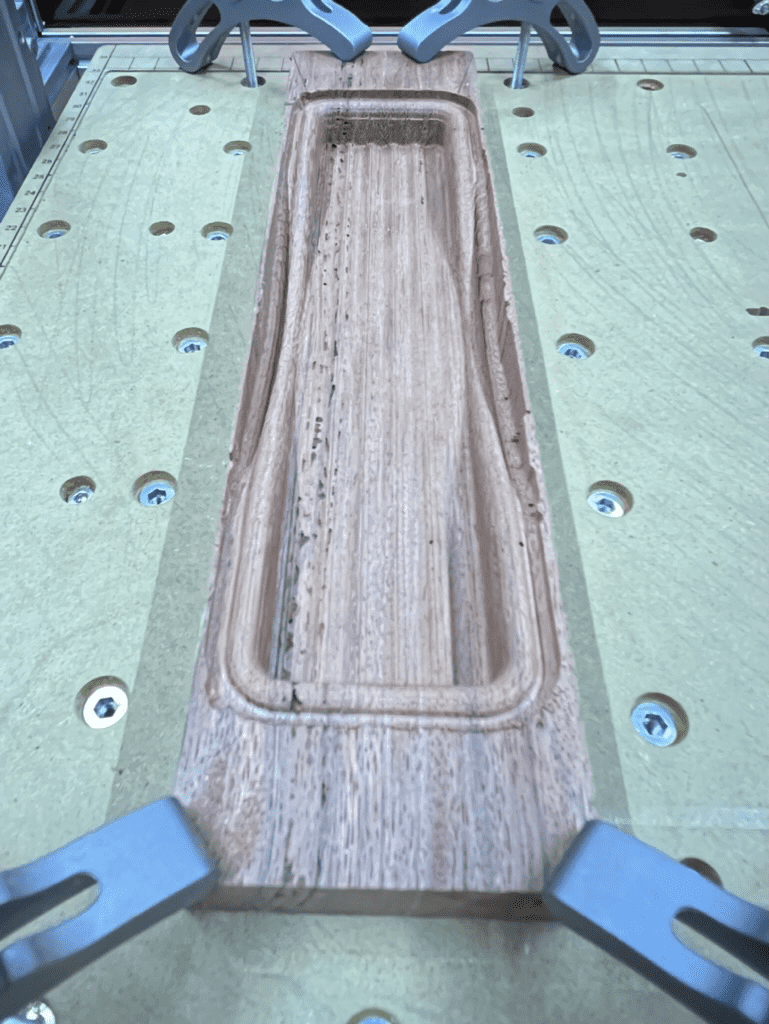 Rough pass completed. Total time, 14h 31m
7. Fine Shaping Pass
For the fine pass, we’ll continue with the ball-end mill mounted in the CNC tool head.
I’ve chosen the Scallop operation here because I really like it for rounded shapes.
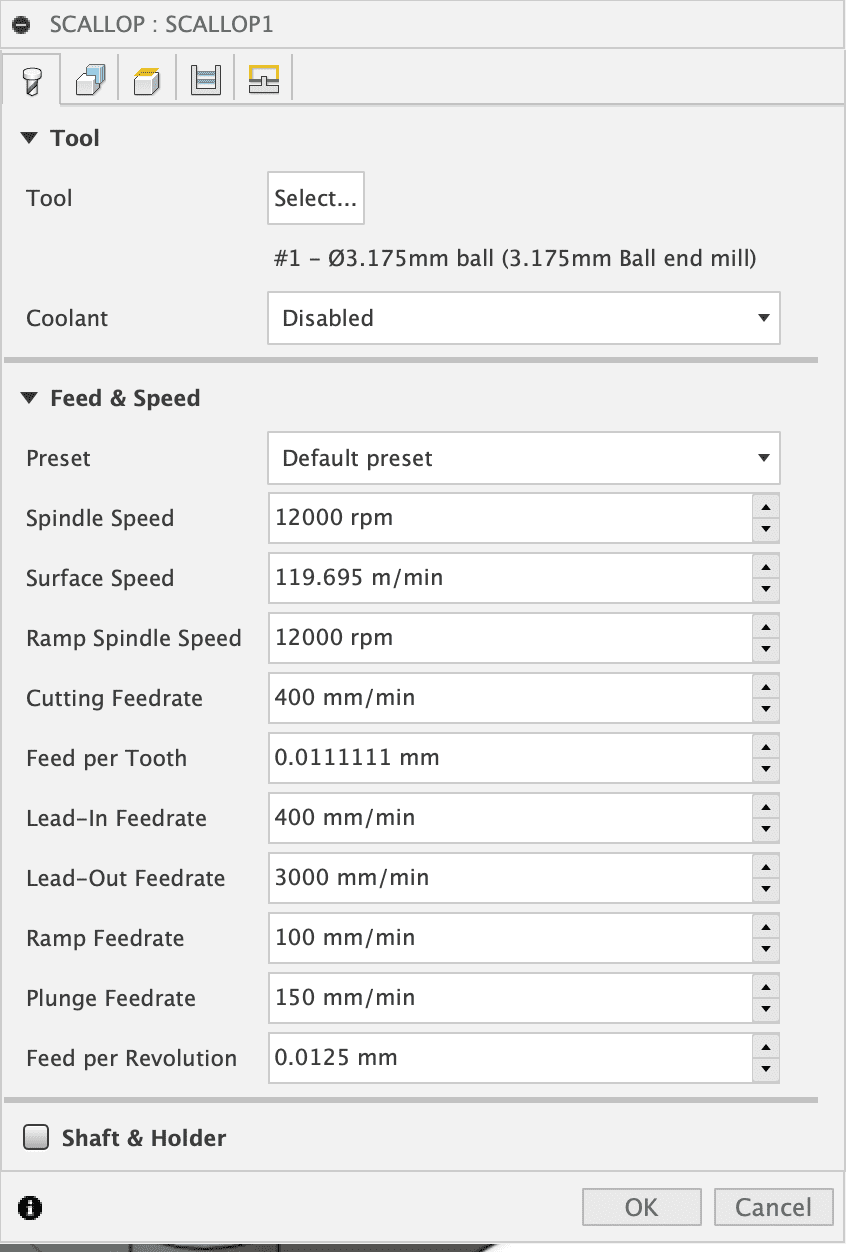 Again, I’ve made sure to select the 3.175mm ball-end mill.
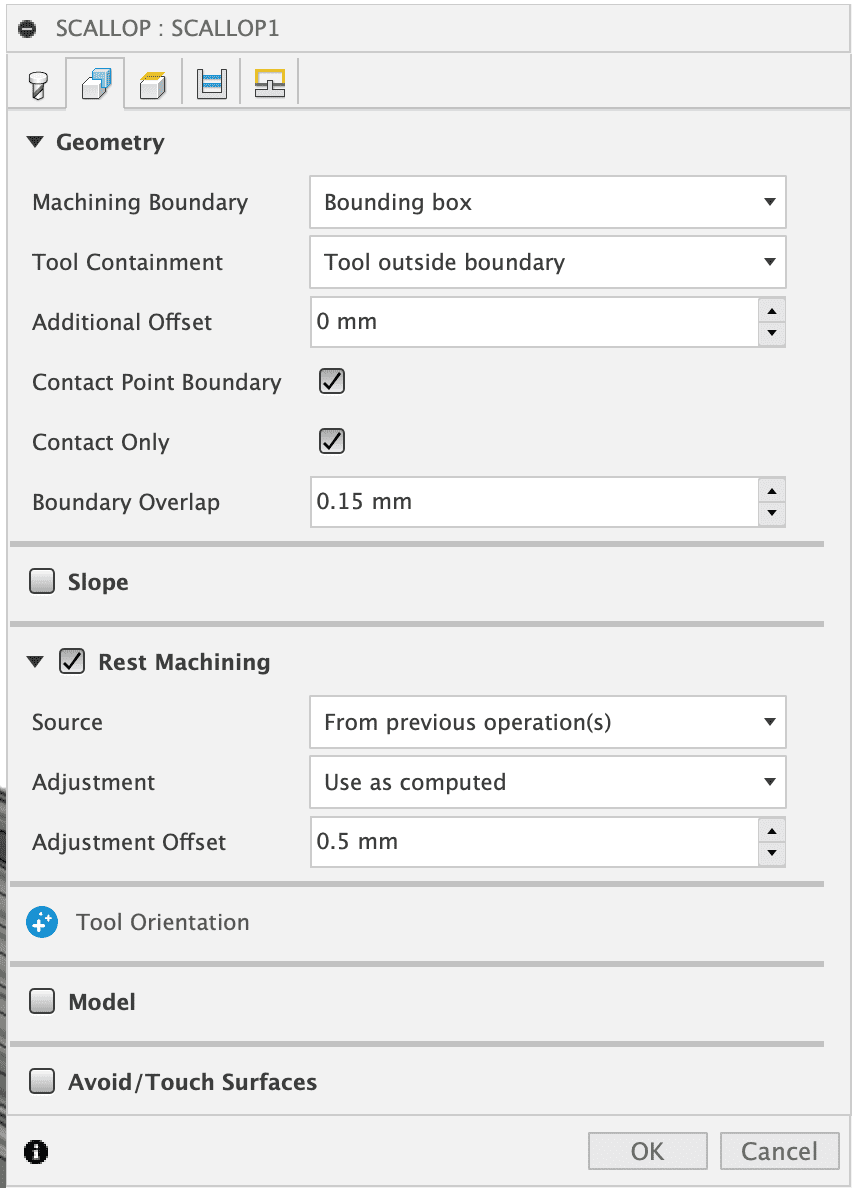 I’ve made sure to select Rest Machining here so that Fusion 360 can optimize the toolpath to just carve away the 0.5mm remaining material left by the roughing pass.
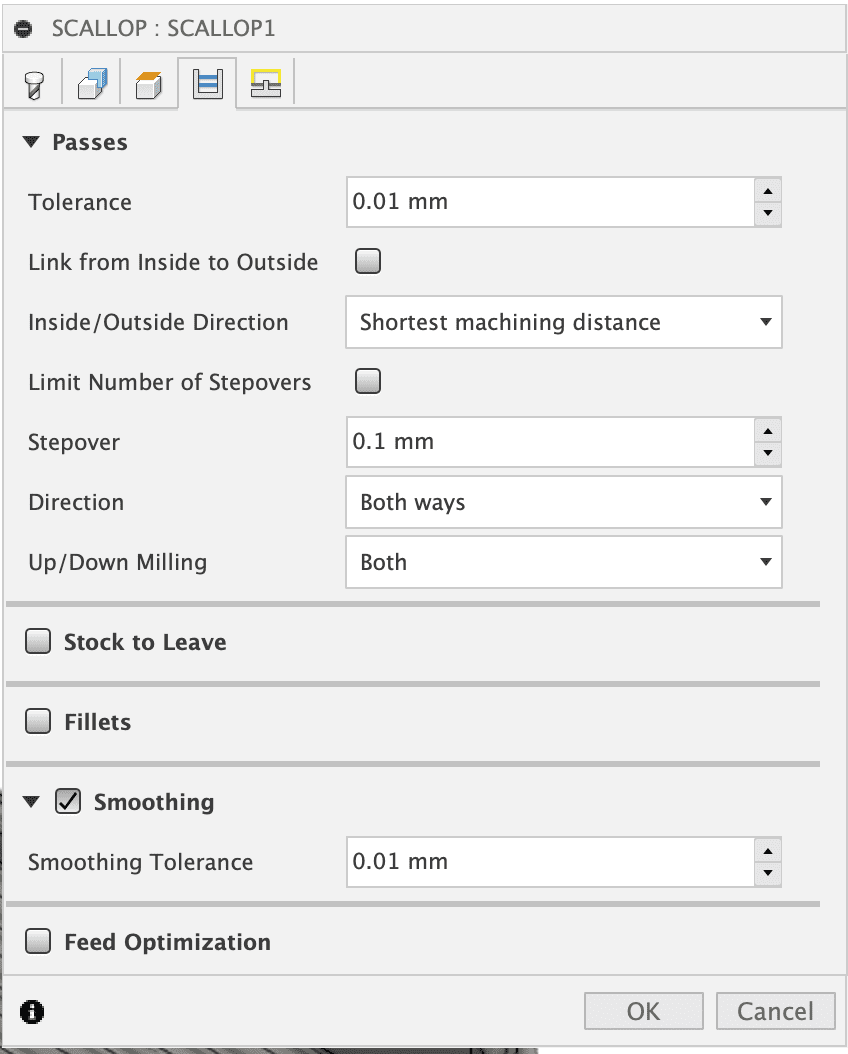 On the Passes tab, I set a tight 0.1mm step-over, and select Smoothing.
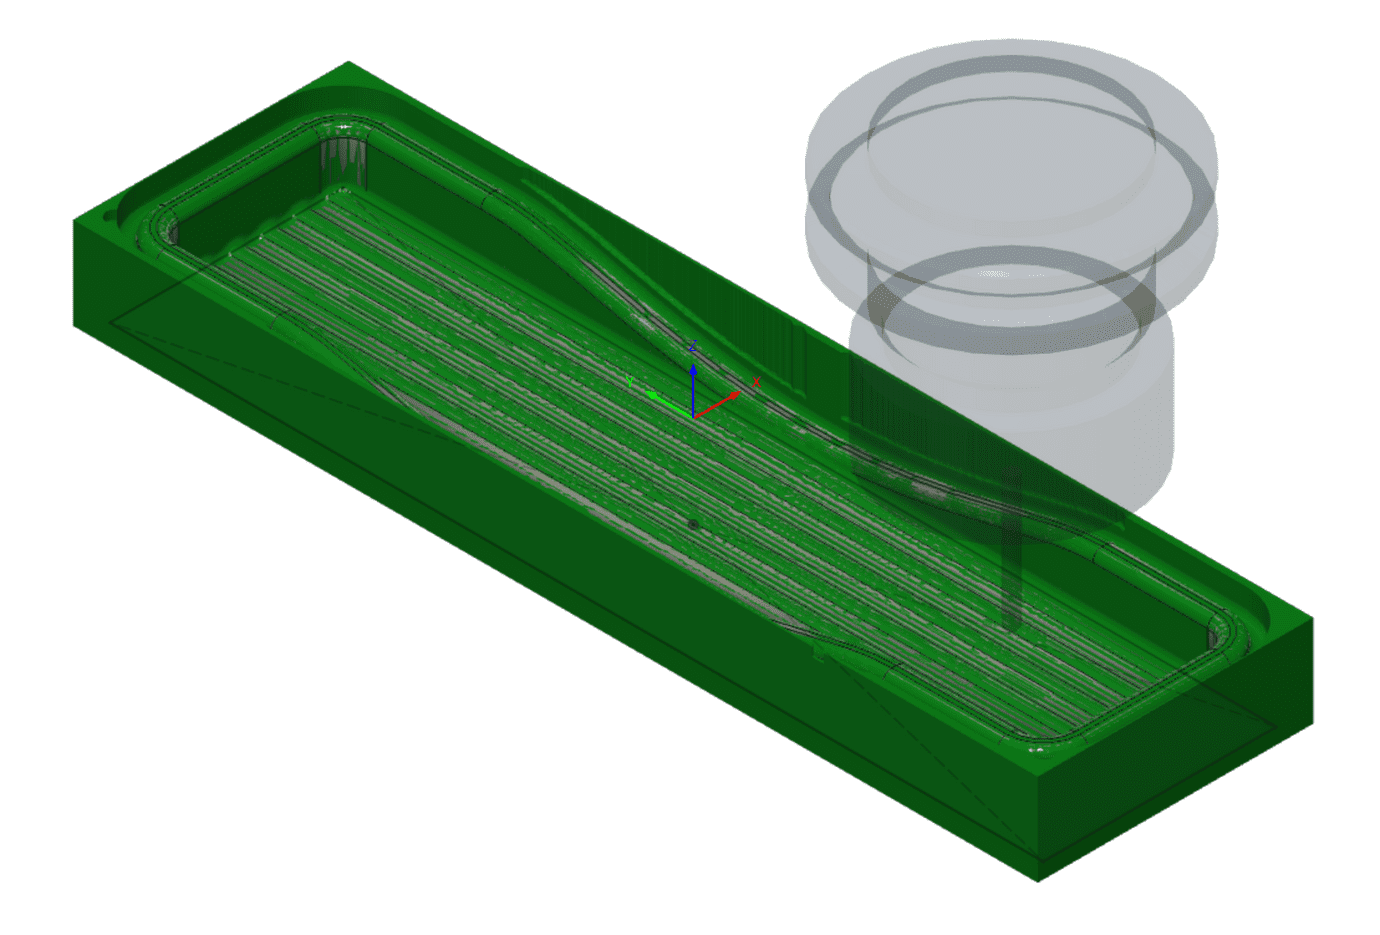 This is what the stock should look like after the fine pass.
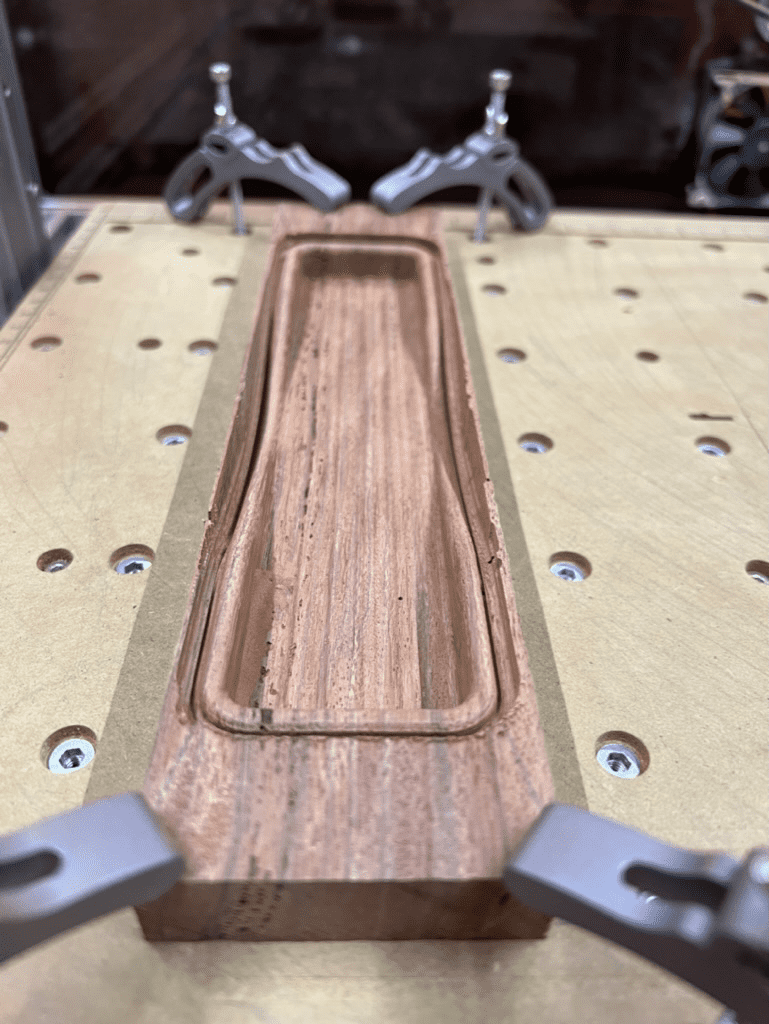 Fine pass is complete, and vacuumed.
8. Cutout Pass
Now that the main body of the pencil tray is carved from the stock, it’s time to cut around the outside of it all the way down in order to separate it from the remaining material.
For this operation, we’re going to back to the 3.175mm flat-end mill bit so that it cuts flat all the way down to the spoilboard, and doesn’t leave any rounded edges at the bottom of the pencil tray.
After swapping the bit, I make sure I have at least 20mm extended from the collet so it will cut all the way through the stock.
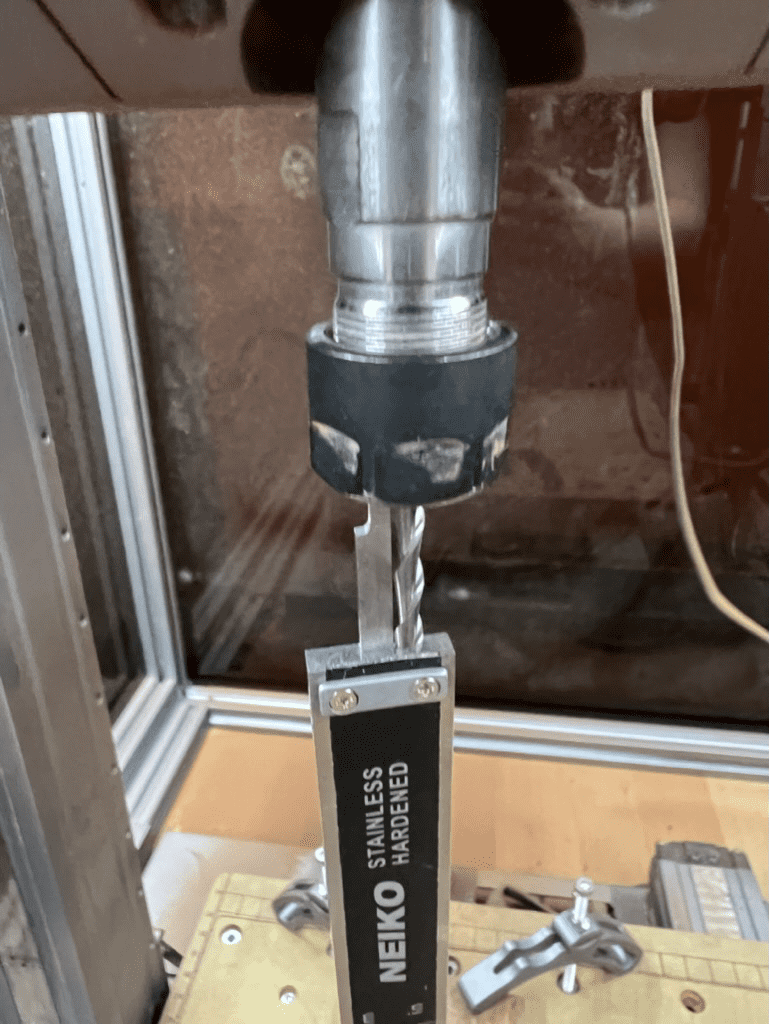 Making sure I still have >20mm of the bit protruding from the bottom of the collet.
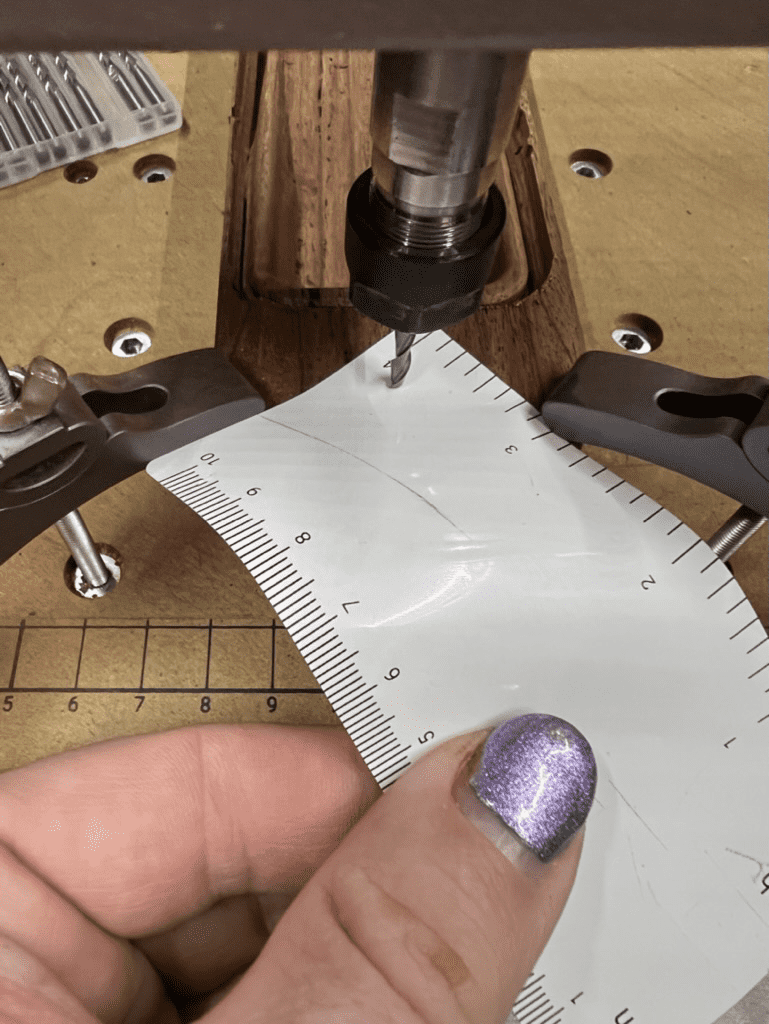 Re-setting the Z-axis work origin again with the new bit.
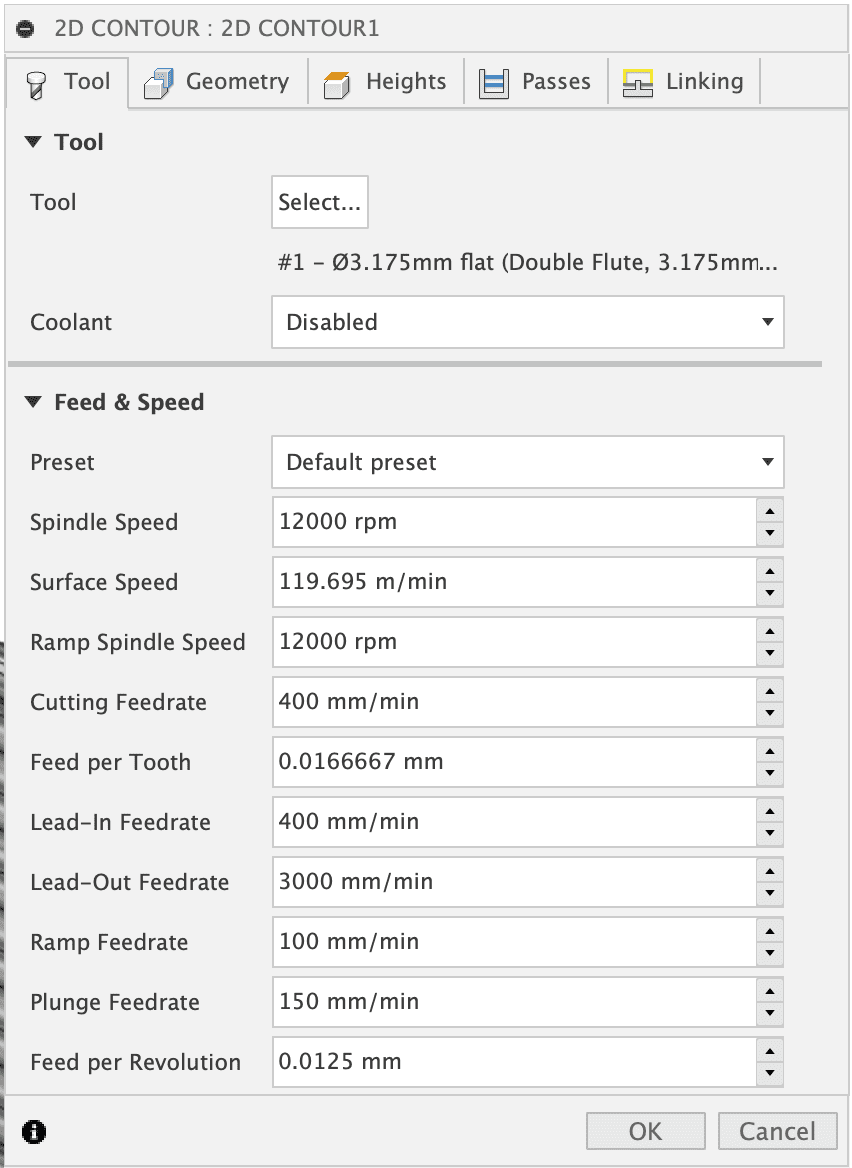 Using the 3.175mm flat-end mill bit for this last operation.
I set up tabs to be left behind from the final operation so that when the final pass fully cuts out the tray from the surrounding stock, it doesn’t go flopping around and banging into the bit. Here I’ve set up 4 tabs that will be about 0.79375mm (1/32”) high (this is the default tab height) that will hold the pencil tray in position until it completes.
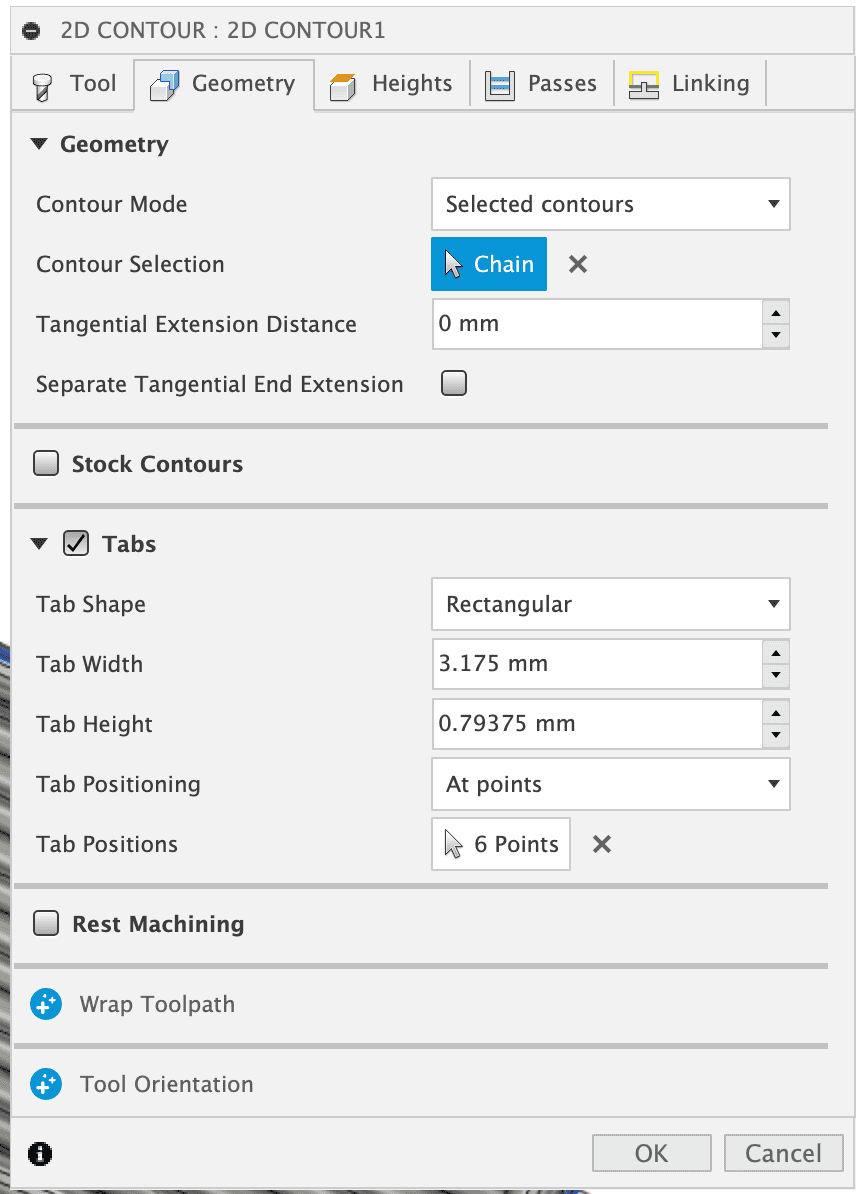 To specify the contour to cut out the pencil tray, I chose Selected contours and picked the bottom edge of the pencil tray model. I also checked Tabs and chose 6 points along the countour to place them.
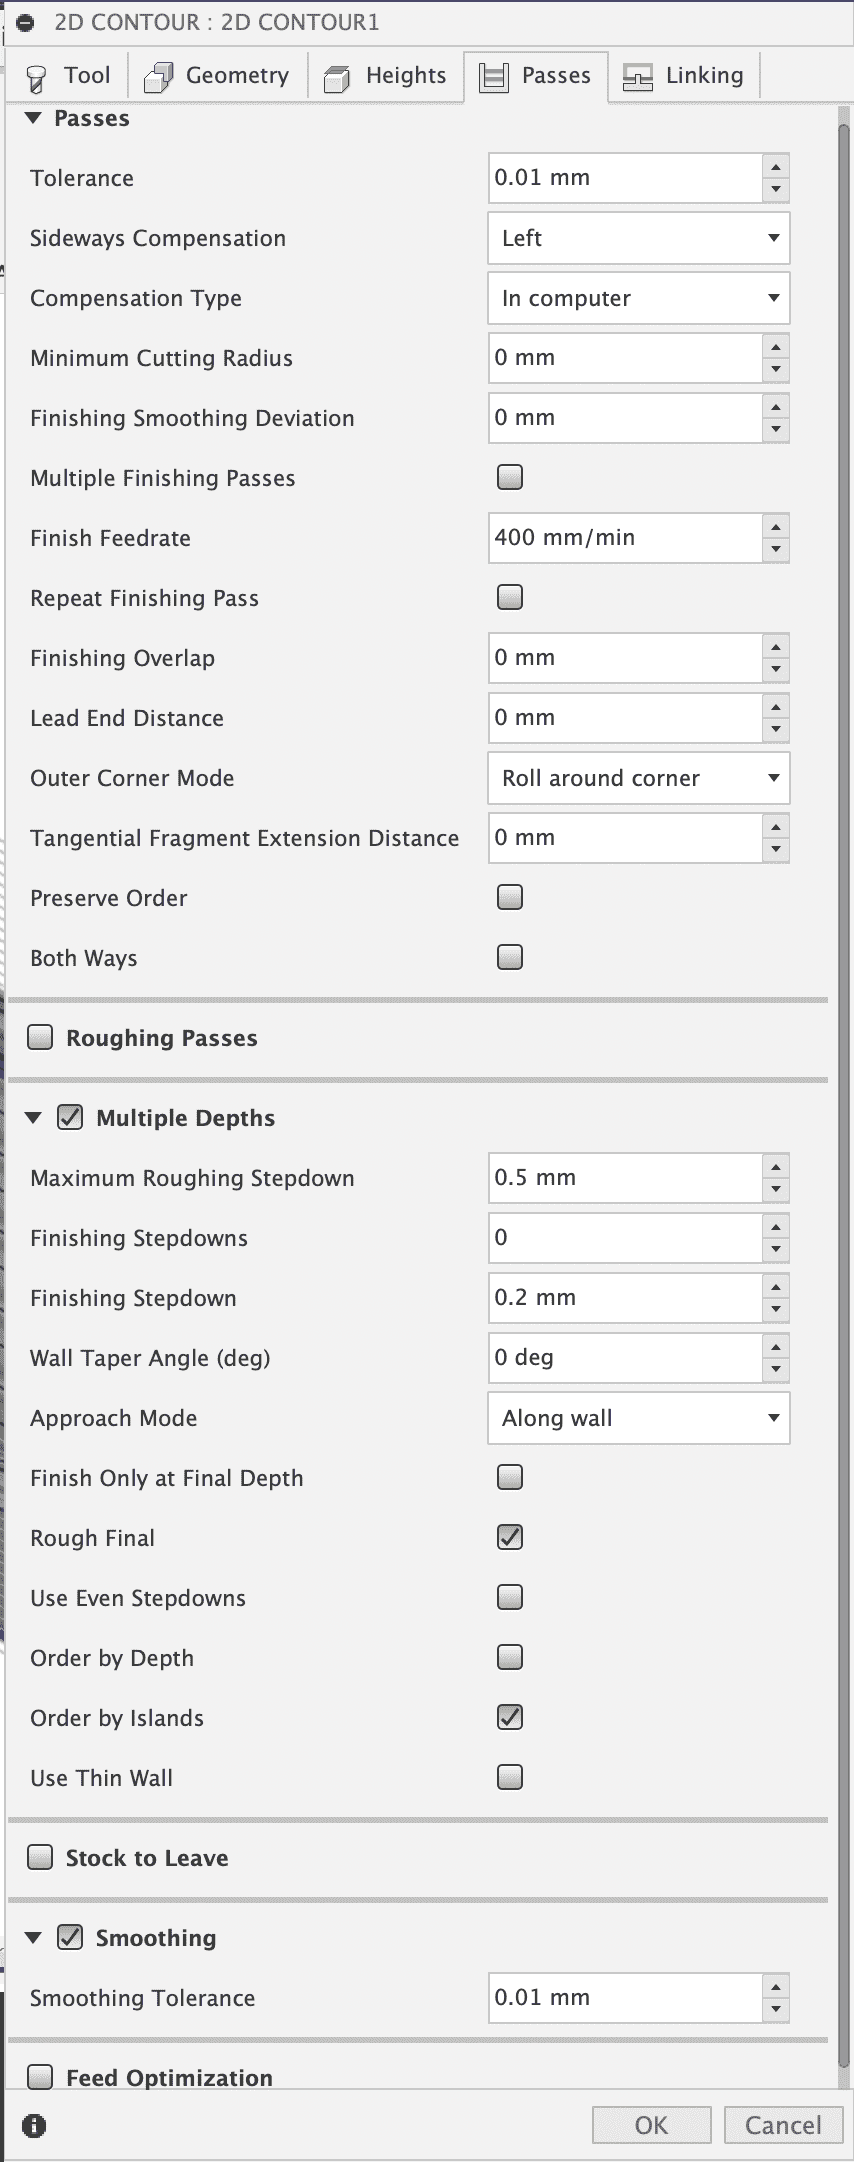 I am using 0.5mm stepdown for the cut-out.
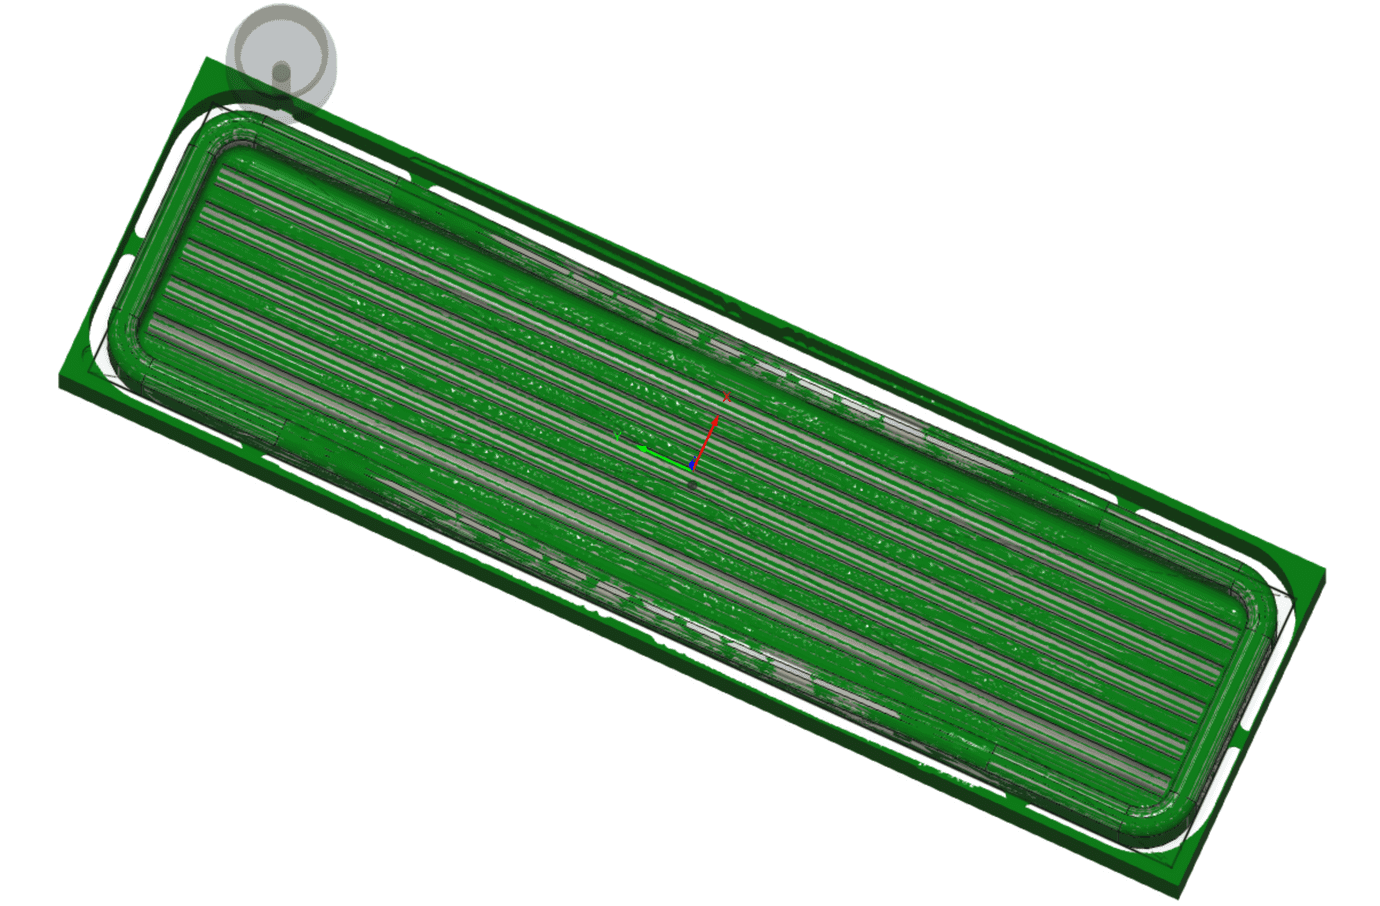 Fusion 360 shows the remaining material after doing the cut-out.
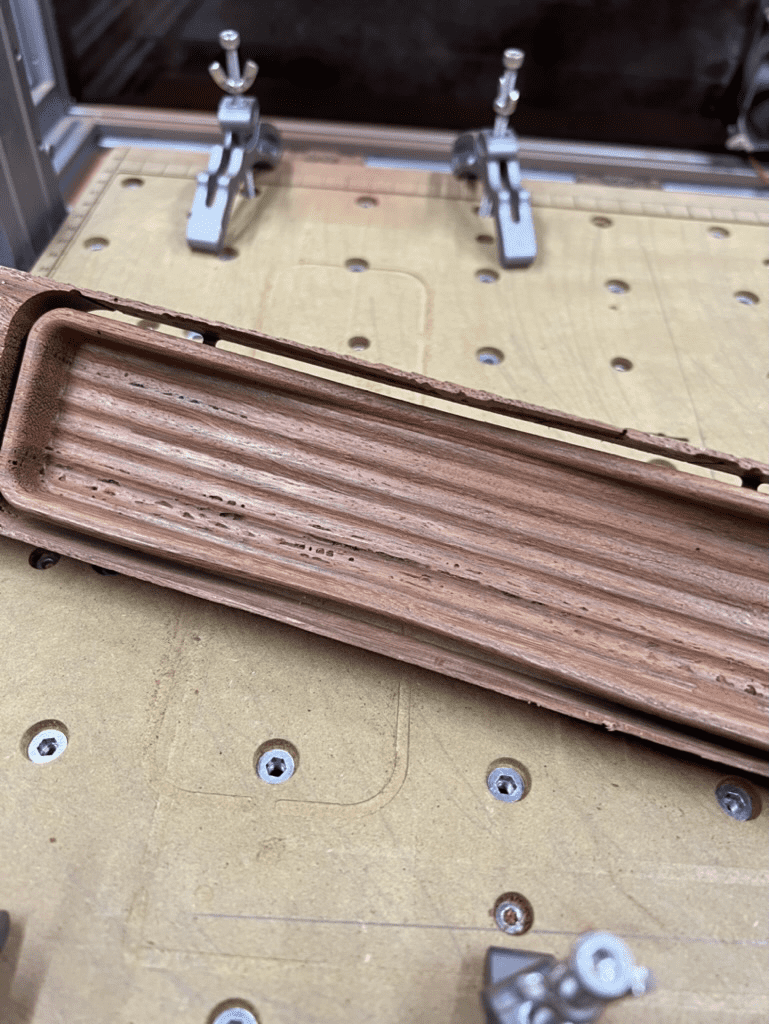 Looks like my wasteboard is no longer perfectly aligned, a bit of variance as you can see where it cut into the wasteboard on the right but barely grazed it on the left. Not sure when this happened, but resurfacing the wasteboard is easy. This means the left side of the tray will be a bit thicker on the bottom. Nobody’s going to notice!
9. Sanding and Oiling
Hope to have this section finished soon.